How to setup Text to Image generation
Stable Diffusion is the technology to produce images from a text description. this technology forms the basis of the FLUX models. This guide explains how you can setup text to image generation in Ozeki AI studio using a FLUX model.
Recommended hardware:
To use image generation it is recommended to use a GPU.
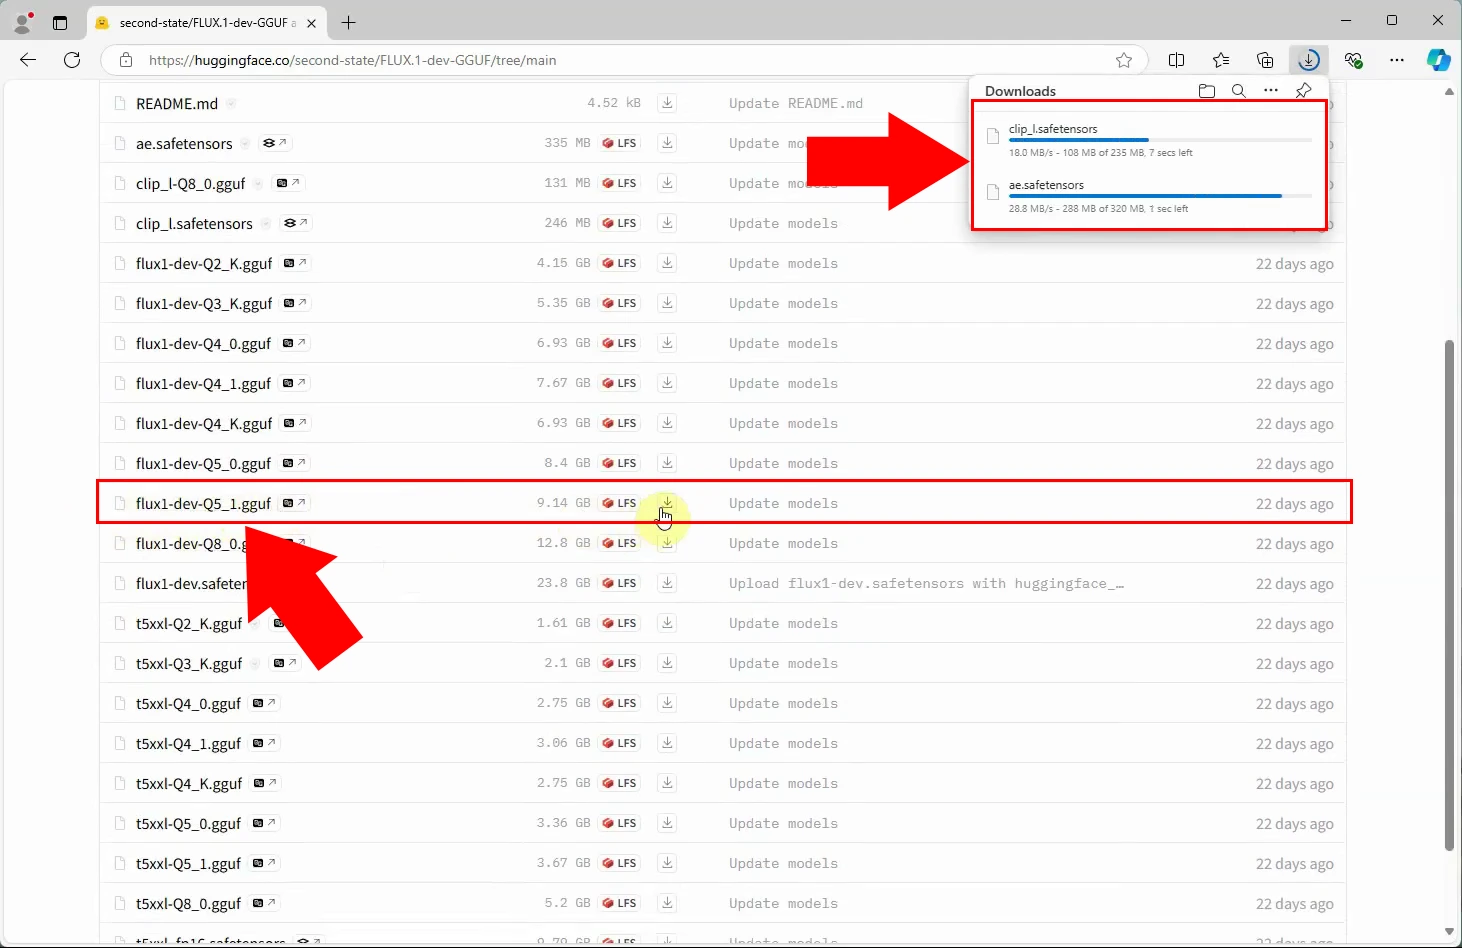
Download the required models from:
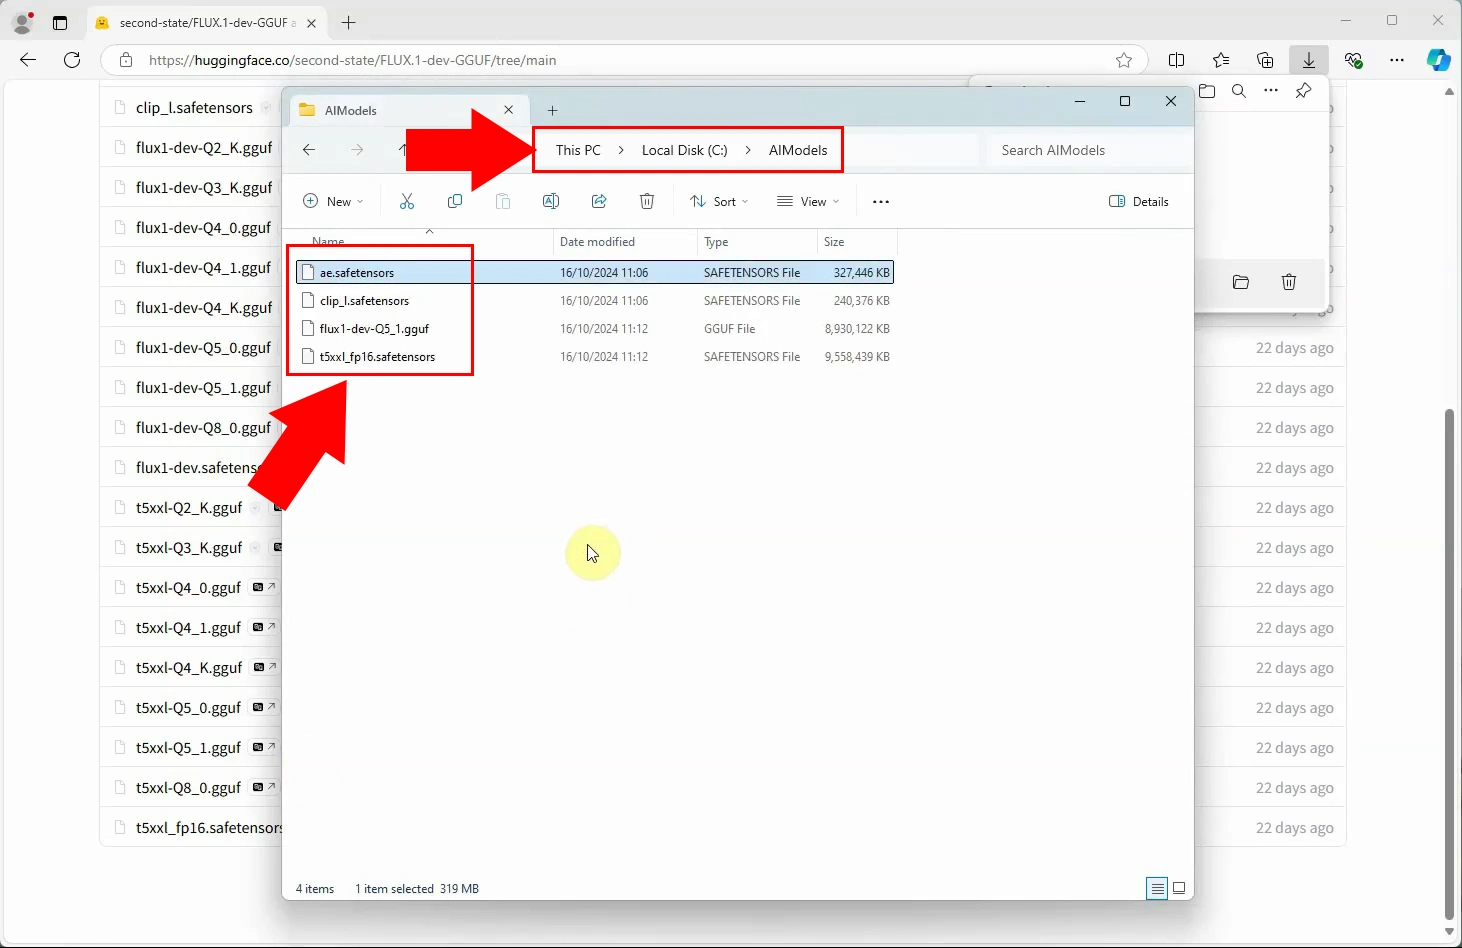
https://huggingface.co/second-state/FLUX.1-dev-GGUF/tree/mainSave the files to:
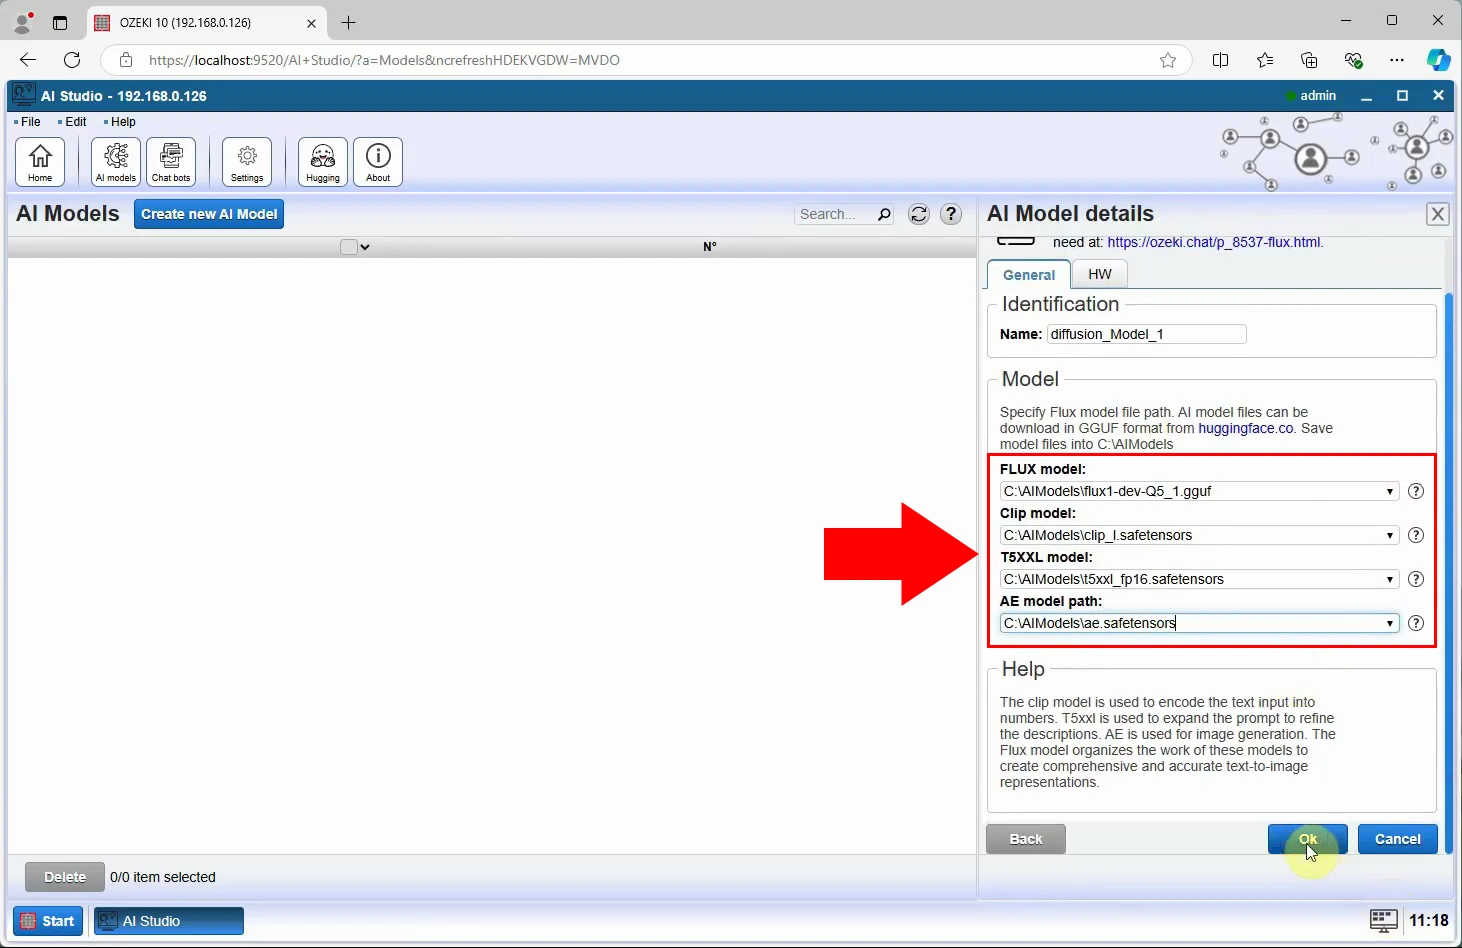
- Flux model: C:\AIModels\flux1-dev-Q5_1.gguff
- ClipModelPath: C:\AIModels\clip_l.safetensors
- T5xxlModelPath: C:\AIModels\t5xxl_fp16.safetensors
- AEModelPath: C:\AIModels\ae.safetensors
Background information
When using Flux for text-to-image generation, each model plays a unique role in creating high-quality images:
CLIP Model: This model is used to encode the text input, capturing key features and semantic information. It helps the system understand the context and details of the text prompt.
T5XXL Model: This large language model processes the text input to expand or refine the descriptions, providing richer semantic information. It enhances the text understanding, making the generated images more accurate and detailed
AE Model (Autoencoder): The AE model, often referred to as a VAE (Variational Autoencoder), is used for generating the actual images It takes the processed text information and converts it into a visual representation
Flux Model: The Flux model integrates and orchestrates all these models, ensuring they work together seamlessly.
By combining these models, Flux can create more comprehensive and accurate text-to-image representations. It ensures that the generated images closely match the text descriptions while maintaining a balance between creativity and adherence to the prompts.
Download the required models
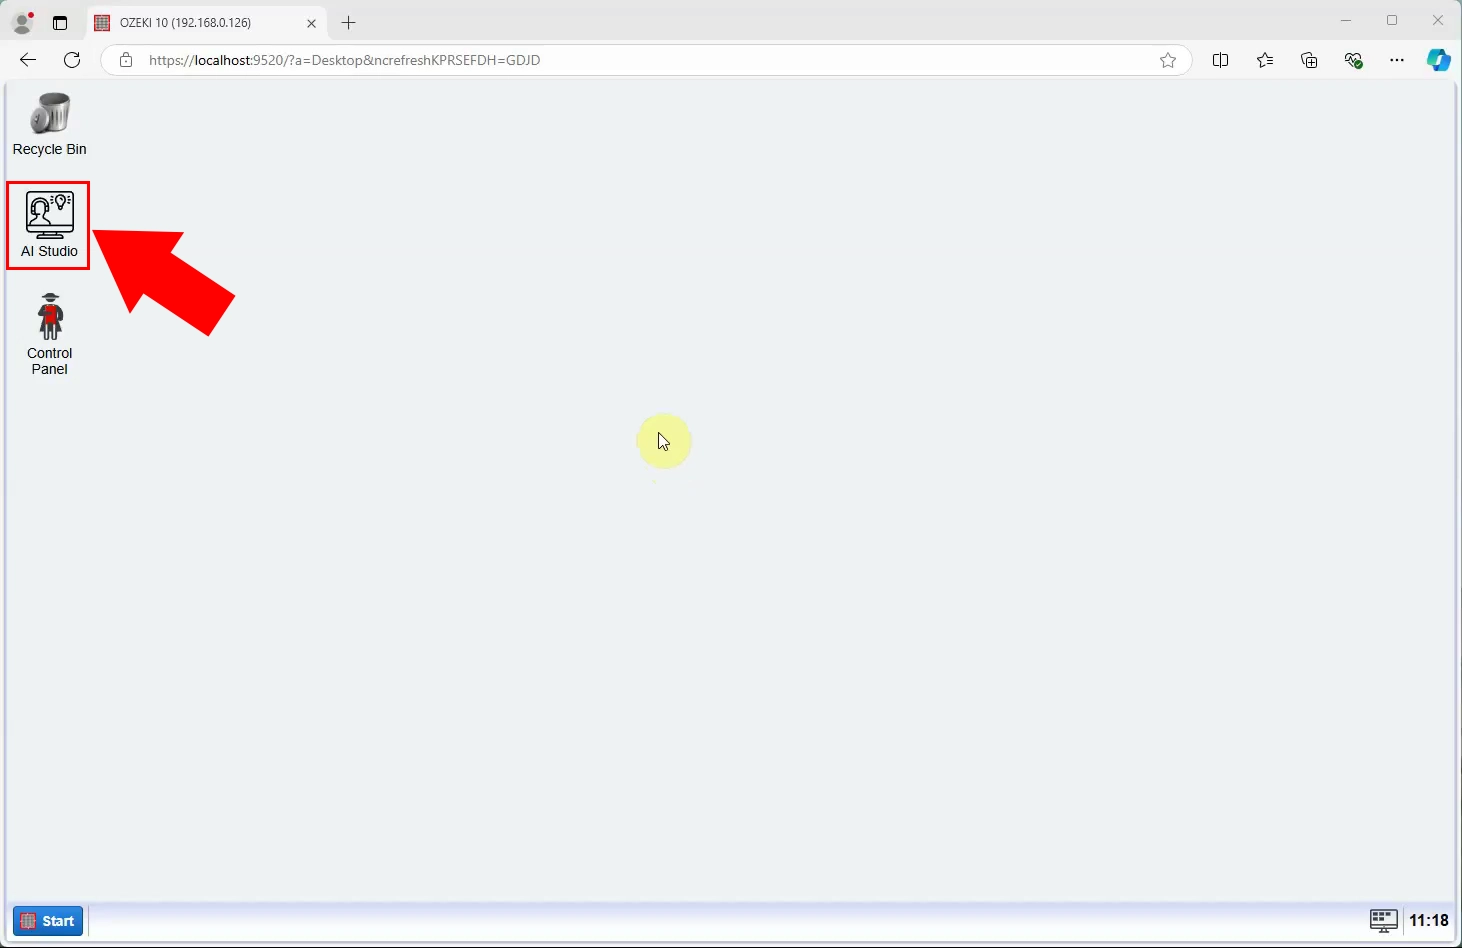
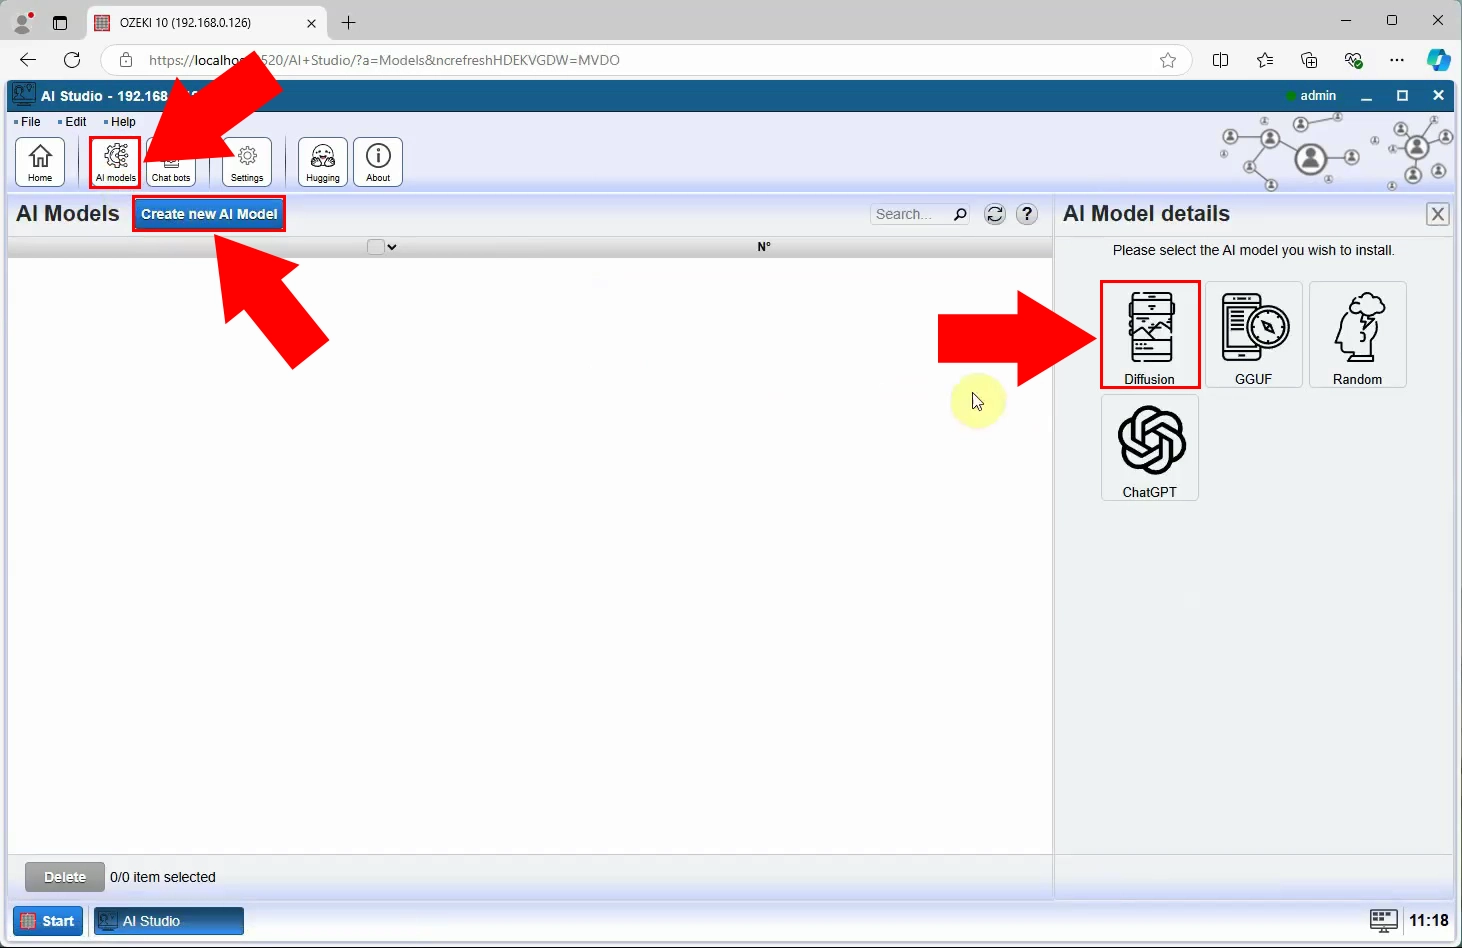
Create Diffusion model in Ozeki AI Studio
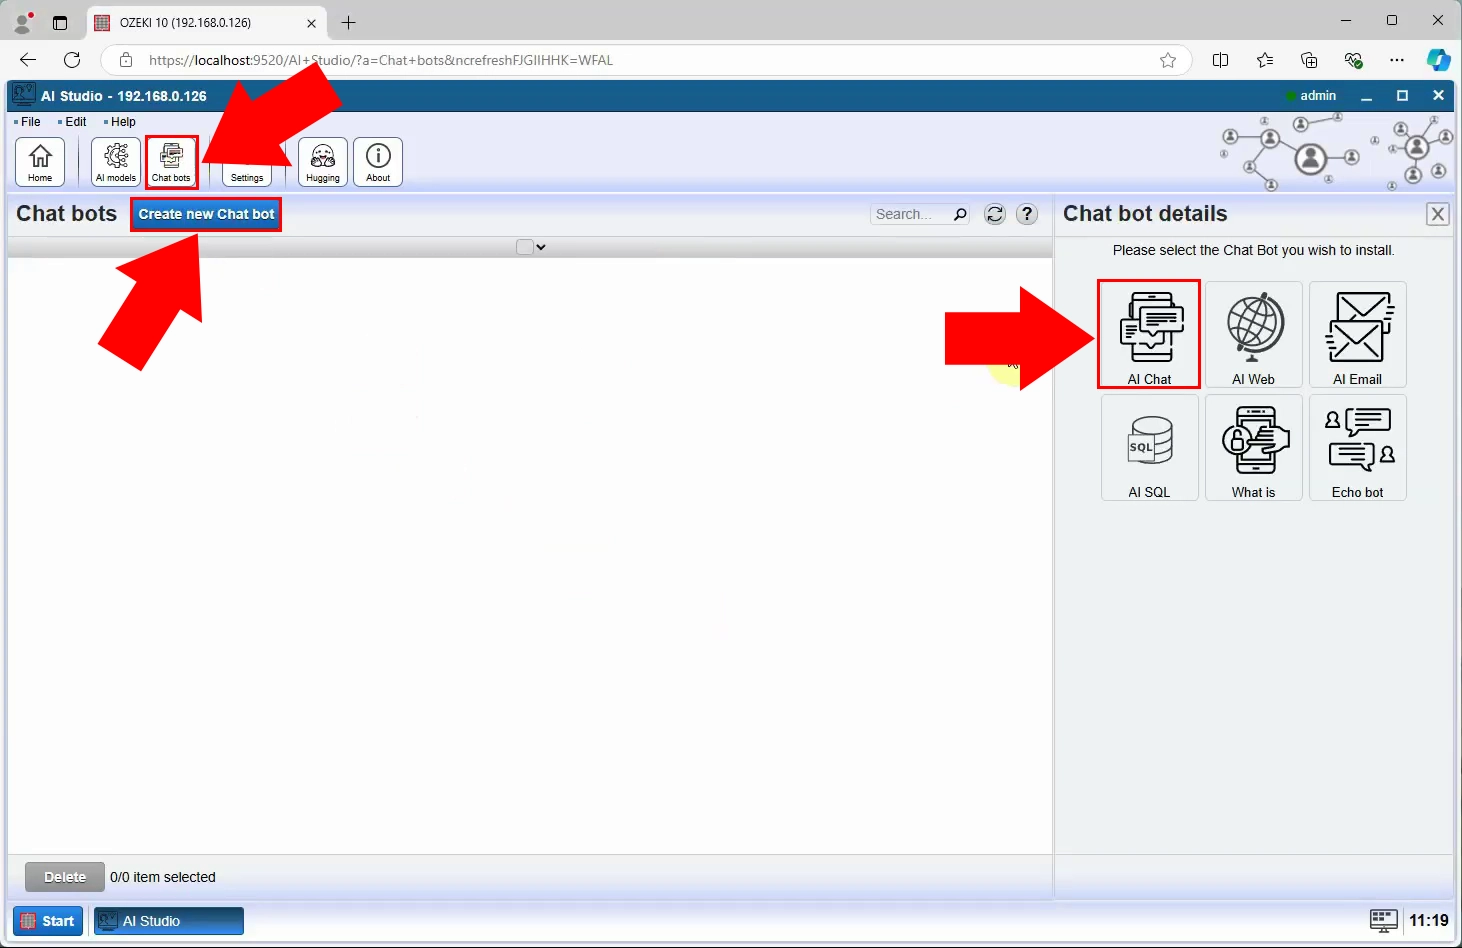
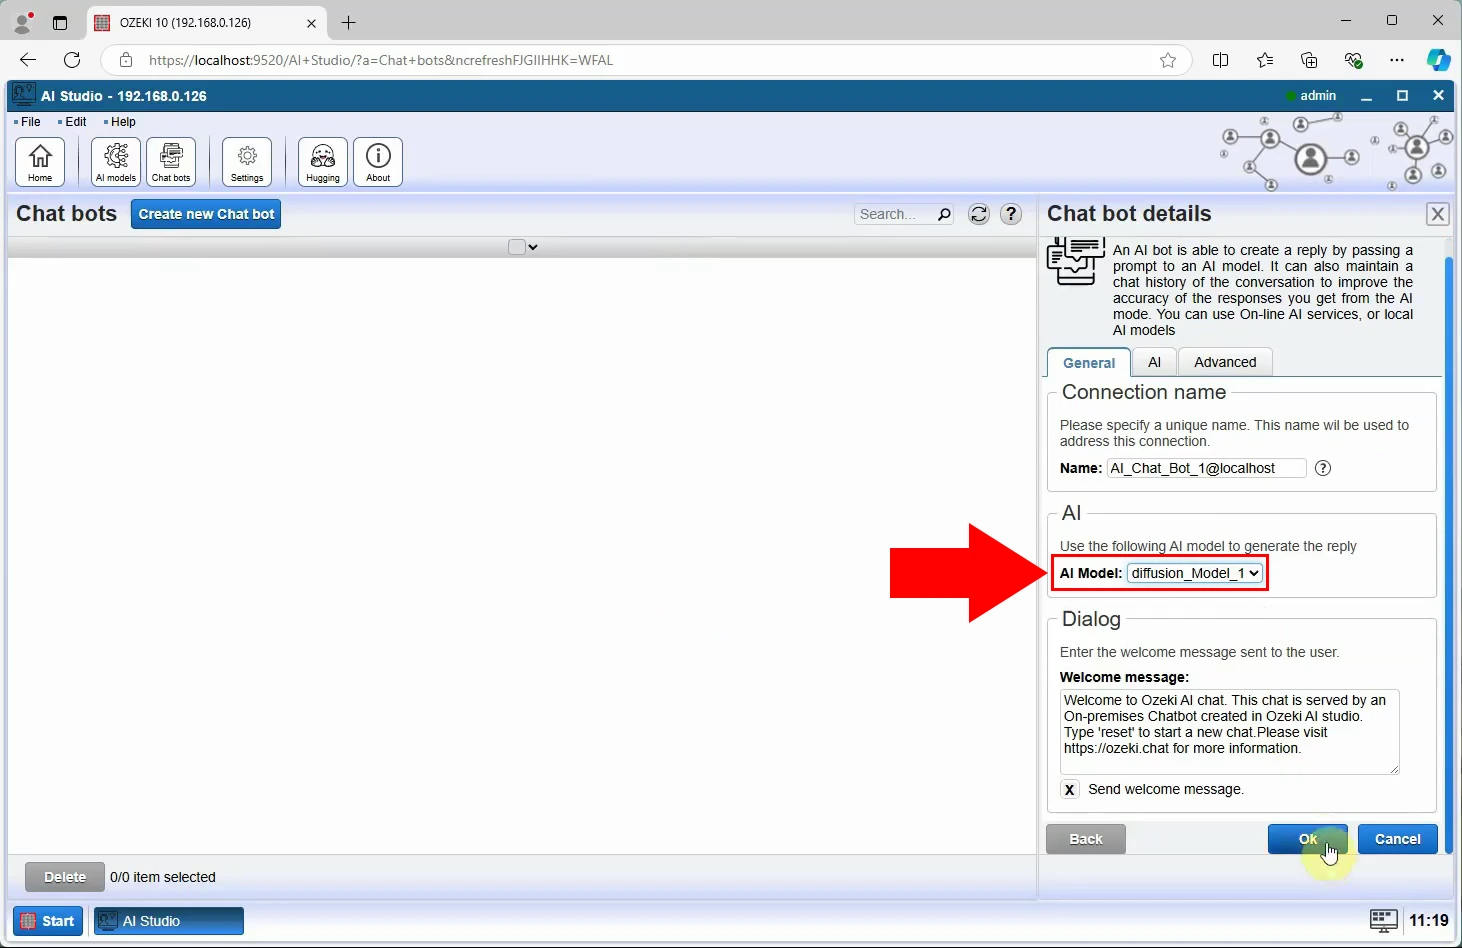
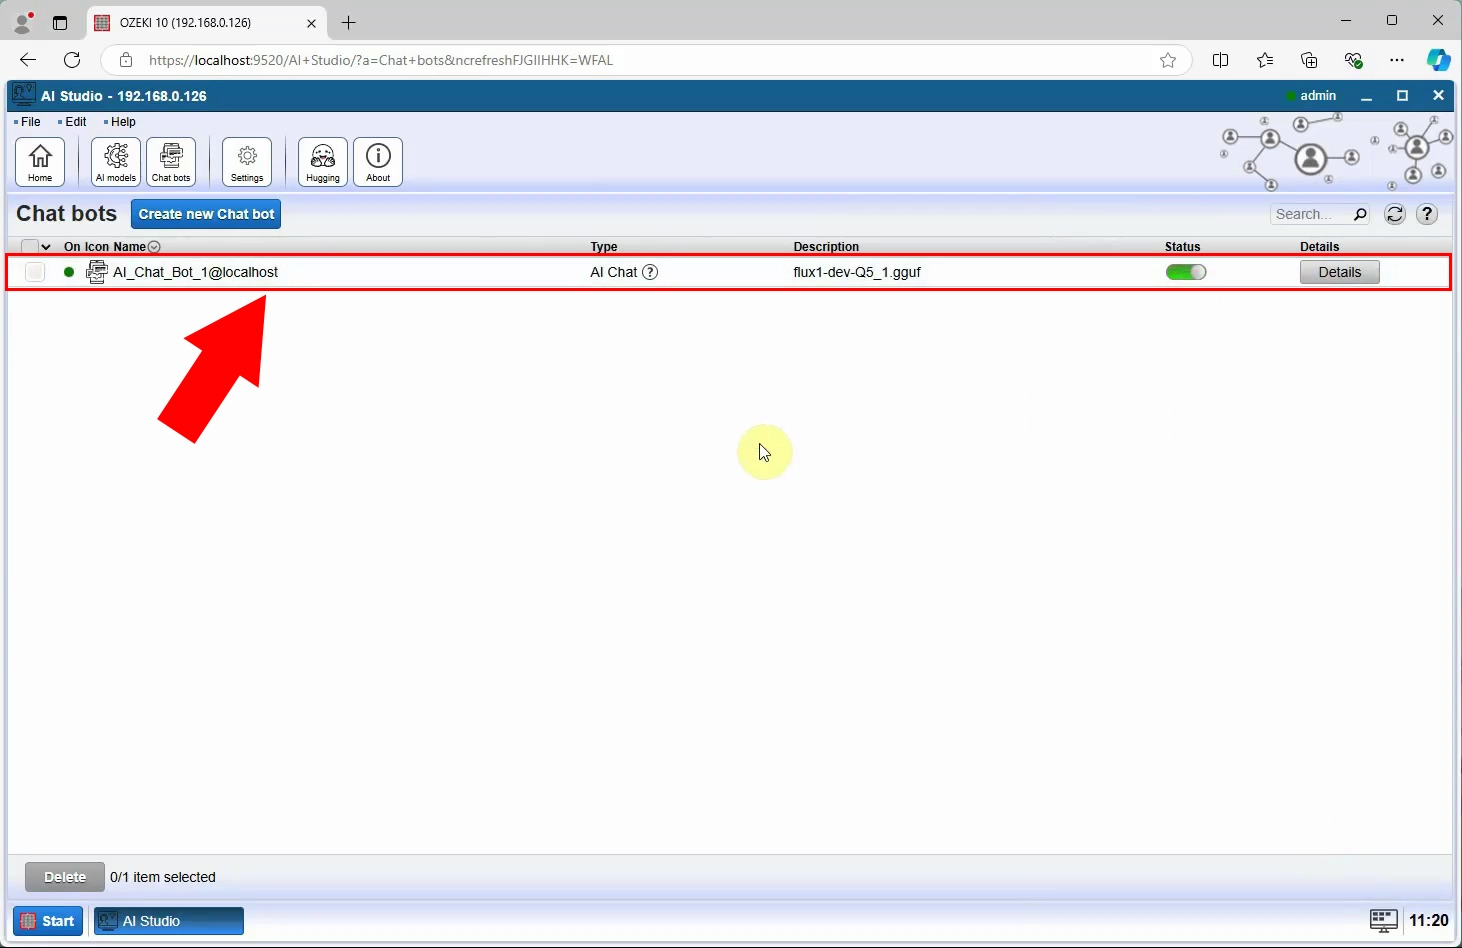
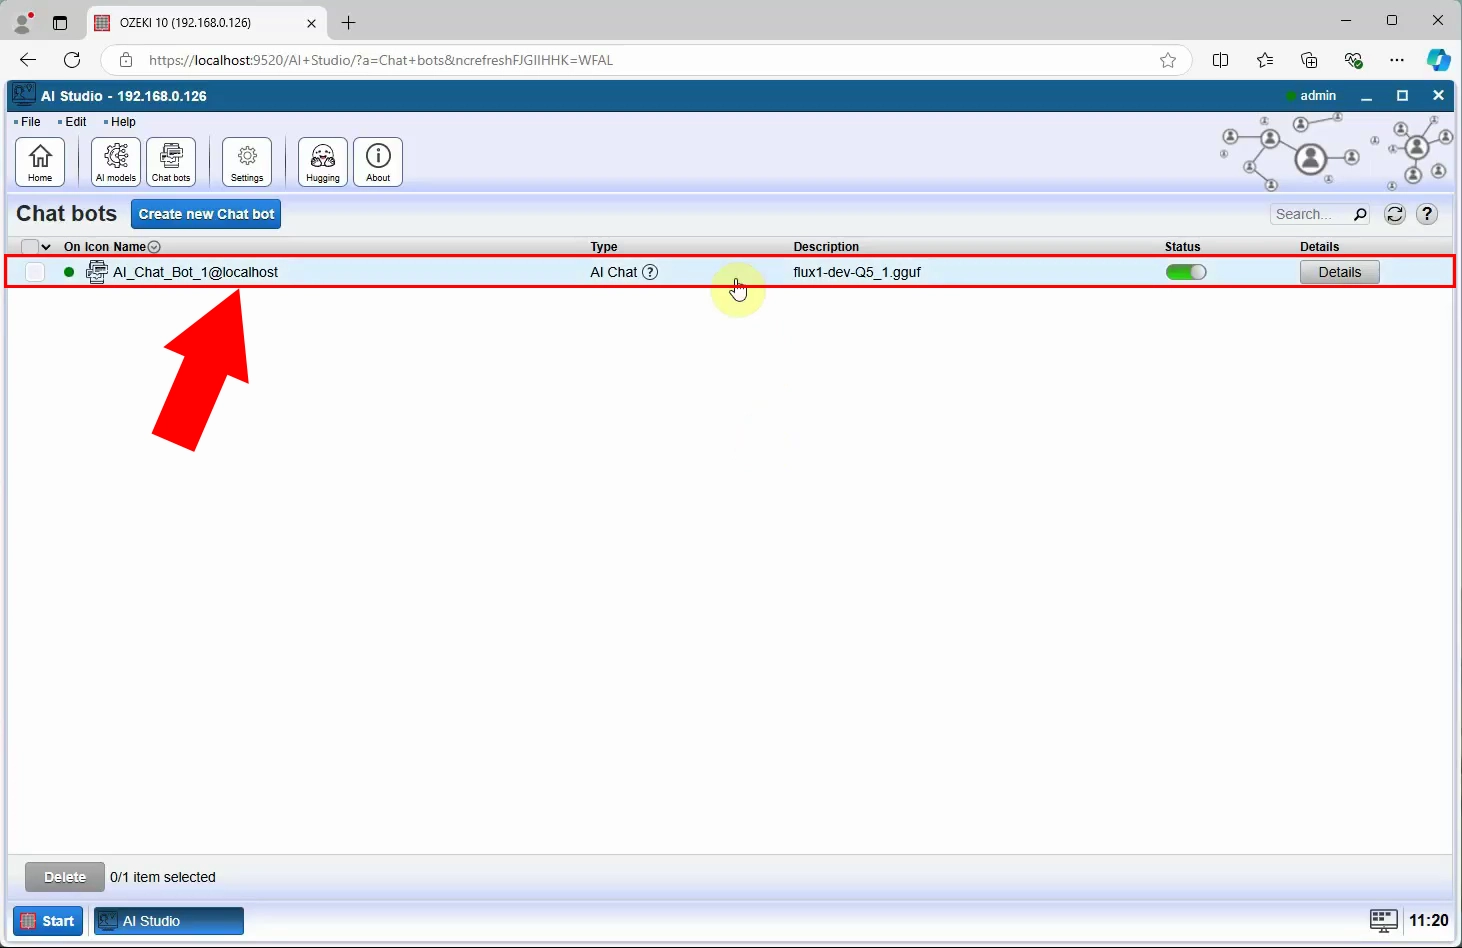
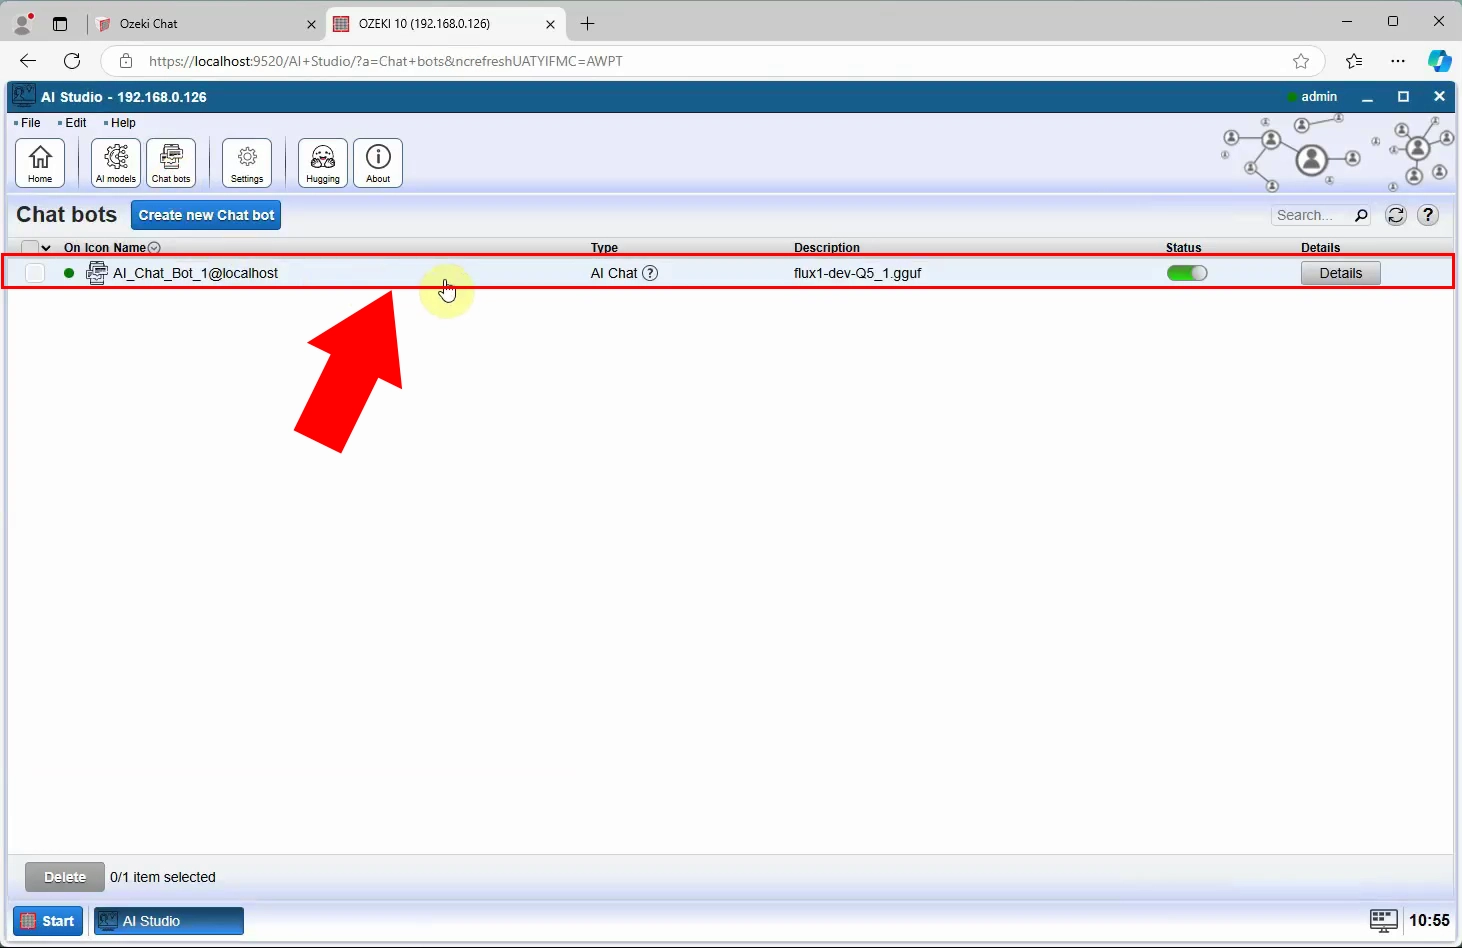
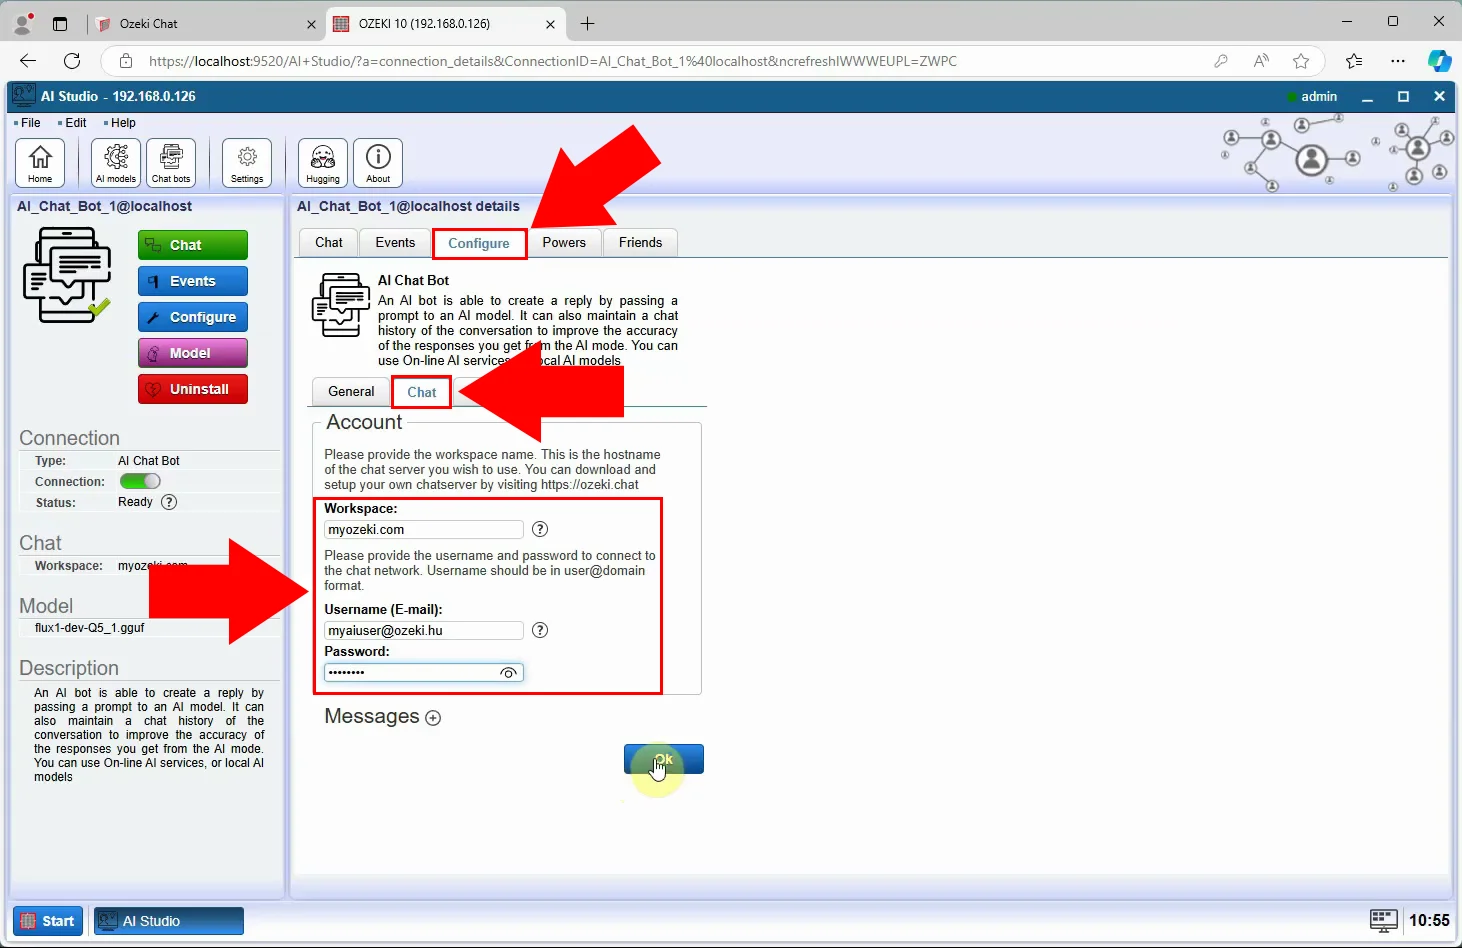
Create chatbot in Ozeki AI Studio
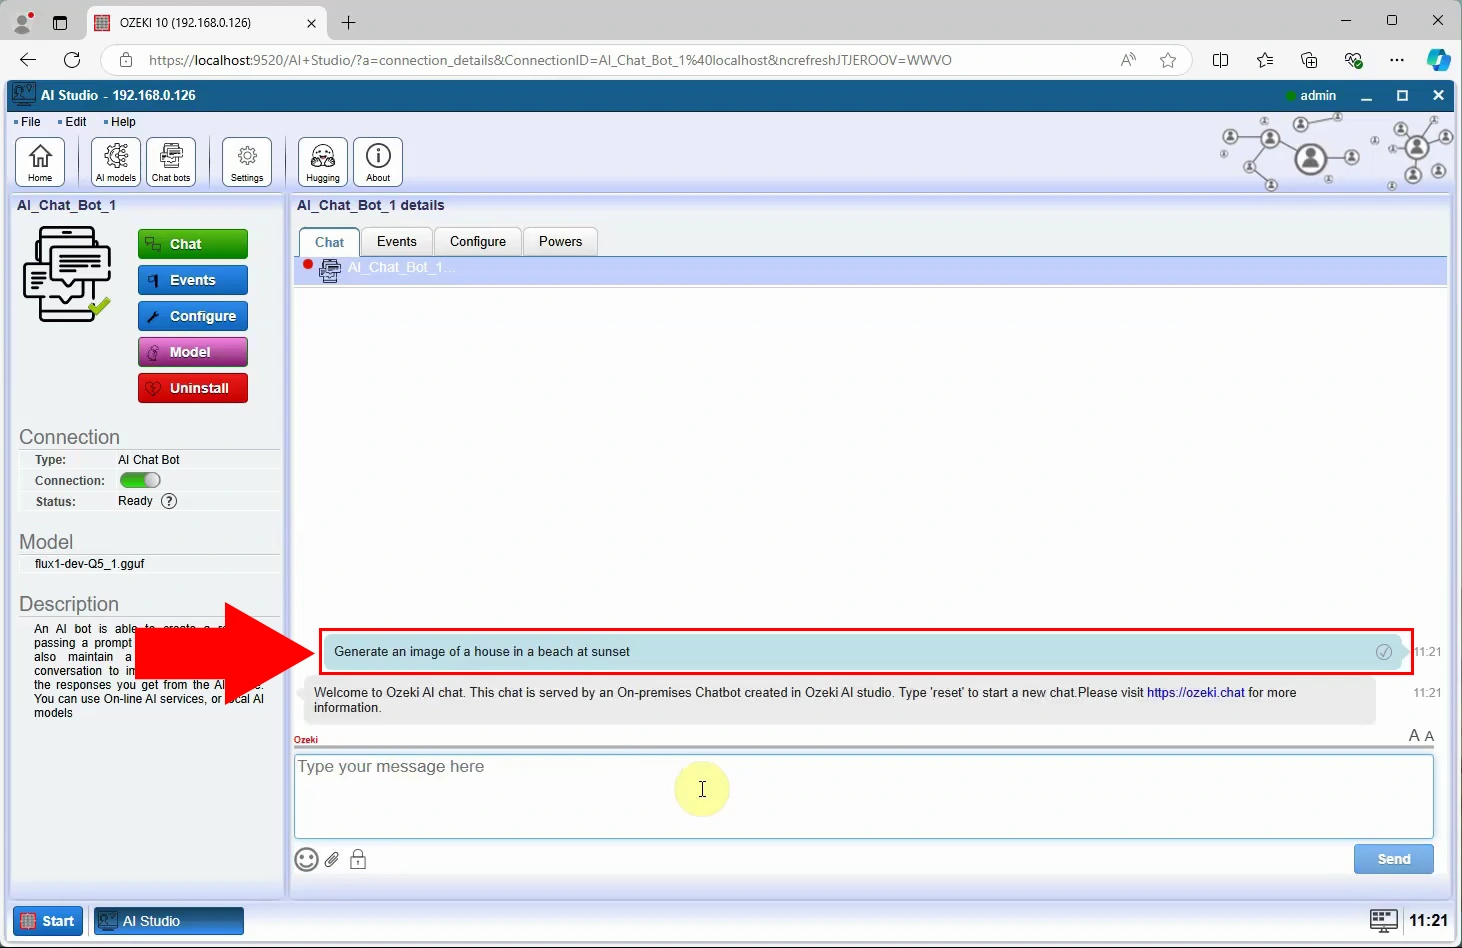
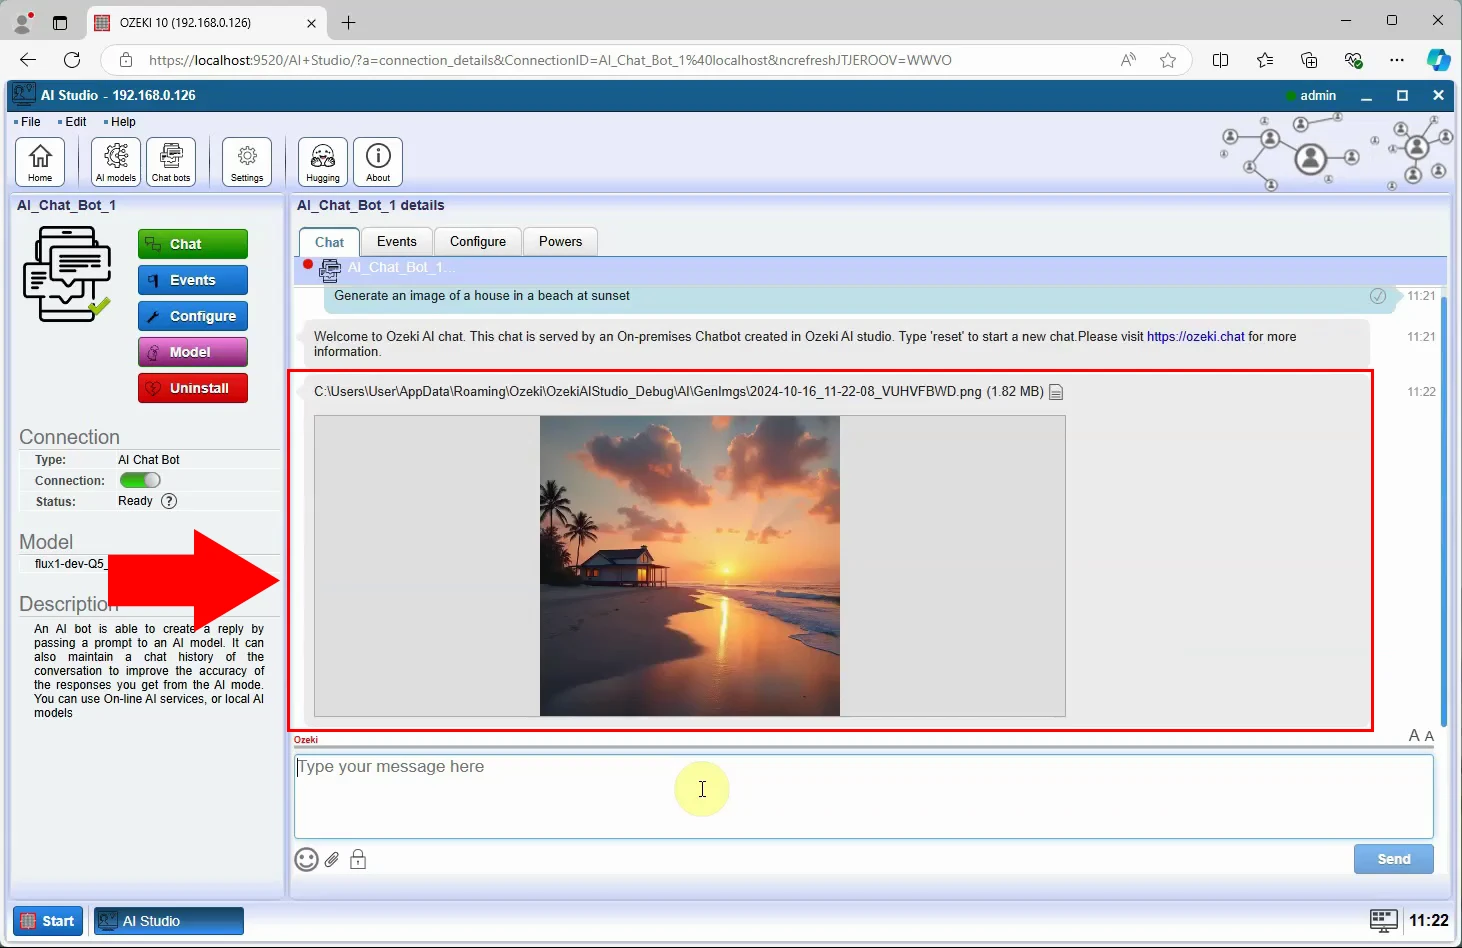
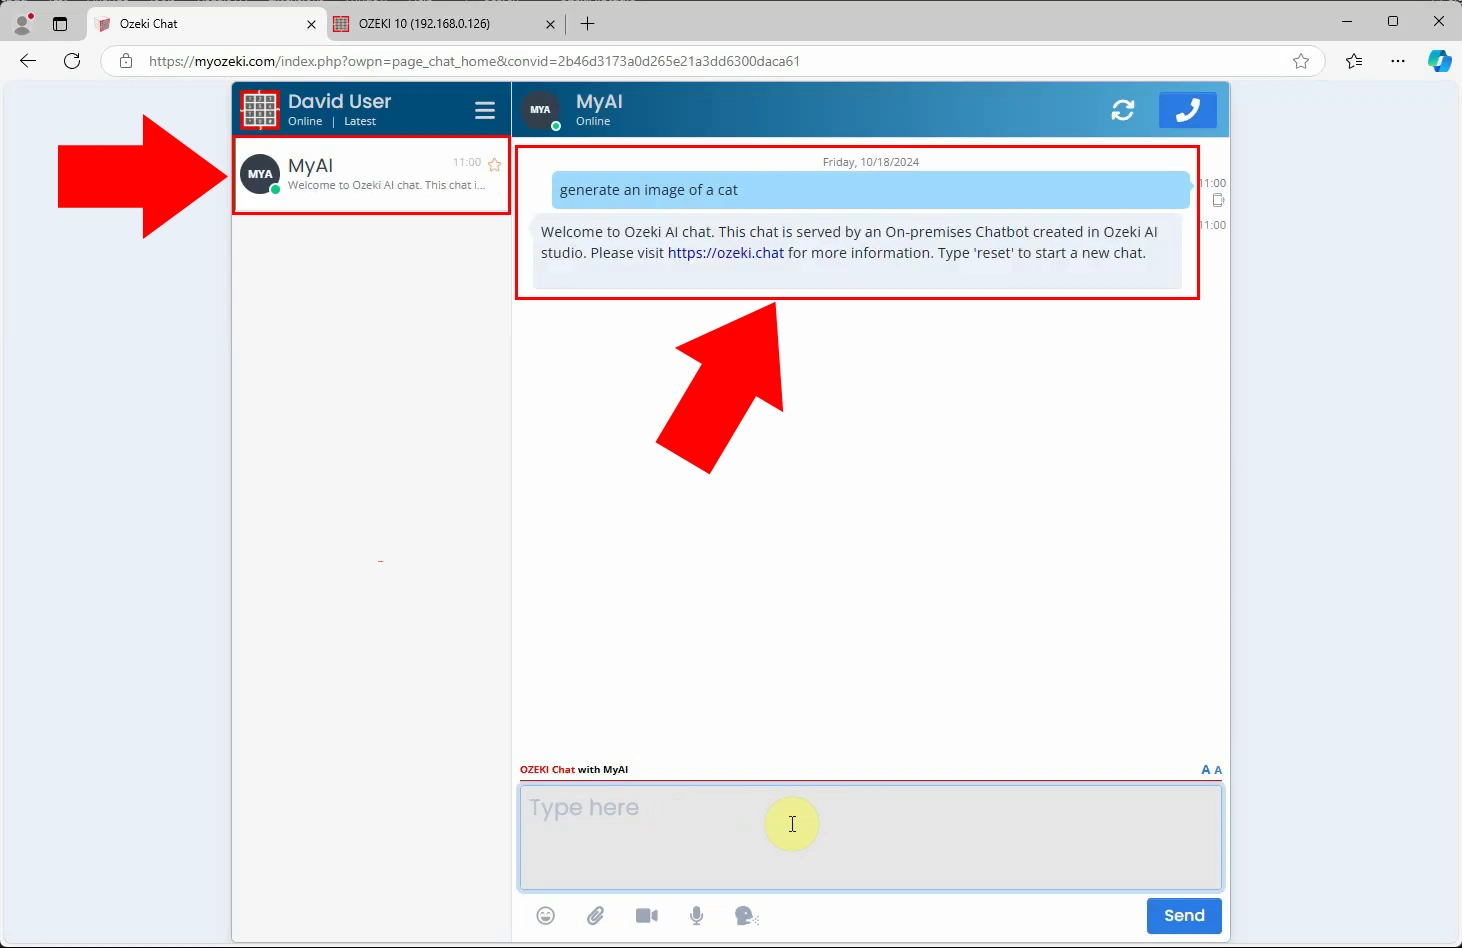
Generate image with chatbot
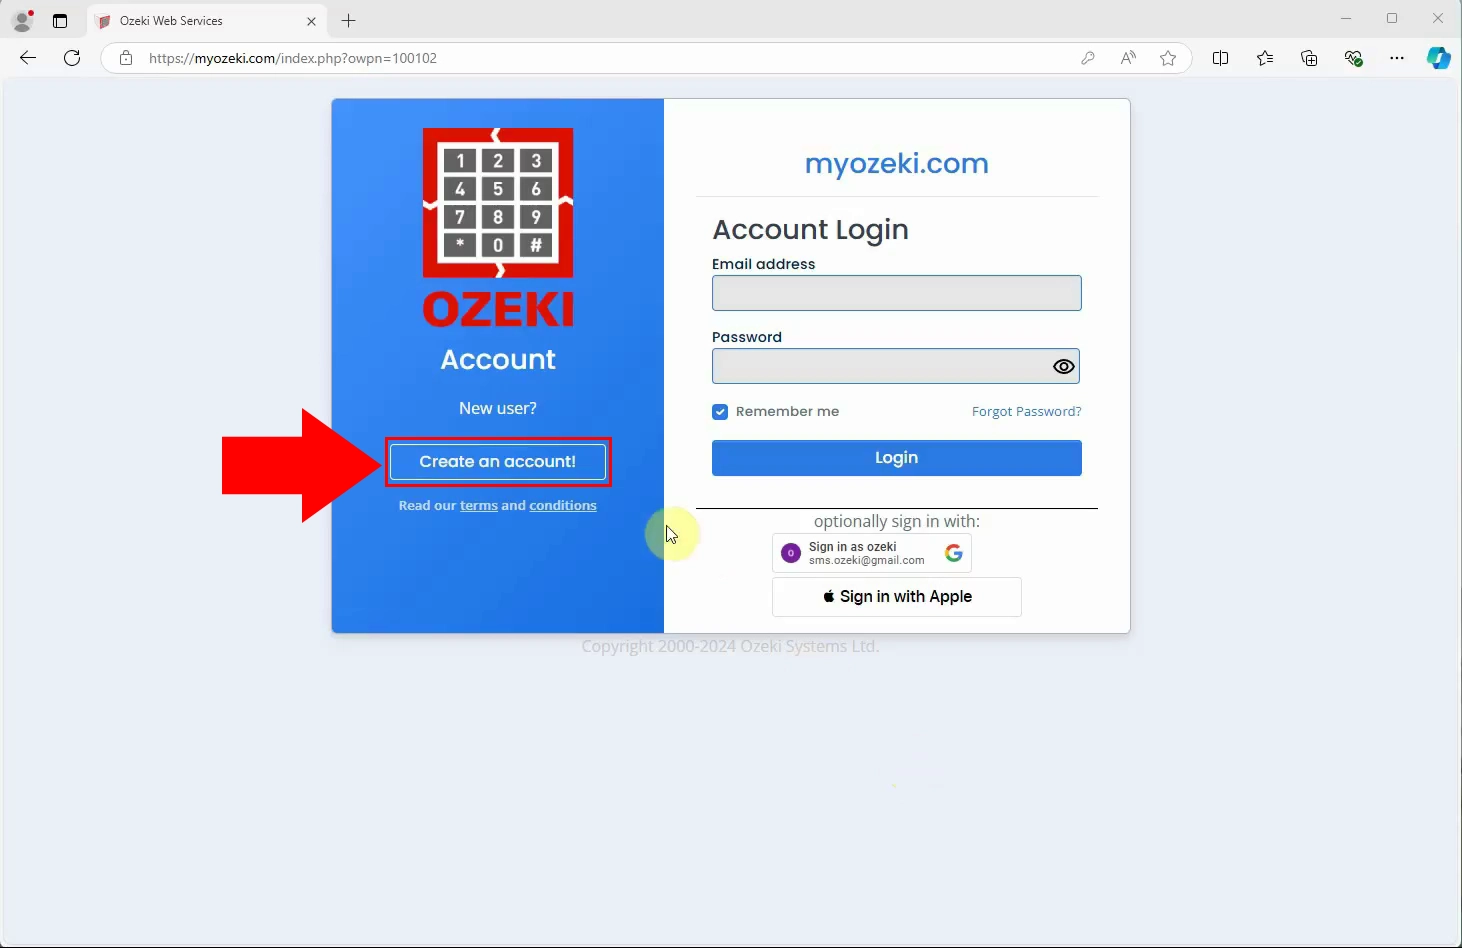
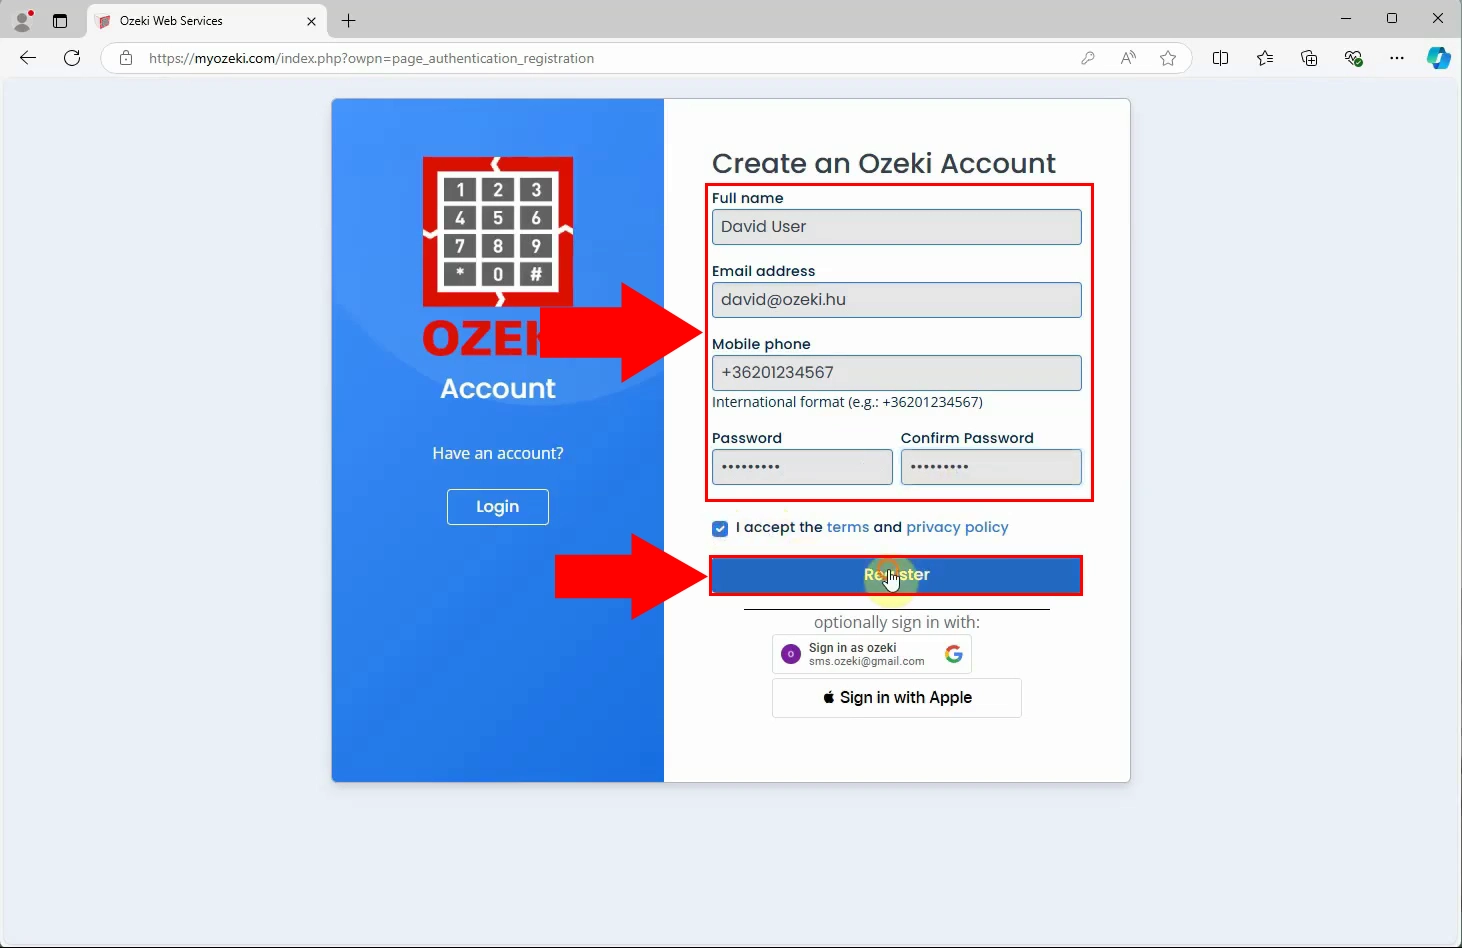
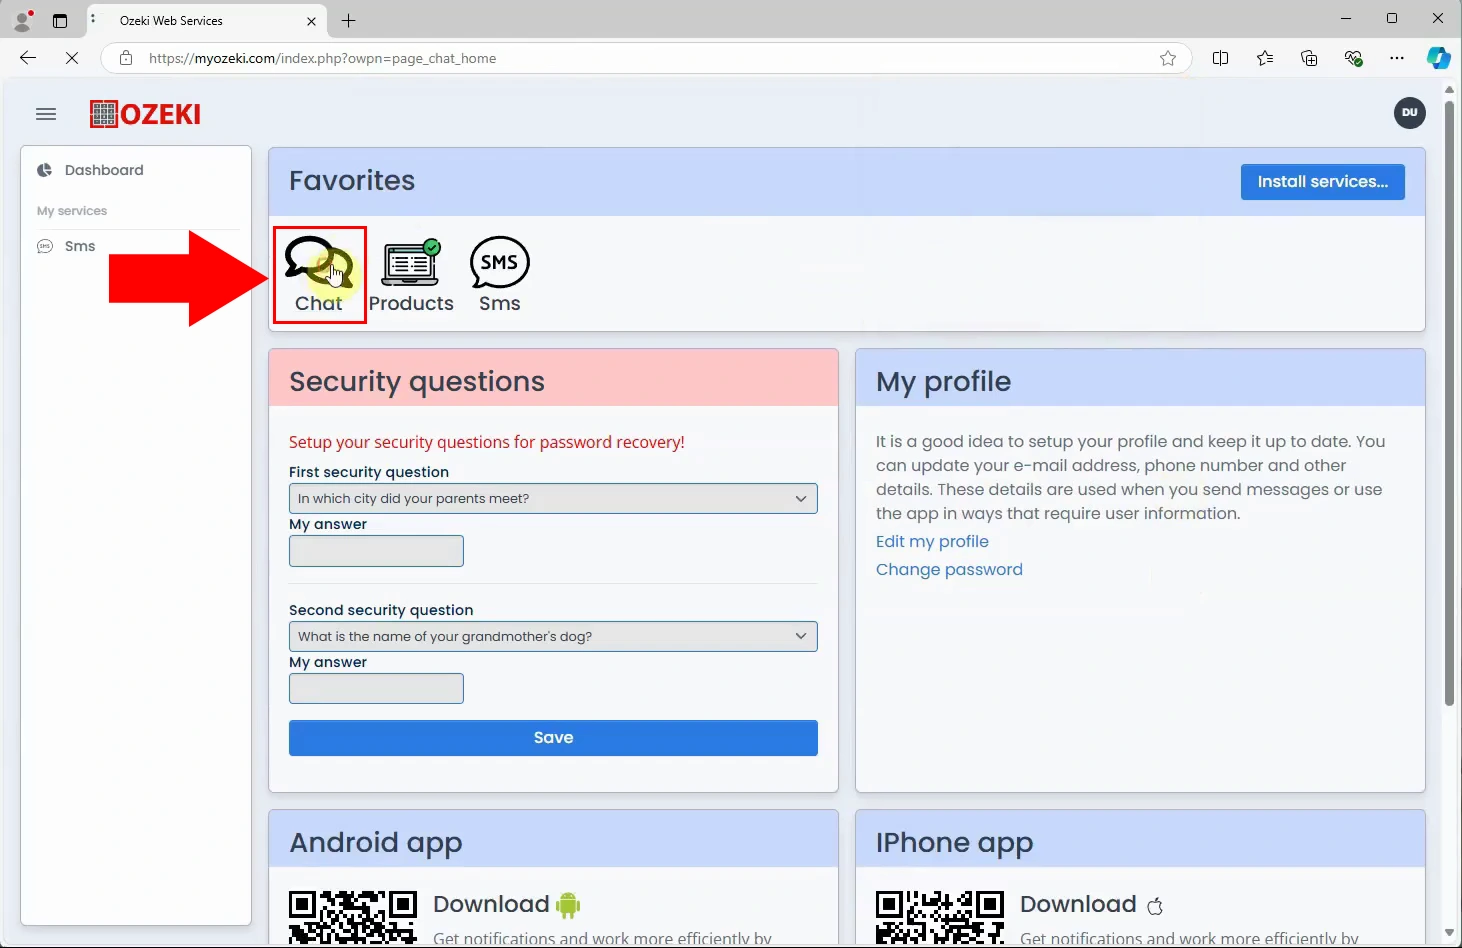
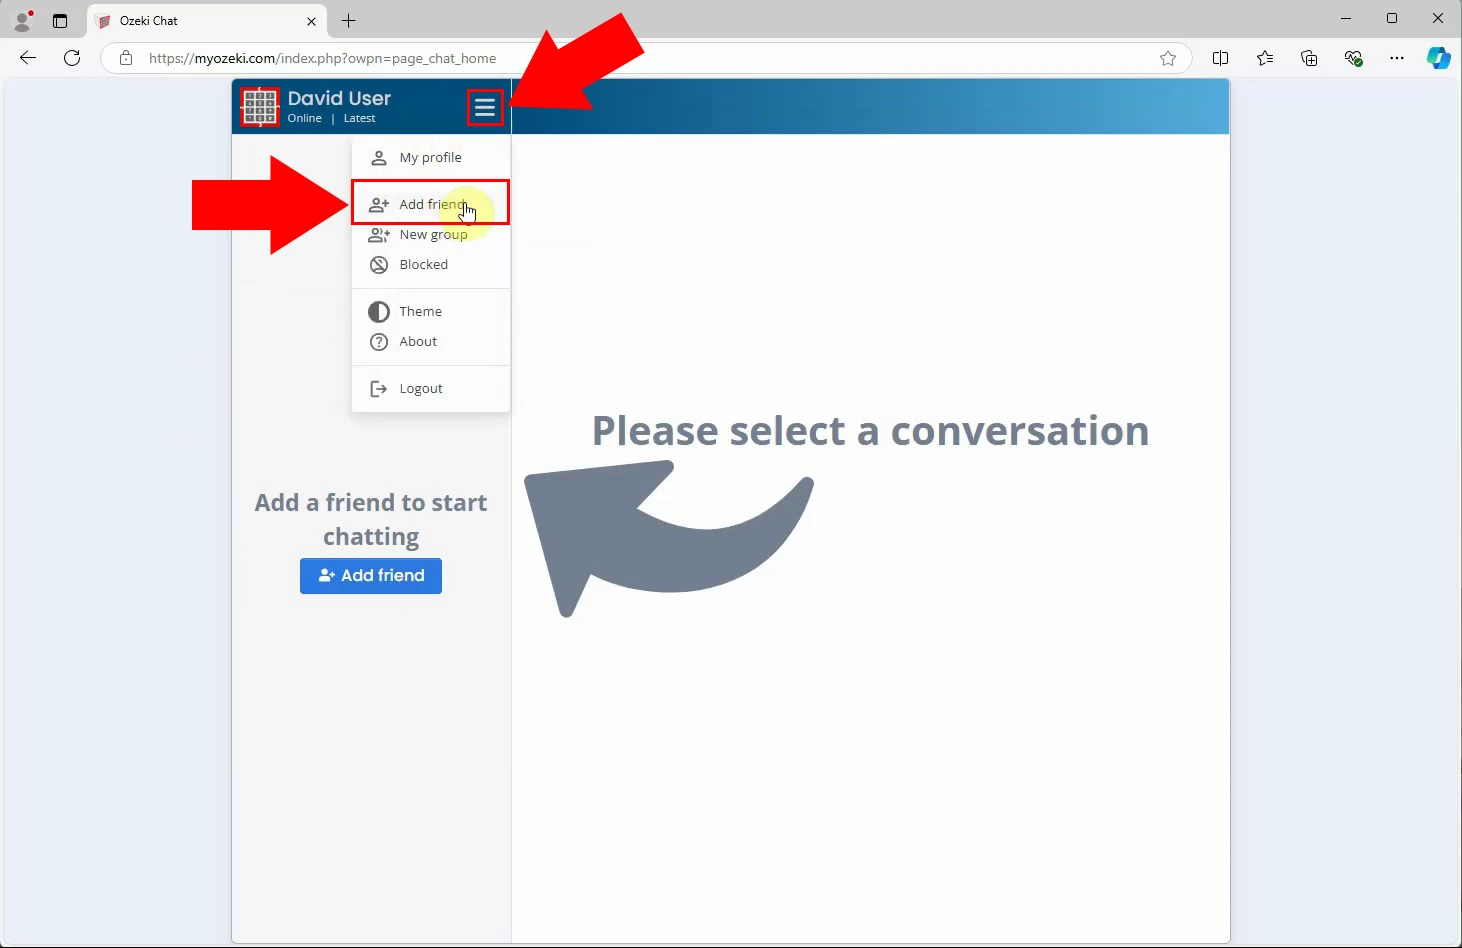
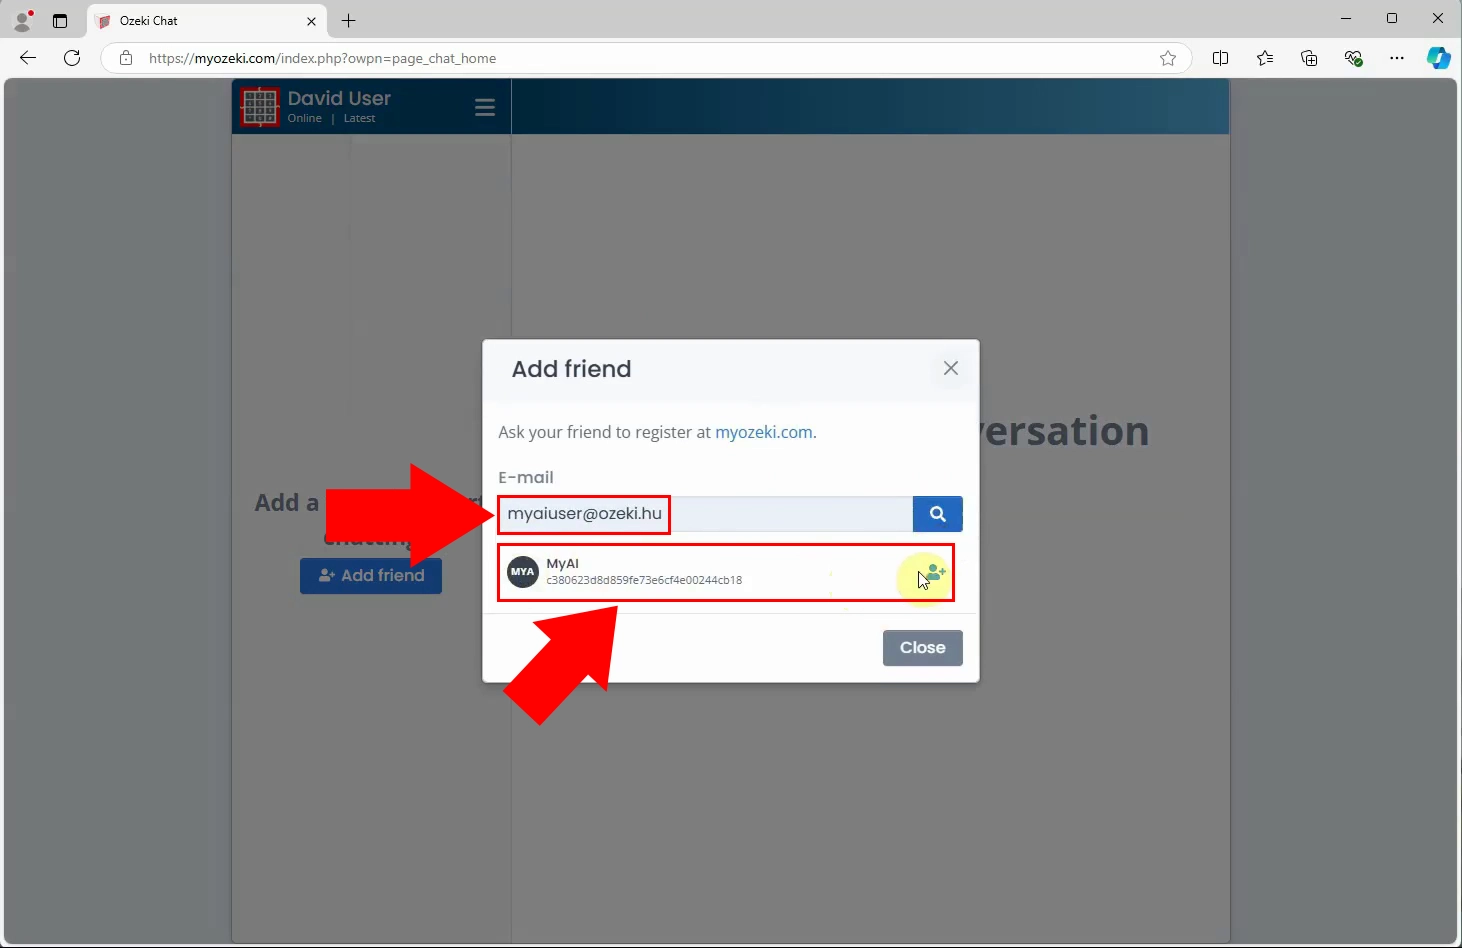
Register MyOzeki user and add AI bot as friend
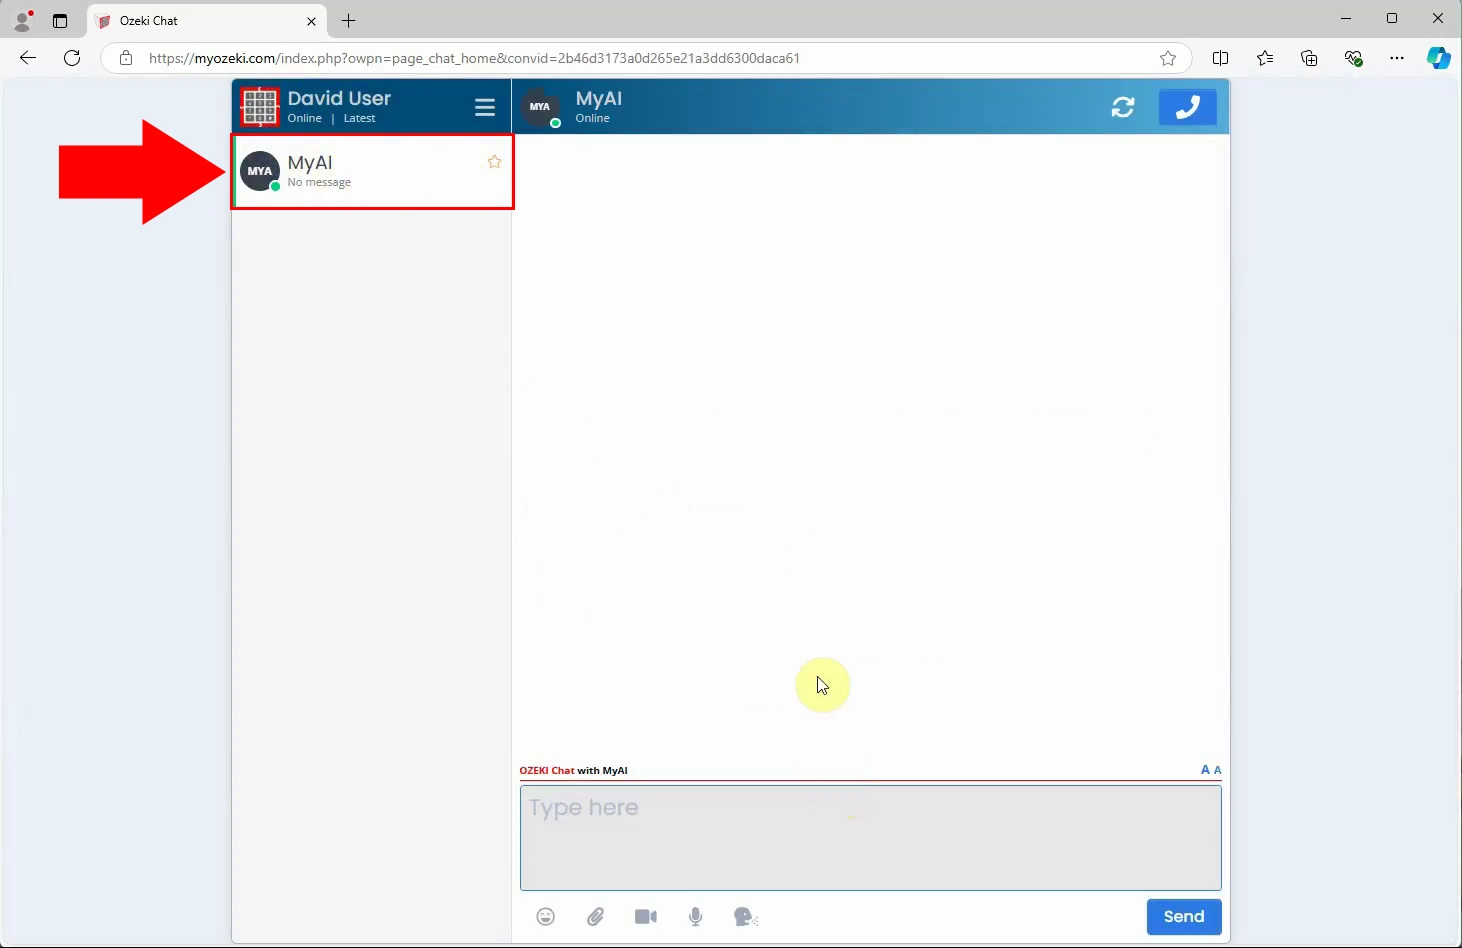
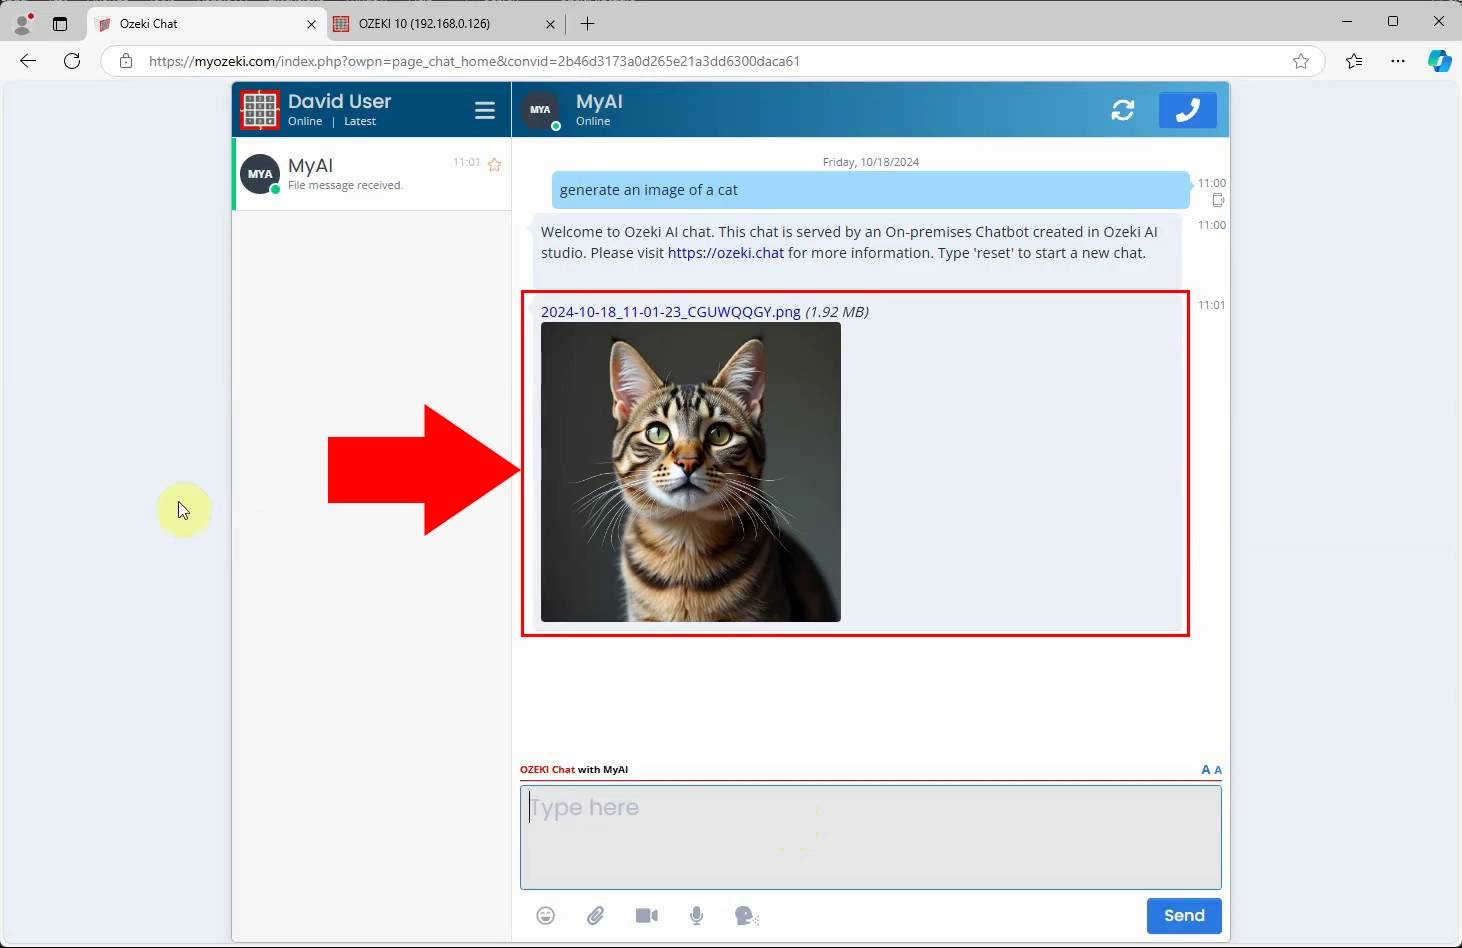
Generate image from MyOzeki chat
More information
- How to create chat bots with AI
- How to analyze websites with AI
- How to answer e-mails with AI
- Use voice talk to your AI chat bot with a microphone and speaker
- How to answer and make phone calls with AI
- How to run AI queries using SQL
- Text to image AI models (Flux)
- How to create coding assistant with AI

