
How to setup an AI chat bot
Setting up a personalized chat bot can seem like a complex task, but with the right tools and guidance, it becomes a straightforward process. In this article, you'll learn how to install Ozeki Chat Server, integrate a GGUF-based language model, and configure a fully functional chat bot accessible through your ozeki.chat workspace's messaging interface.
What is a GGUF file?
GGUF stands for "GPT-Generated Unified Format".
It is a format used to store pre-trained AI language models. It enables efficient use of these models by applications like Ozeki AI Studio, allowing for smooth integration and operation. The GGUF format is designed to optimize performance while ensuring compatibility with a wide range of hardware, making it a versatile choice for deploying advanced AI models.
Creating and connecting an AI chat bot to an Ozeki Chat Account (brief overview)
- Download, install and run Ozeki Chat Server
- Download GGUF file of desired LLM model from Hugging Face
- Create AI Model and Chat bot in AI Studio
- Create myozeki.com account for Chat bot
- Connect myozeki.com and Chat bot using Chat Gateway
- Add Chat bot as friend on myozeki.com and test it
Step 1. Install Ozeki Chat Server
In this tutorial video, you'll learn how to download, install, and start Ozeki Chat Server on your system. The video begins by guiding you to the Ozeki Chat website and locating the Downloads page. From there, you'll be shown how to download the latest version of the Ozeki Chat Server, unzip the installation package, run the installer and start the service.
Download the Ozeki Chat installer, and run it. It should look similar to Figure 1. Let the installation wizard finish, then run OZEKI 10.

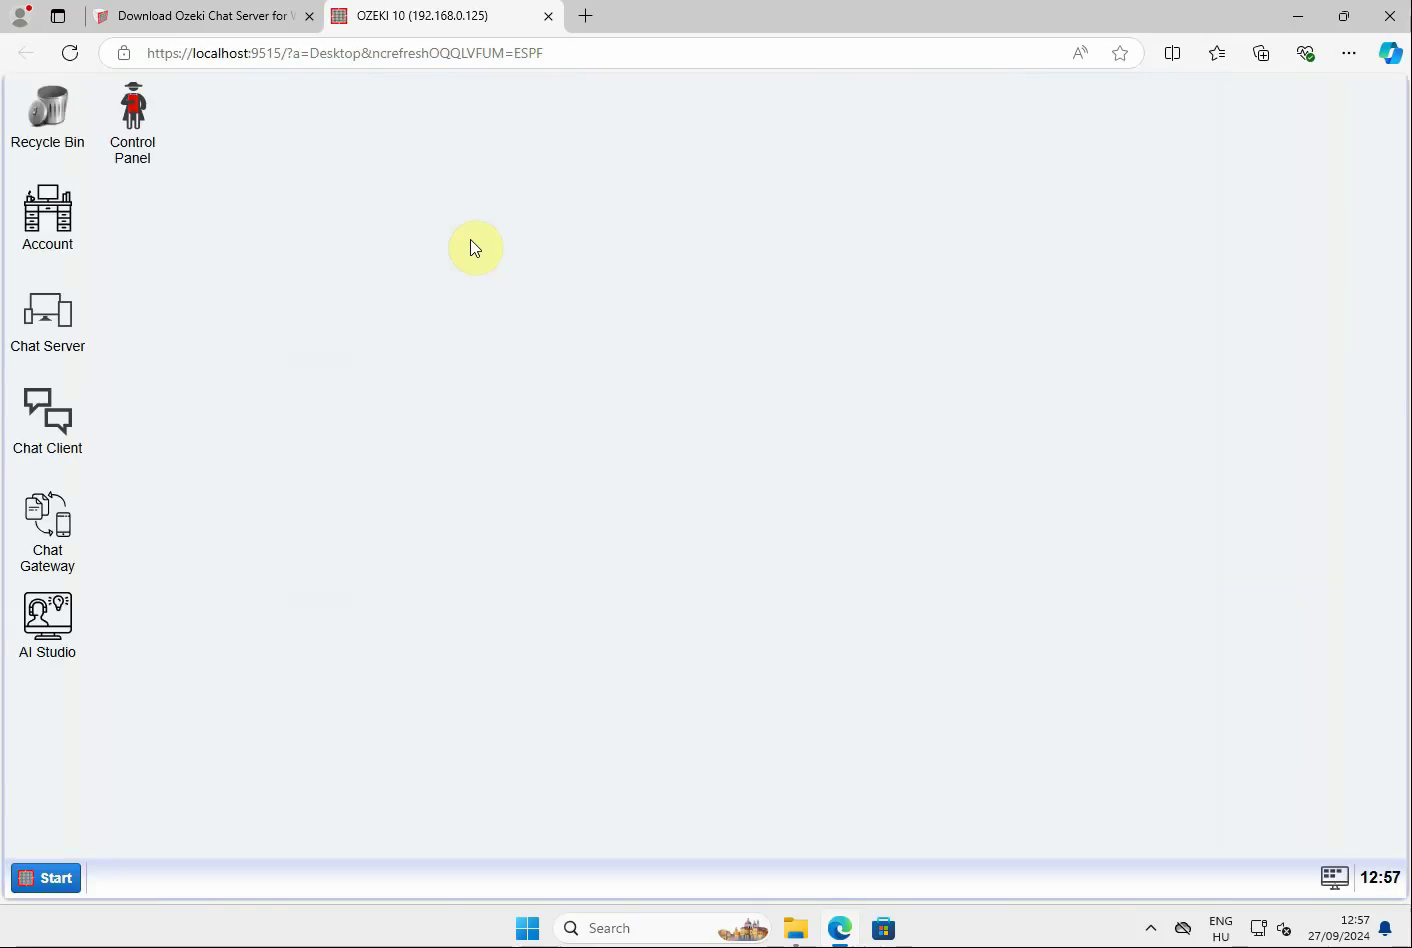
A successful installation will take you to the homepage of OZEKI 10, as seen in Figure 2.
Step 2. Download LLama 3 model from Hugging face to c:\AIModels
In the following video, you'll be guided through the process of downloading a GGUF-based language model from Hugging Face to use with Ozeki Chat. The video starts by navigating to huggingface.co, where you'll learn how to access the Models section, filter by Libraries, and search for your preferred GGUF model. Once you've found the right model, the video will show you how to download the GGUF file and properly place it in the C:\AIModels directory, preparing it for integration with your Ozeki Chat setup.
Navigate to the huggingface.co website, highlighted in Figure 3.

Click the Models tab near the top edge of the screen, filter for Libraries, then GGUF in the left panel, as you can see in Figure 4.

Search for the model you wish to install, and click it (Figure 5). In this example, we'll be using the following model:
Meta-Llama-3.1-8B-Instruct-hf-Q4_K_M-GGUF

Open the model's Files and versions tab. Look for the .GGUF file and download it, as illustrated in Figure 6.

Locate the file you have just downloaded, and place it in this folder, as depicted in Figure 7:
C:\AIModels

Step 3. Model install + Chat Bot install + Chat in Ozeki AI studio
The video below showcases how to set up and configure an AI chat bot using a GGUF model in AI Studio. The tutorial starts by opening AI Studio, where you'll create a new AI model by selecting the GGUF option and choosing the downloaded file. It then walks you through creating a new chat bot and linking it to the selected AI model. You'll see how to bring the chat bot online and test its functionality by sending messages. Finally, the video covers how to check the Events tab to view the chat bot’s logs and ensure everything is working smoothly.
Inside OZEKI 10, open AI Studio, as demonstrated in Figure 8.

Click AI Models, then click the blue Create new AI Model button, as displayed in Figure 9. After that, select GGUF in the right panel.

From the dropdown menu under Model, select your preferred .GGUF file to use, as outlined in Figure 10, and hit Ok.

This time, click Chat bots, then Create new Chat bot right below it, as presented in Figure 11. In the appearing right panel, select AI chat.

From the dropdown menu under AI Model, select the model you wish to use, in our case, the one we have just created, as visualized in Figure 12, and hit Ok.

Enable the Chat bot by sliding the toggle under Status, as shown below in Figure 13.

Open your Chat bot's page by clicking on it, as captured in Figure 14.


Click the Events page to access your Chat bot's log. If everything works correctly, you should see reports similar to Figure 16.

Step 4. Register chat account at myozeki.com (myai@ozeki.hu)
In this tutorial, you'll be guided through the process of creating an account for your AI chat bot on myozeki.com. The video starts by showing you how to navigate to the website and access the account creation page. From there, you'll learn how to fill out the necessary credentials for your chat bot's account and complete the registration process. By the end of the video, your AI chat bot will have its own dedicated myozeki.com account, ready for further configuration and integration.
Navigate to myozeki.com and click Create an Account, as portrayed by Figure 17.

Enter the credentials of your Chat bot's account, and click Register, as seen in Figure 18.

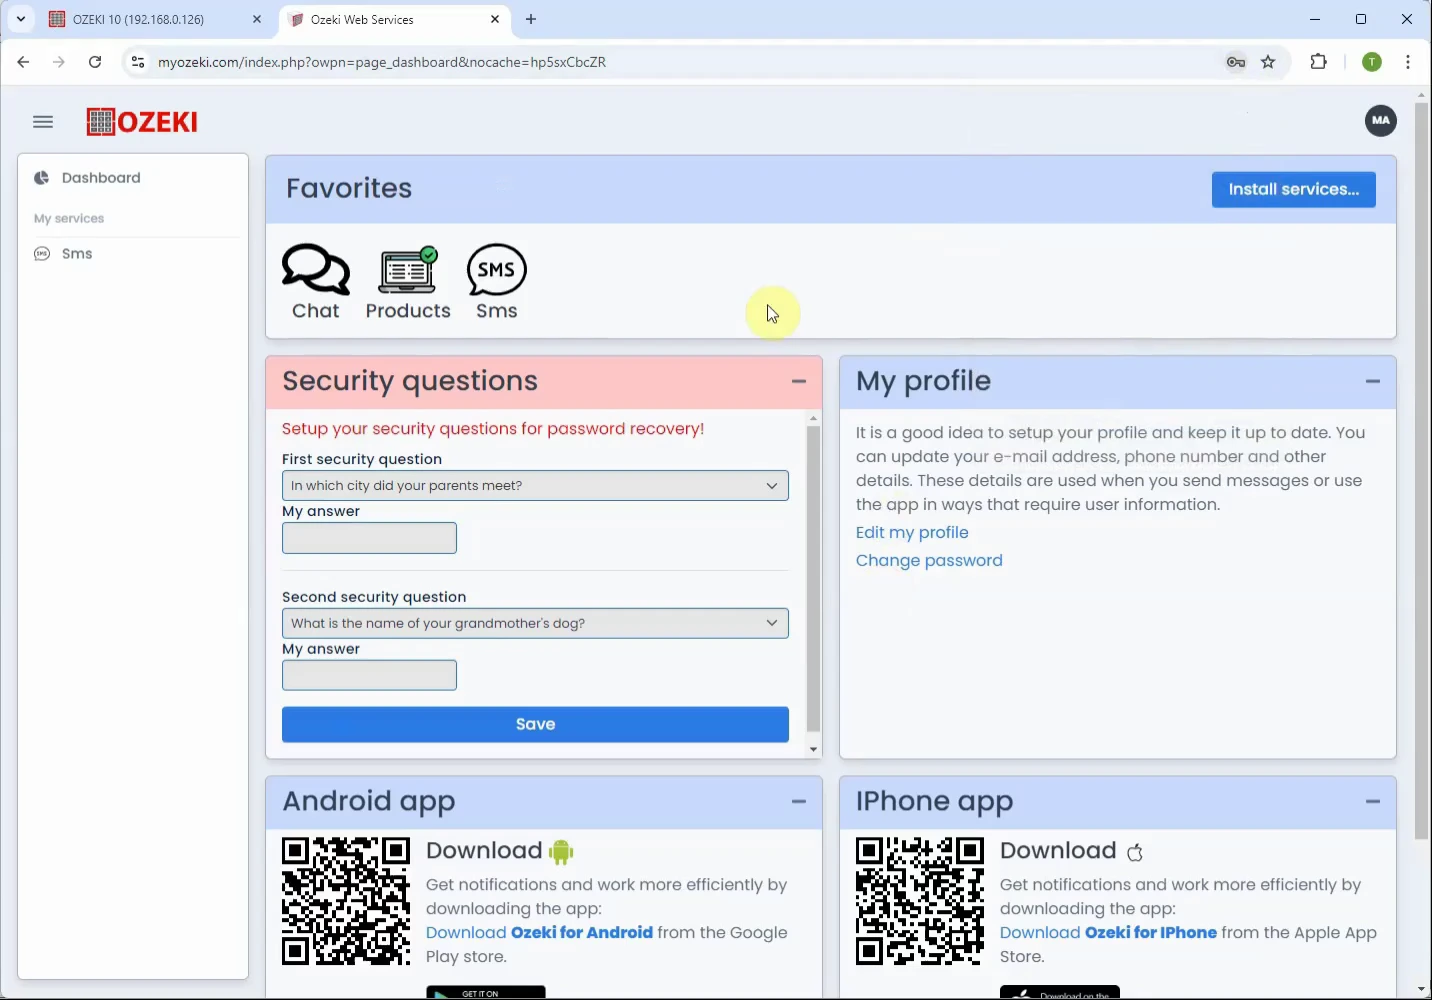
After a successful registration, you should land on a page just like Figure 19.
Step 5. Chat gateway setup, install chat account, route to chat bot, alice@ozeki.hu to myai@ozeki.hu chat in browser
The last video in this article walks you through how to connect your AI chat bot to the Ozeki Chat system using Ozeki Chat Gateway. The tutorial begins by showing you how to add a new chat account in the Chat Gateway, install the Ozeki chat account, and input the credentials of the AI bot you previously created. You'll then see how to set the connection to online and configure both incoming and outgoing message routes. Finally, the video demonstrates how to log into your own myozeki.com account, add the AI bot as a friend, and test the chat bot by sending messages to ensure everything is functioning correctly.


Log in to your own myozeki.com account, and open the Chat interface. Click the burger icon, and select Add friend from the dropdown menu, as visualized in Figure 29.

Enter the email address you used to create an account for your bot and click the magnifying glass icon to search for the account. Once found, click the user icon with the plus symbol next to it to add them, as demonstrated by Figure 30.

To bring up the messaging with your bot, click on its name. Send a couple of test messages. If it's working, you'll get coherent answers, related to or answering your prompts (Figure 31).

To sum it up
In conclusion, this guide has walked you through the entire process of setting up a powerful, locally-hosted chat bot using Ozeki Chat Server and a GGUF-based language model. From installing the Ozeki Chat Server and setting up your local AI model to configuring the bot's interaction with myozeki.com, each step was designed to ensure a seamless integration. By creating a myozeki.com account, routing messages through the Chat Gateway, and testing interactions, you've equipped yourself with a fully functional AI chat bot, ready to handle direct communication through your Ozeki chat interface.
Now, your chat bot is online, responsive, and easily accessible, offering a personalized interaction tool that can be extended or customized further. Whether for personal or business use, you can enhance communication with this powerful setup.
What models can I use with AI Studio?
AI Studio supports any model that is provided in the .GGUF format. As long as your device meets the hardware requirements for running the desired model, it can be integrated.
Click to find out the system requirements for running an LLM.
What alternatives do I have to running the LLM locally?
Alternatively, you may choose to connect ChatGPT to Ozeki Chat via an API key.
More information
- How to create chat bots with AI
- How to analyze websites with AI
- How to answer e-mails with AI
- Use voice talk to your AI chat bot with a microphone and speaker
- How to answer and make phone calls with AI
- How to run AI queries using SQL
- Text to image AI models (Flux)
- How to create coding assistant with AI