How to analyse websites with an AI assistant
Download an AI model Huggingface.co
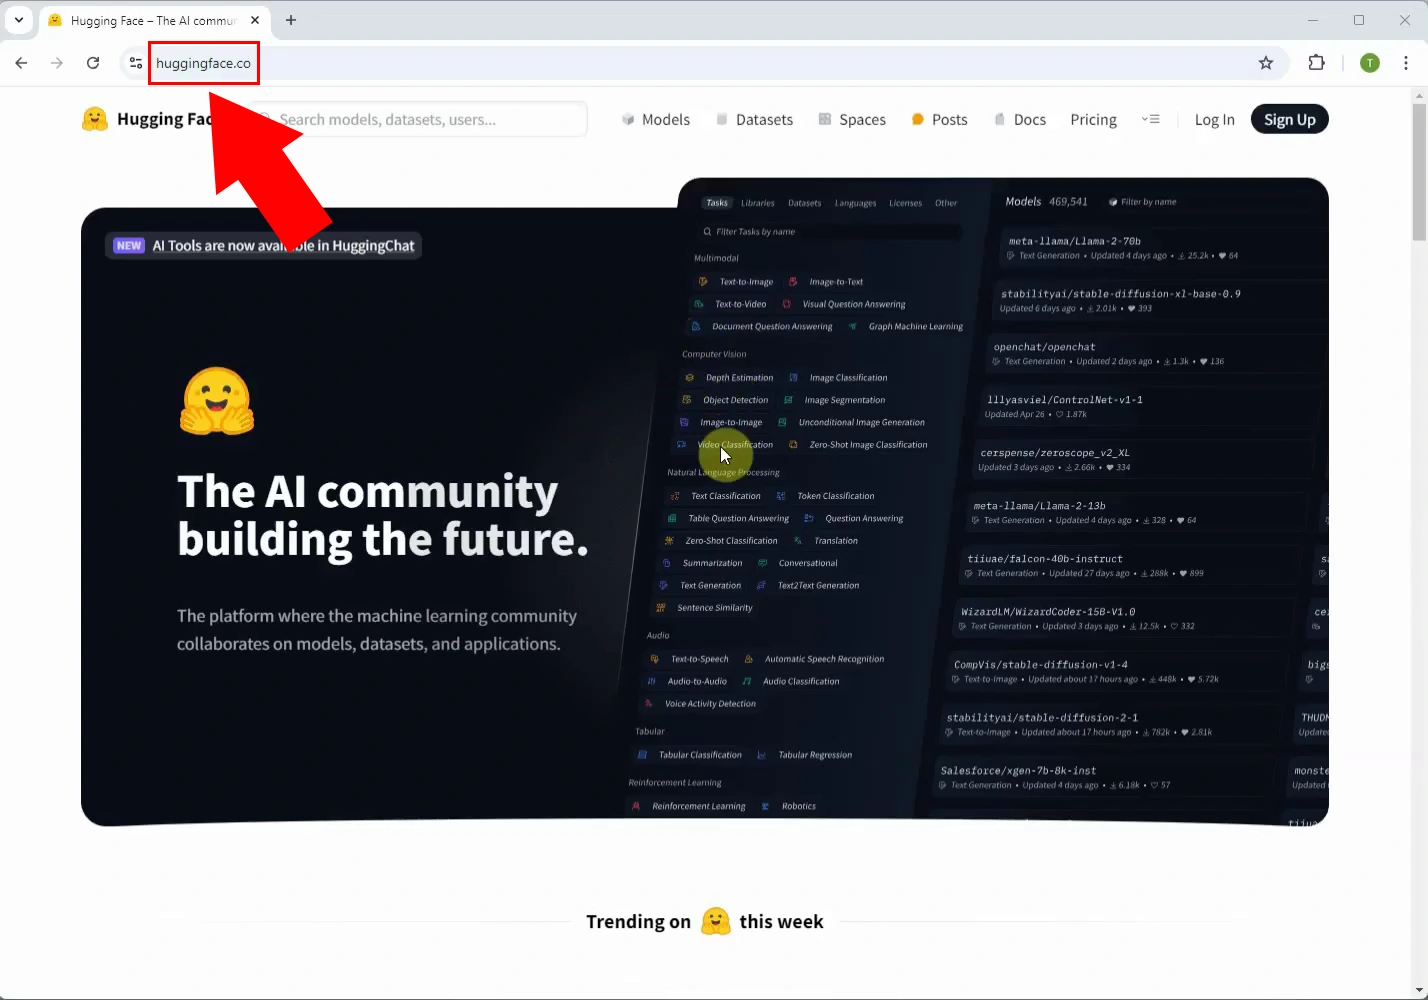
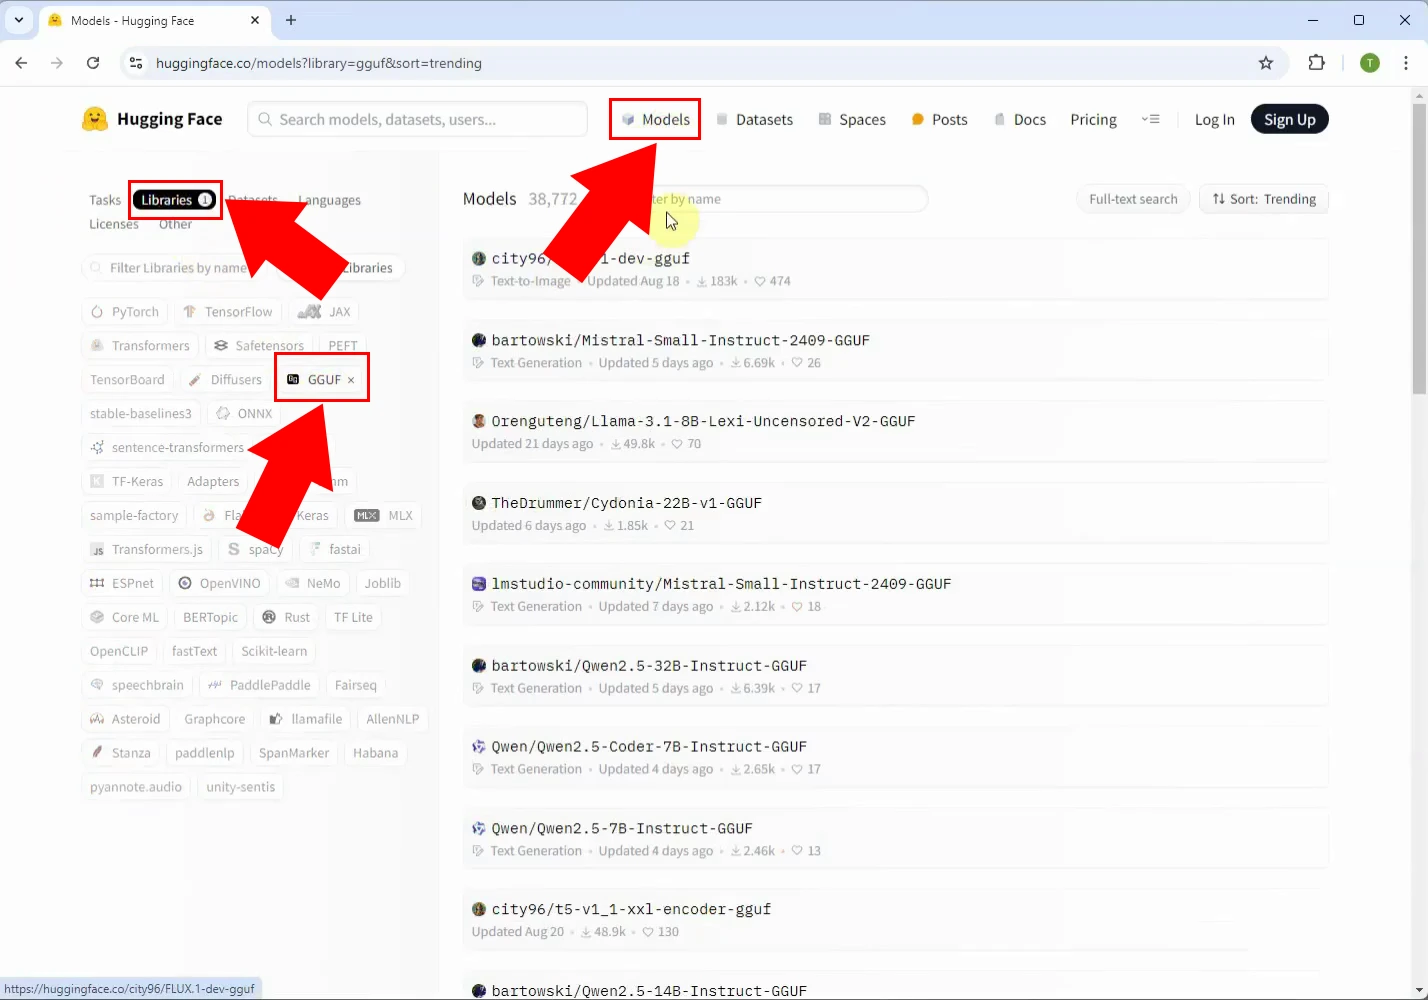
To start, navigate to the Hugging Face website by visiting huggingface.co. Once there, click on the Models tab at the top of the page. To narrow down your search, use the filters available and select the option for Libraries. Then, filter again for models with the GGUF format.
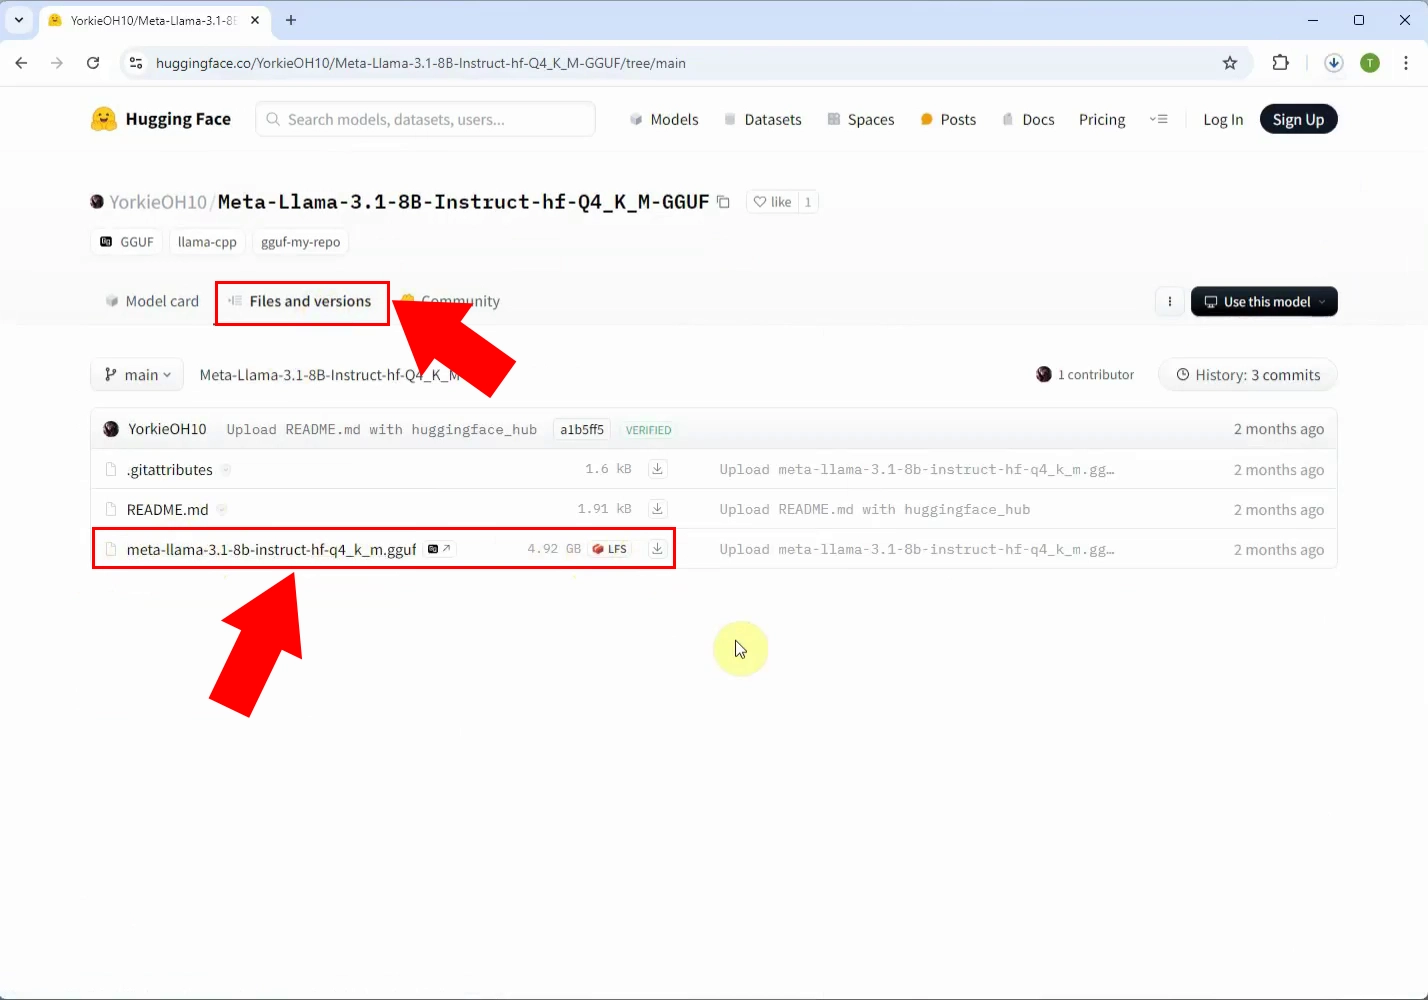
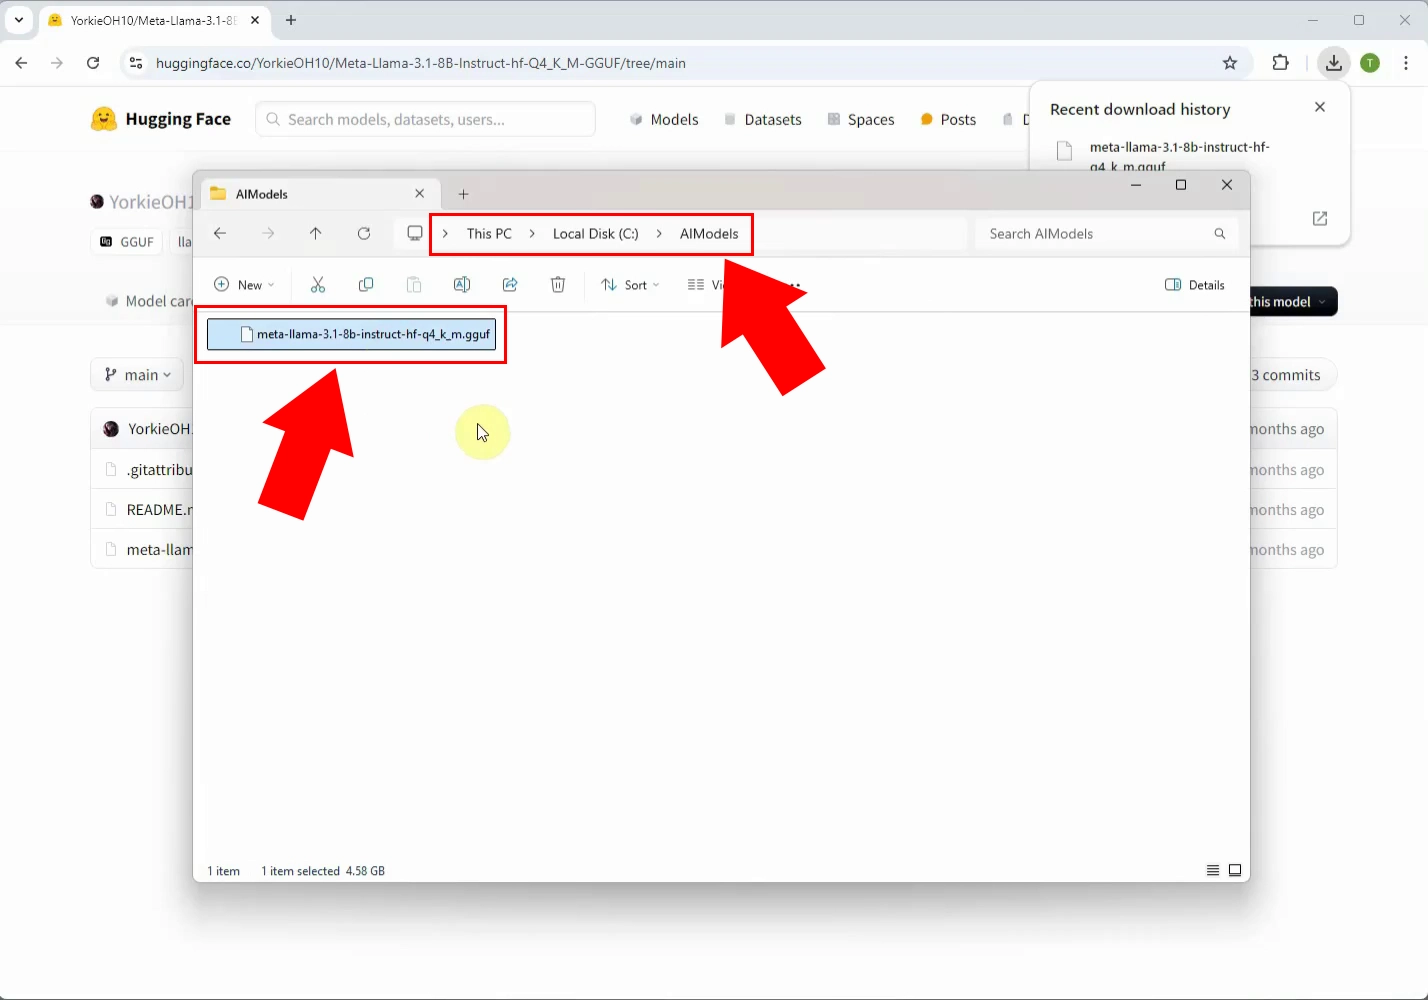
After finding a model you're interested in, download the corresponding .GGUF file to your computer. Once the download is complete, place the model file in the directory C:\AIModels on your system.
Navigate to the huggingface.co website, highlighted in Figure 1.
Click the Models tab near the top edge of the screen, filter for Libraries, then GGUF in the left panel, as you can see in Figure 2.
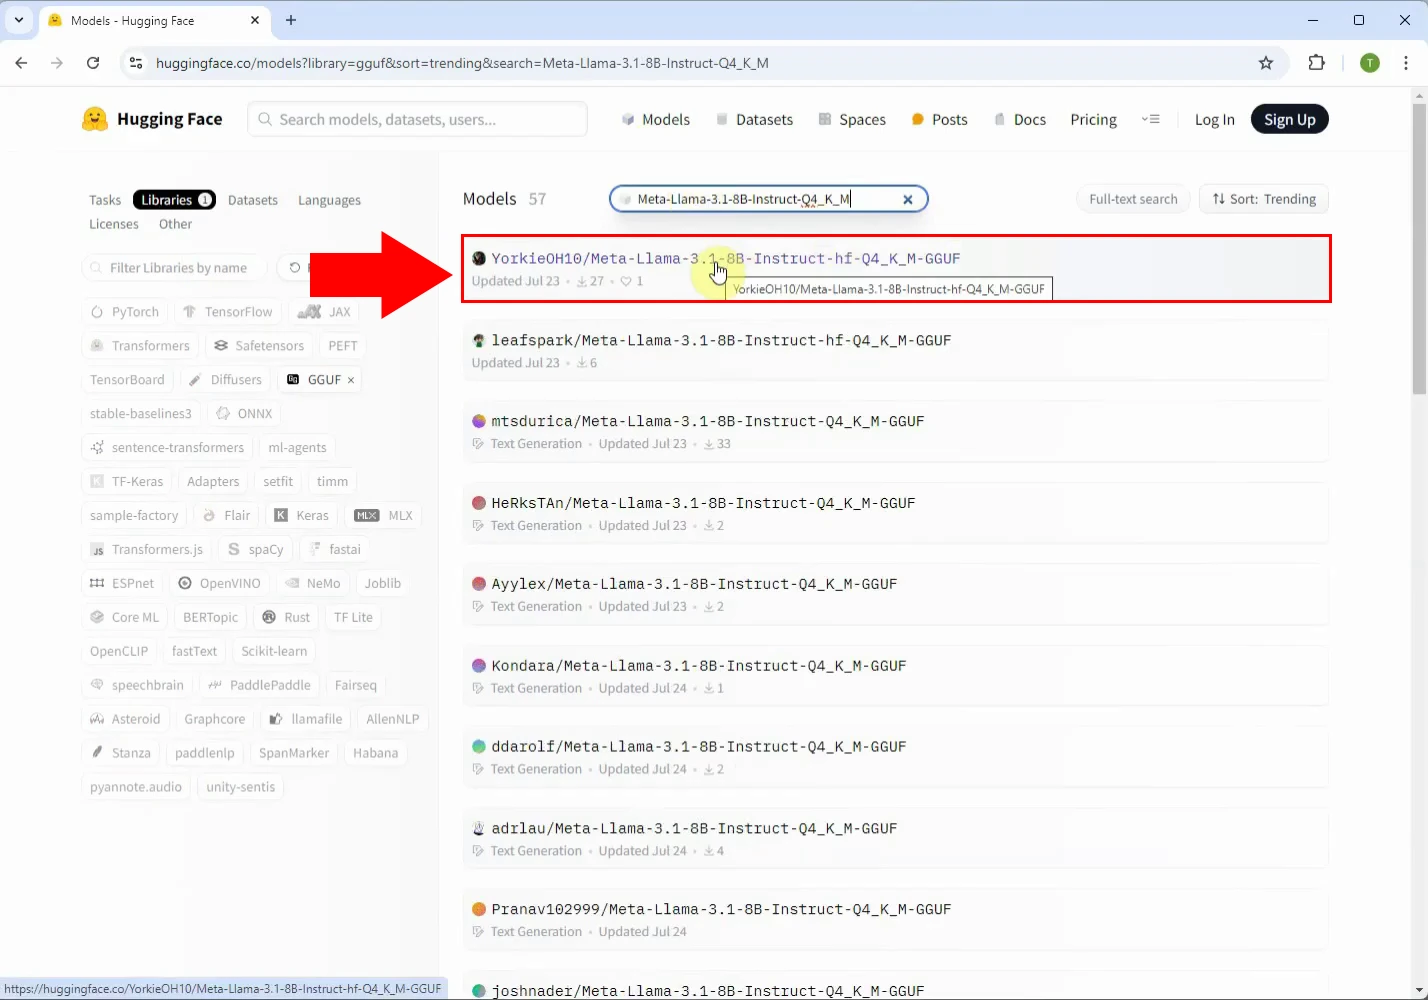
Search for the model you wish to install, and click it (Figure 5). In this example, we'll be using the following model:
Meta-Llama-3.1-8B-Instruct-hf-Q4_K_M-GGUF
Open the model's Files and versions tab. Look for the .GGUF file and download it, as illustrated in Figure 4.
Locate the file you have just downloaded, and place it in this folder, as depicted in Figure 5:
C:\AIModels
Open Ozeki AI studio and setup the model
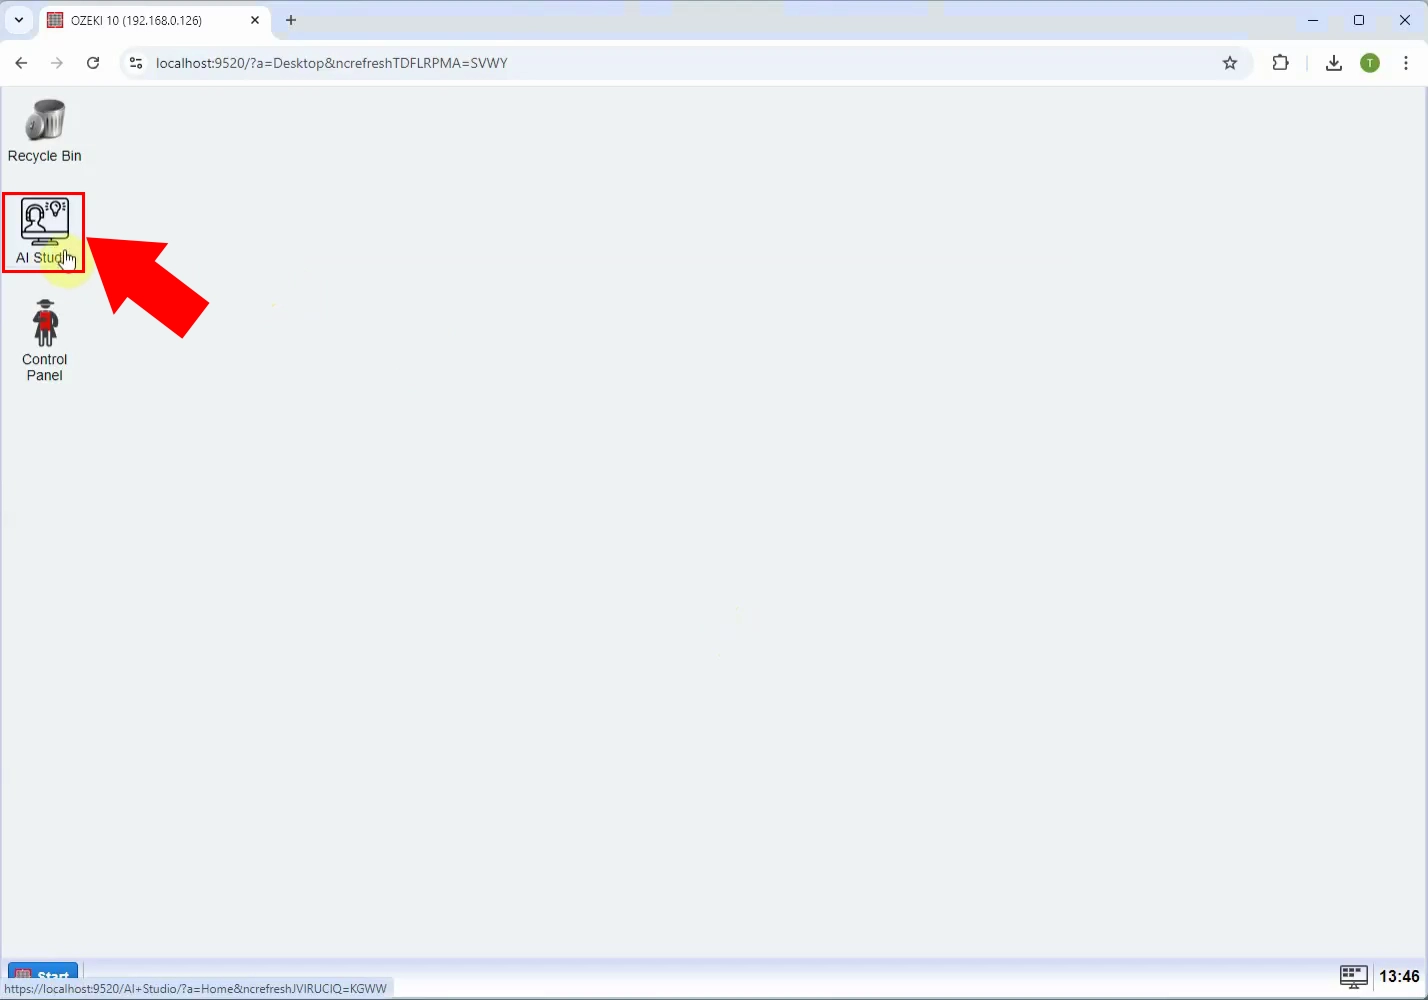
Open OZEKI 10 on your system. Once the program is running, navigate to AI Studio. Inside the studio, locate and click the AI Models button.
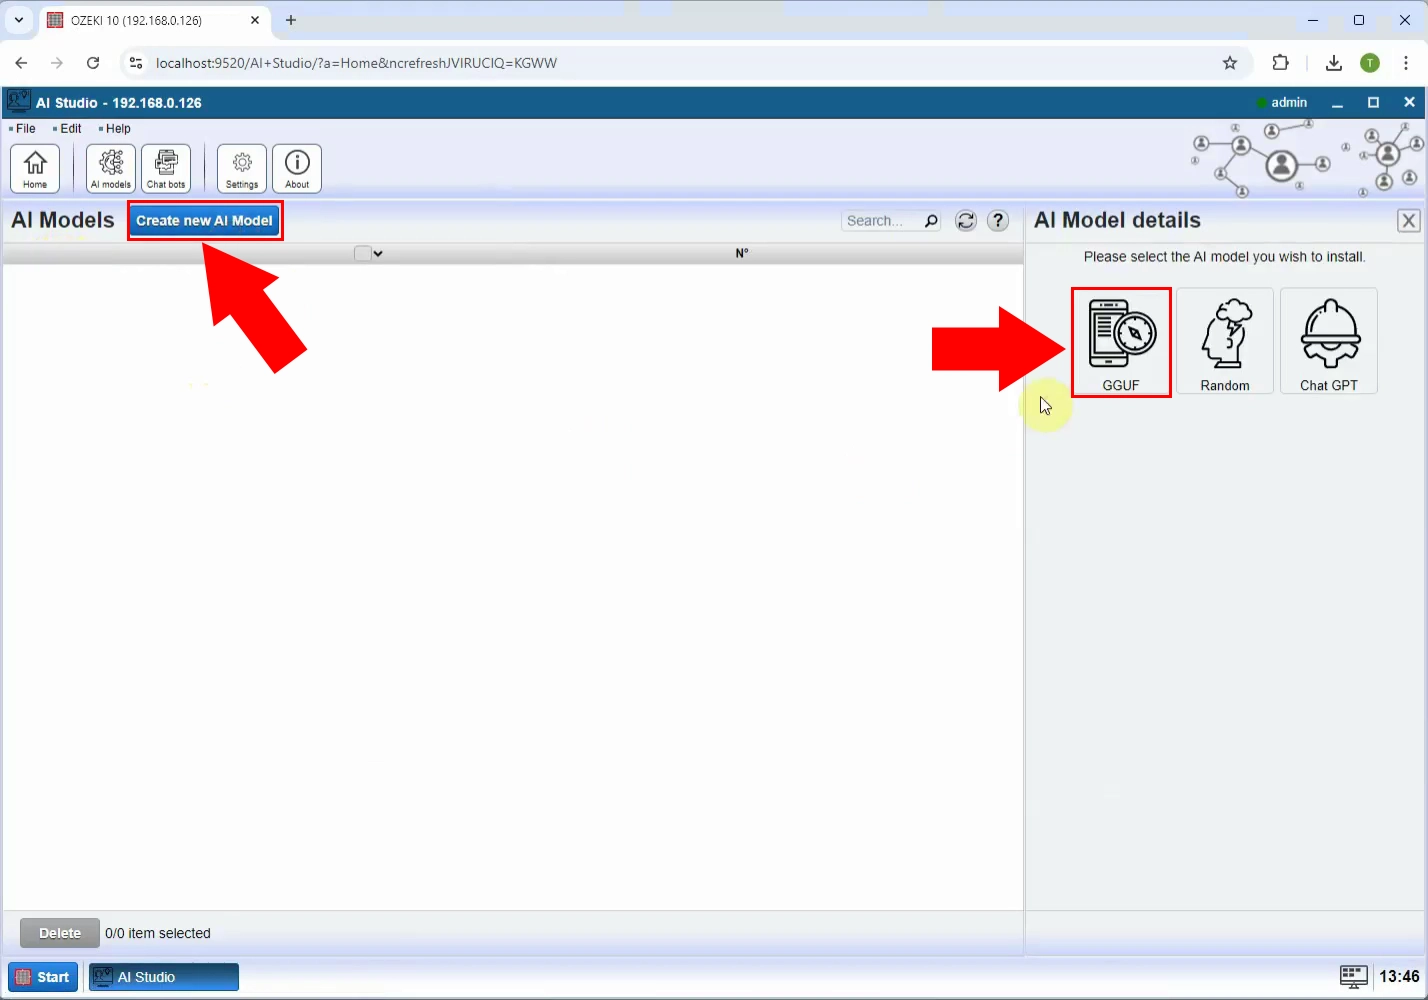
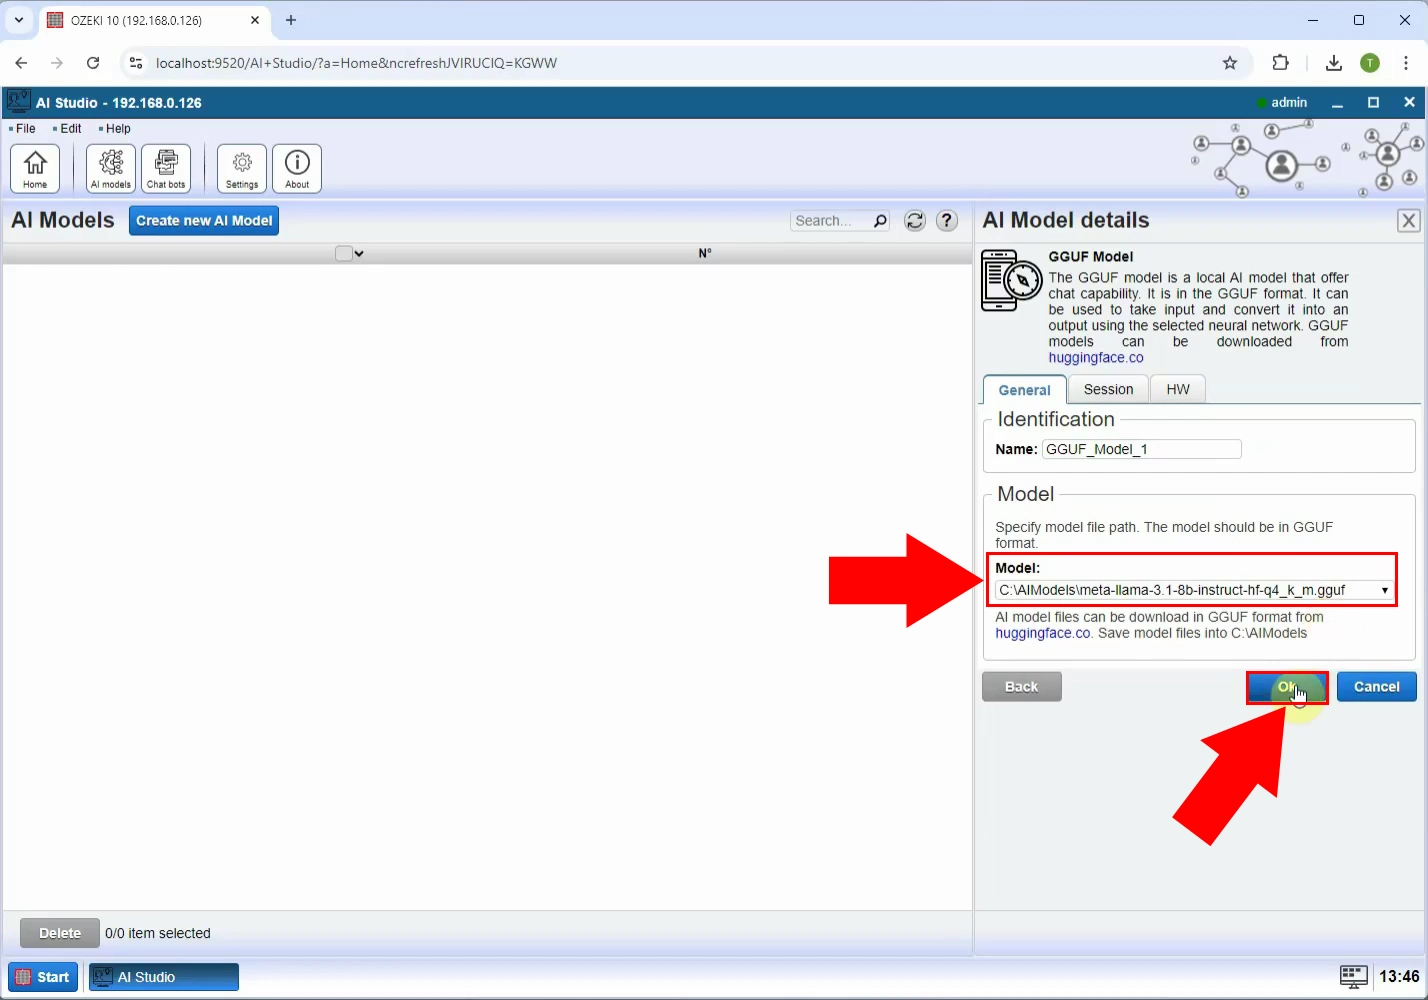
Next, click the Create new AI Model button to start the process of adding a model. From the available options, select GGUF as the model type. Finally, choose your desired model from the dropdown list provided.
Inside OZEKI 10, open AI Studio, as demonstrated in Figure 6.
Click AI Models, then click the blue Create new AI Model button, as displayed in Figure 7. After that, select GGUF in the right panel.
From the dropdown menu under Model, select your preferred .GGUF file to use, as outlined in Figure 8, and hit Ok.
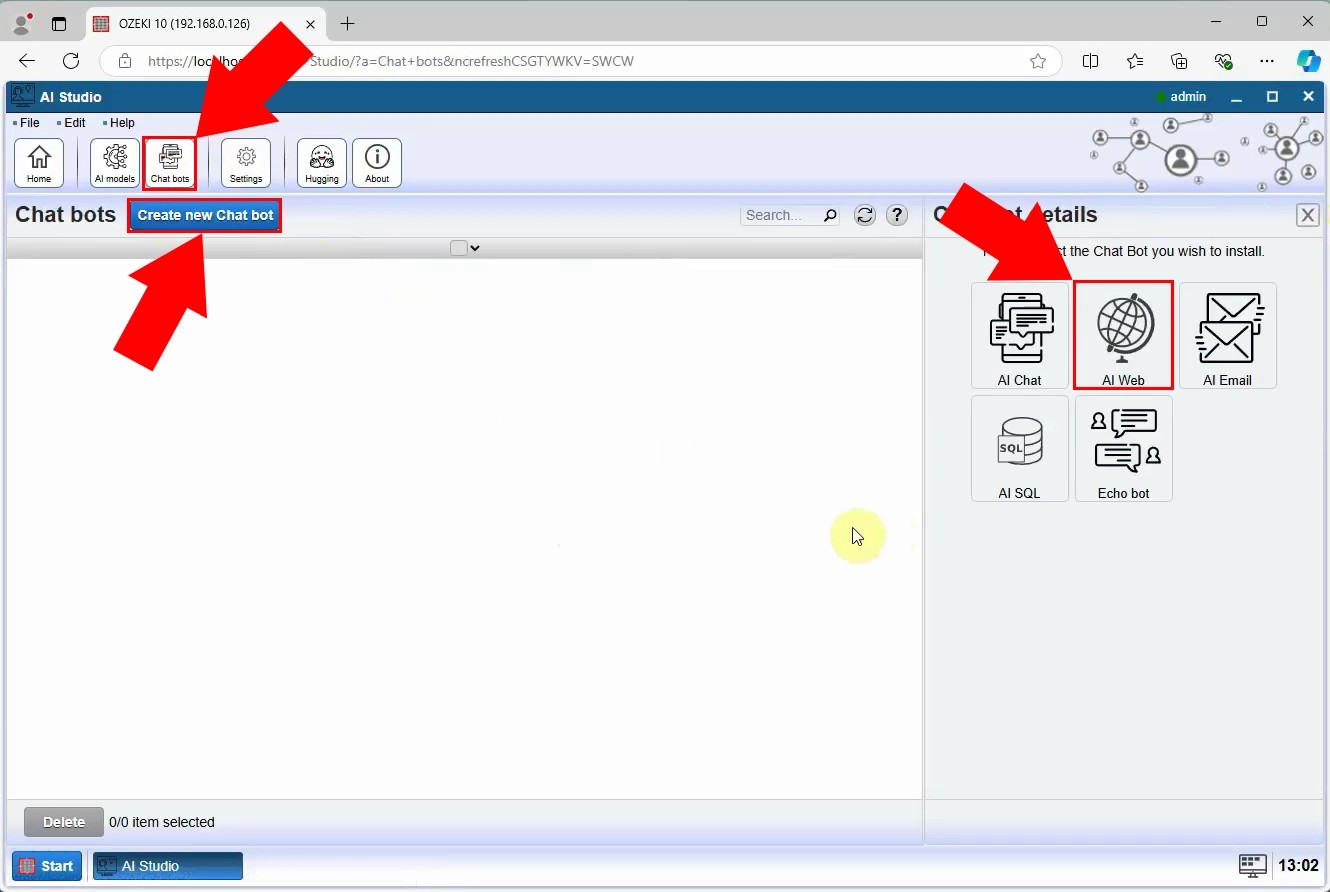
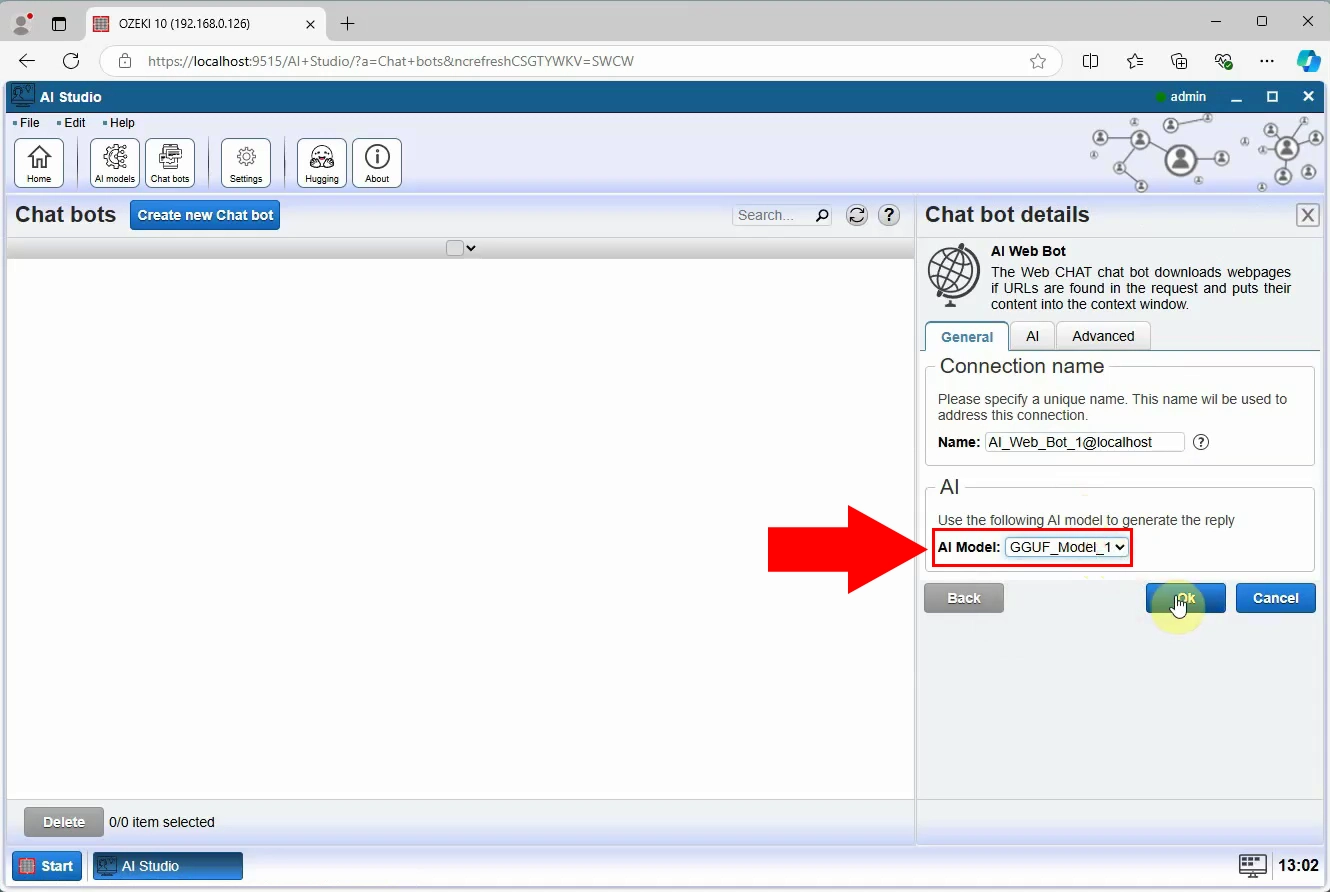
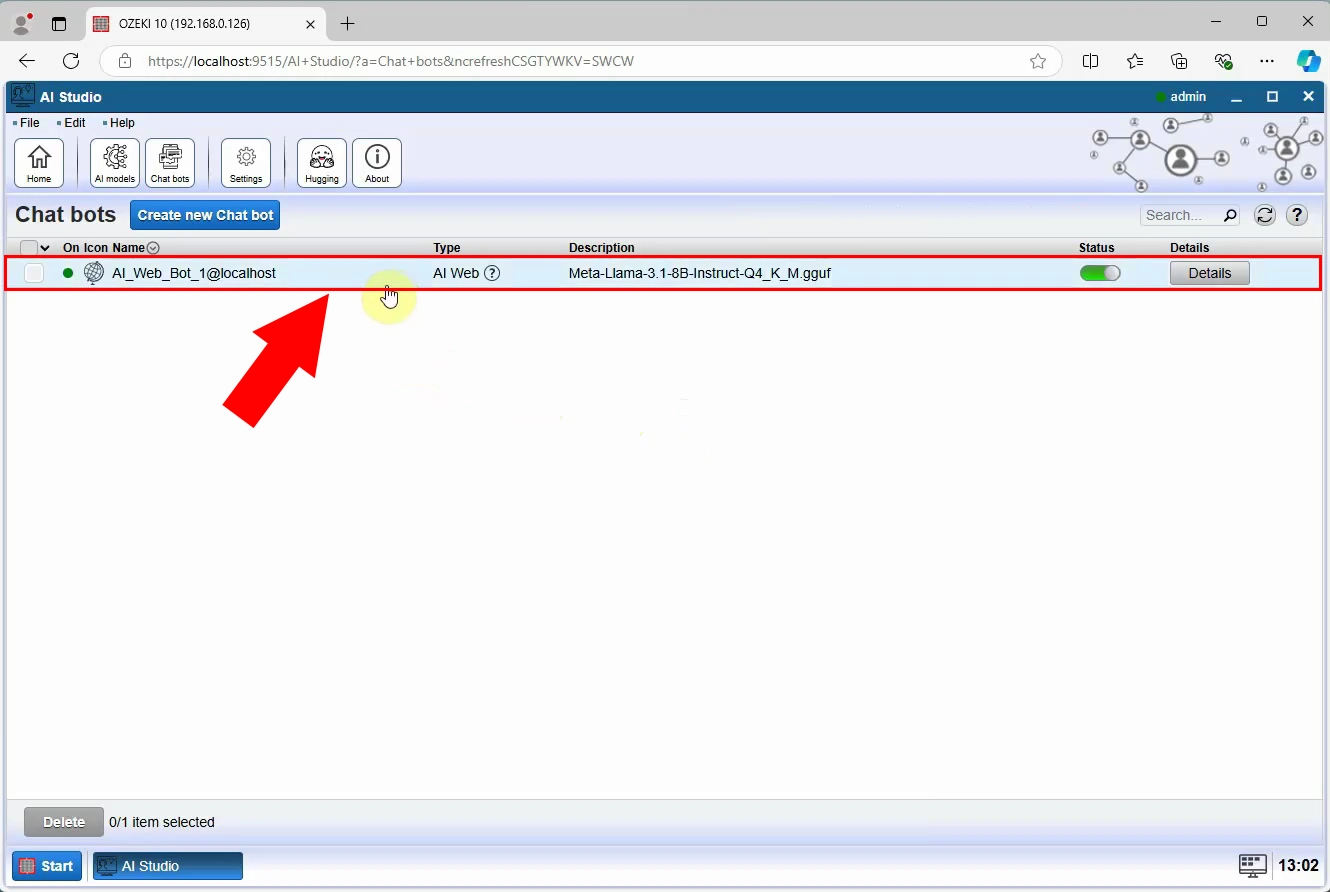
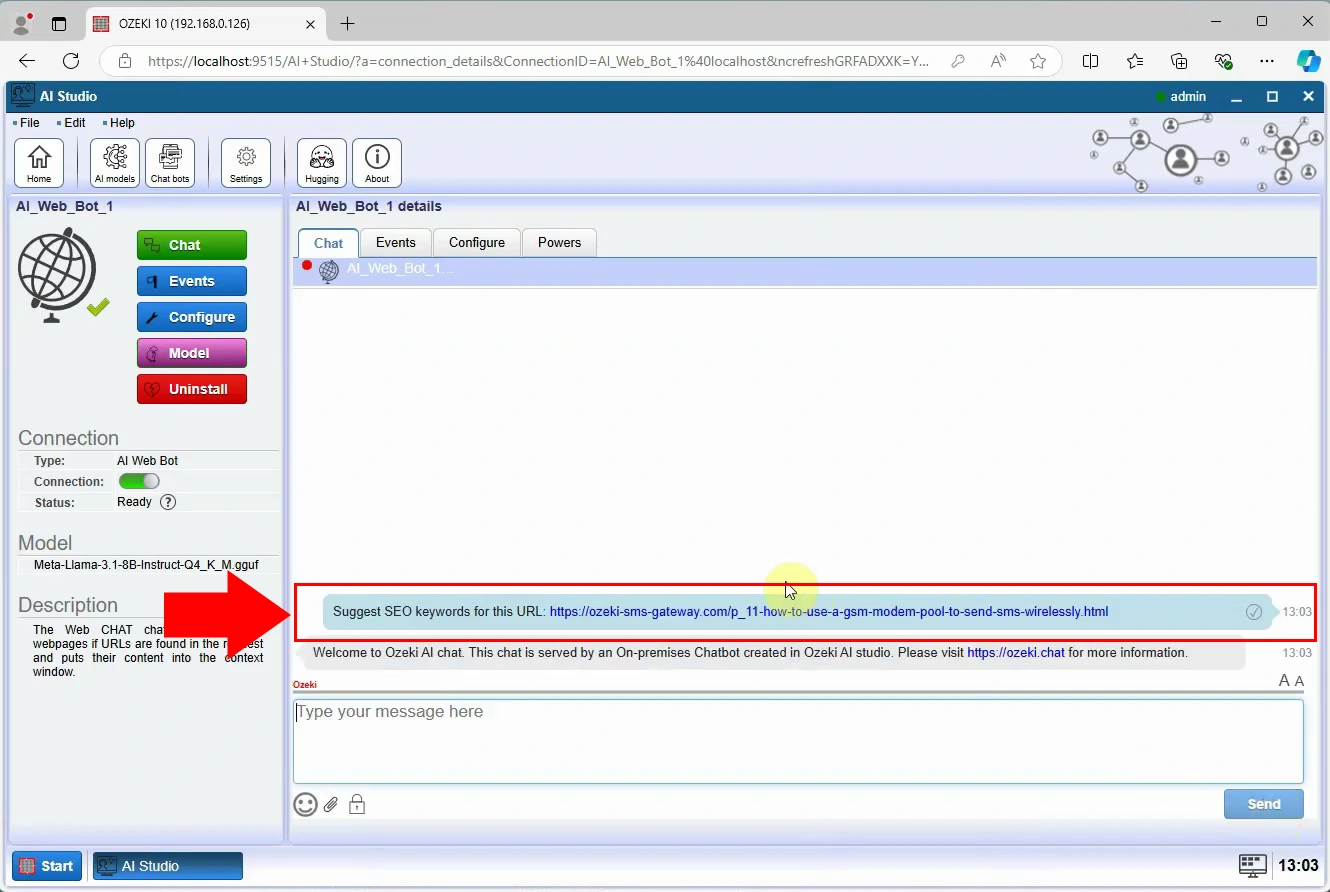
Create Web AI Chat bot
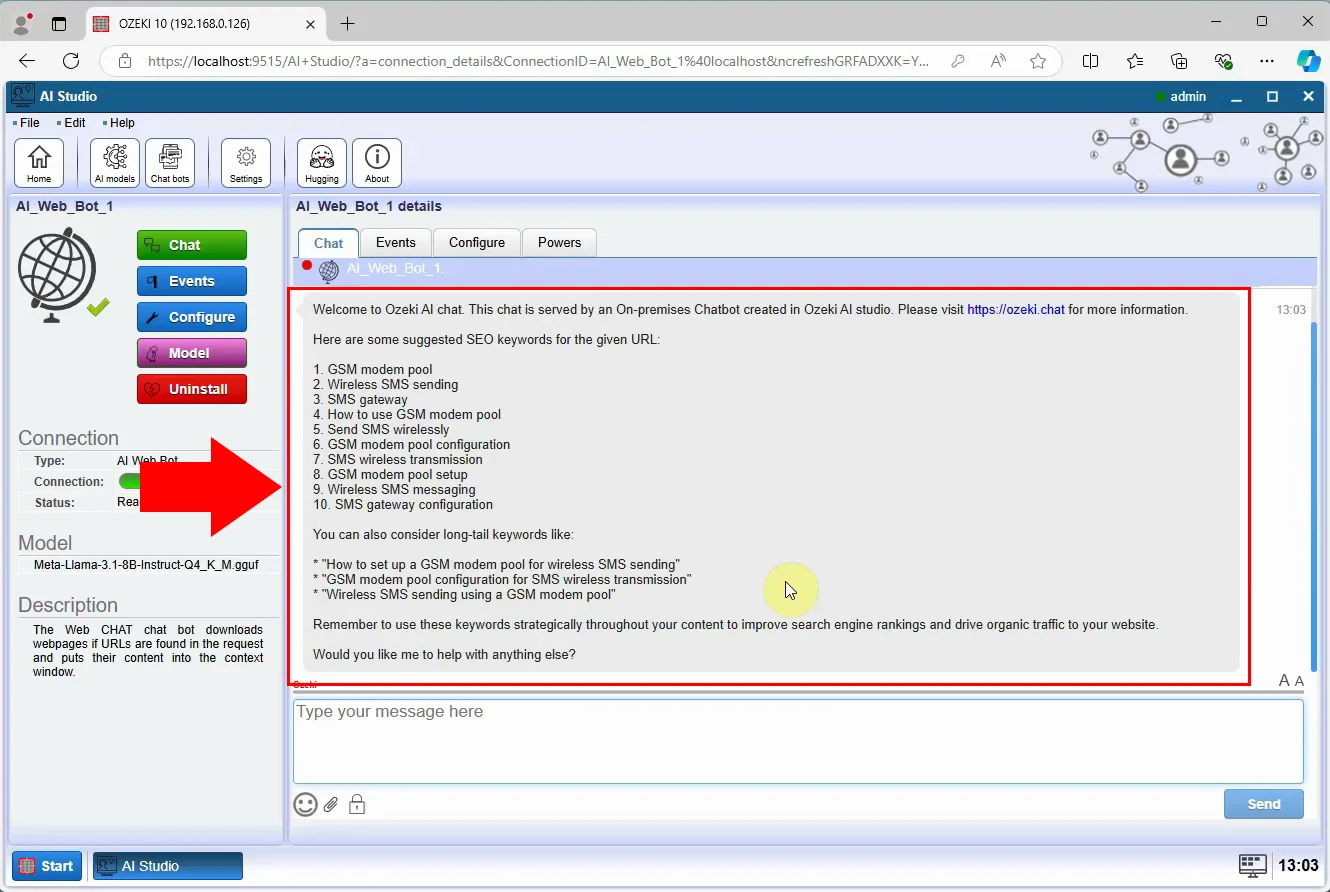
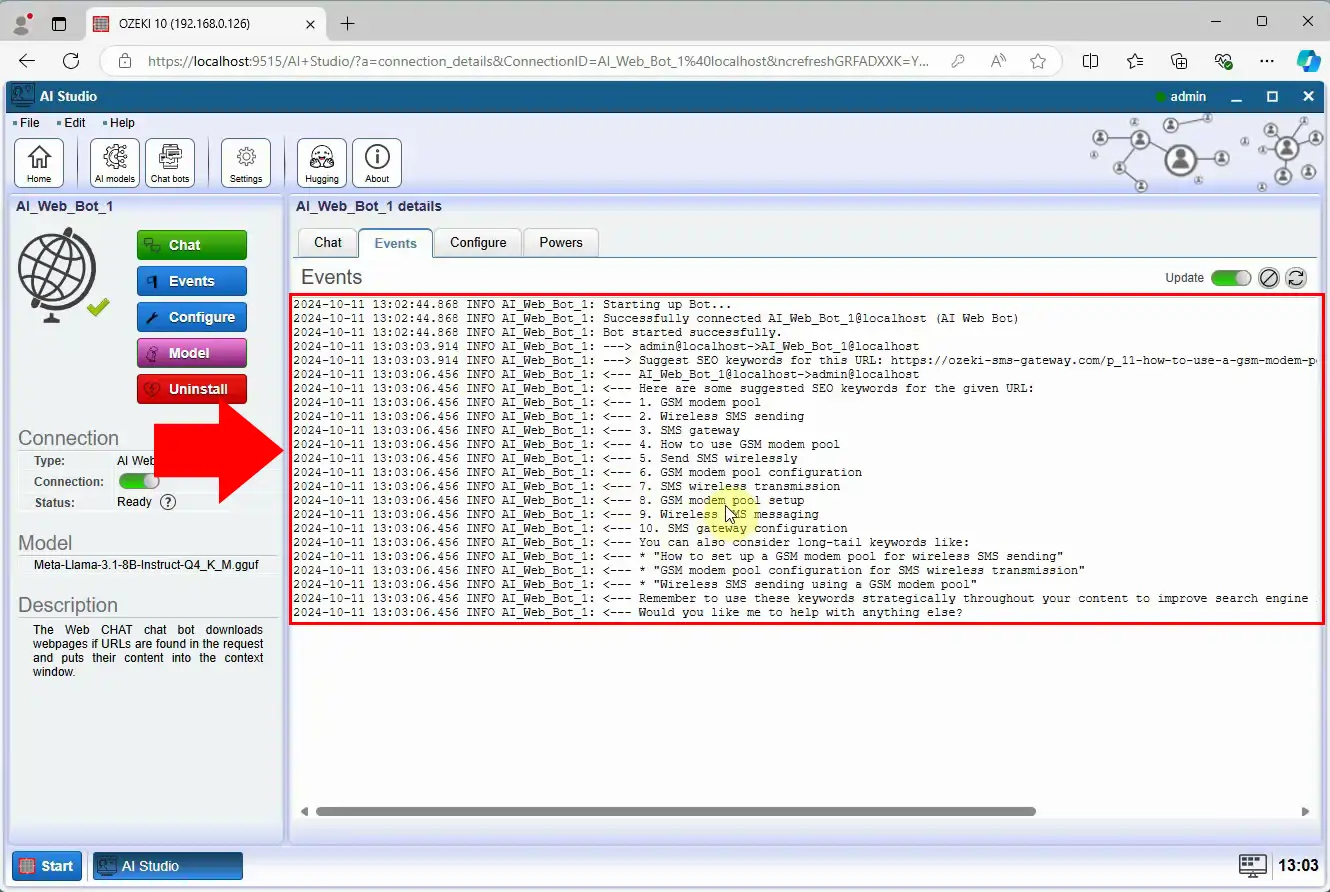
Setup Ozeki chat account

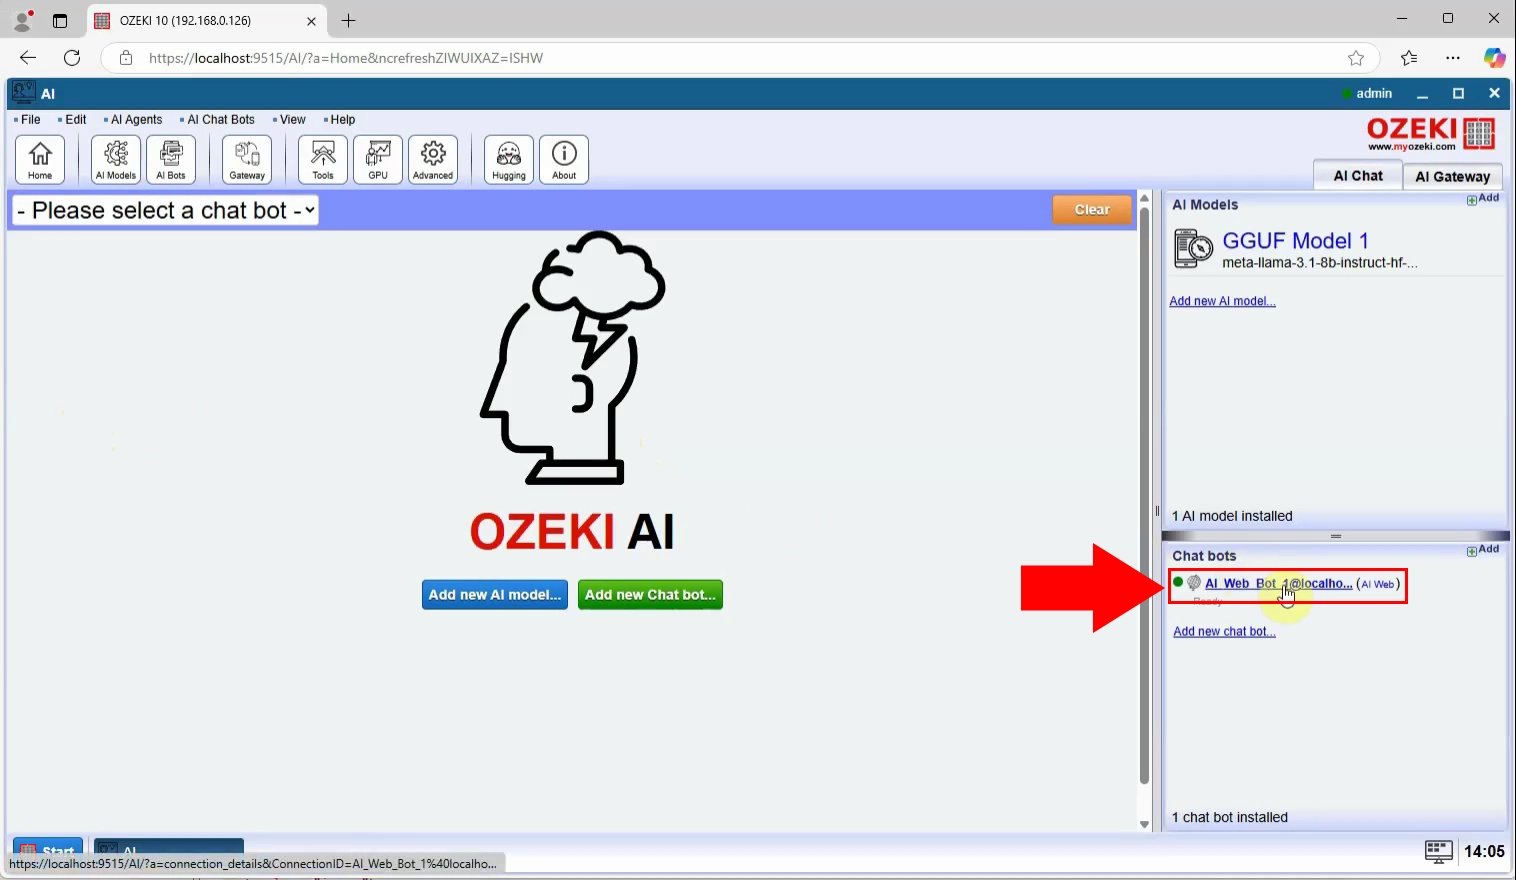

MyOzeki chat in browser
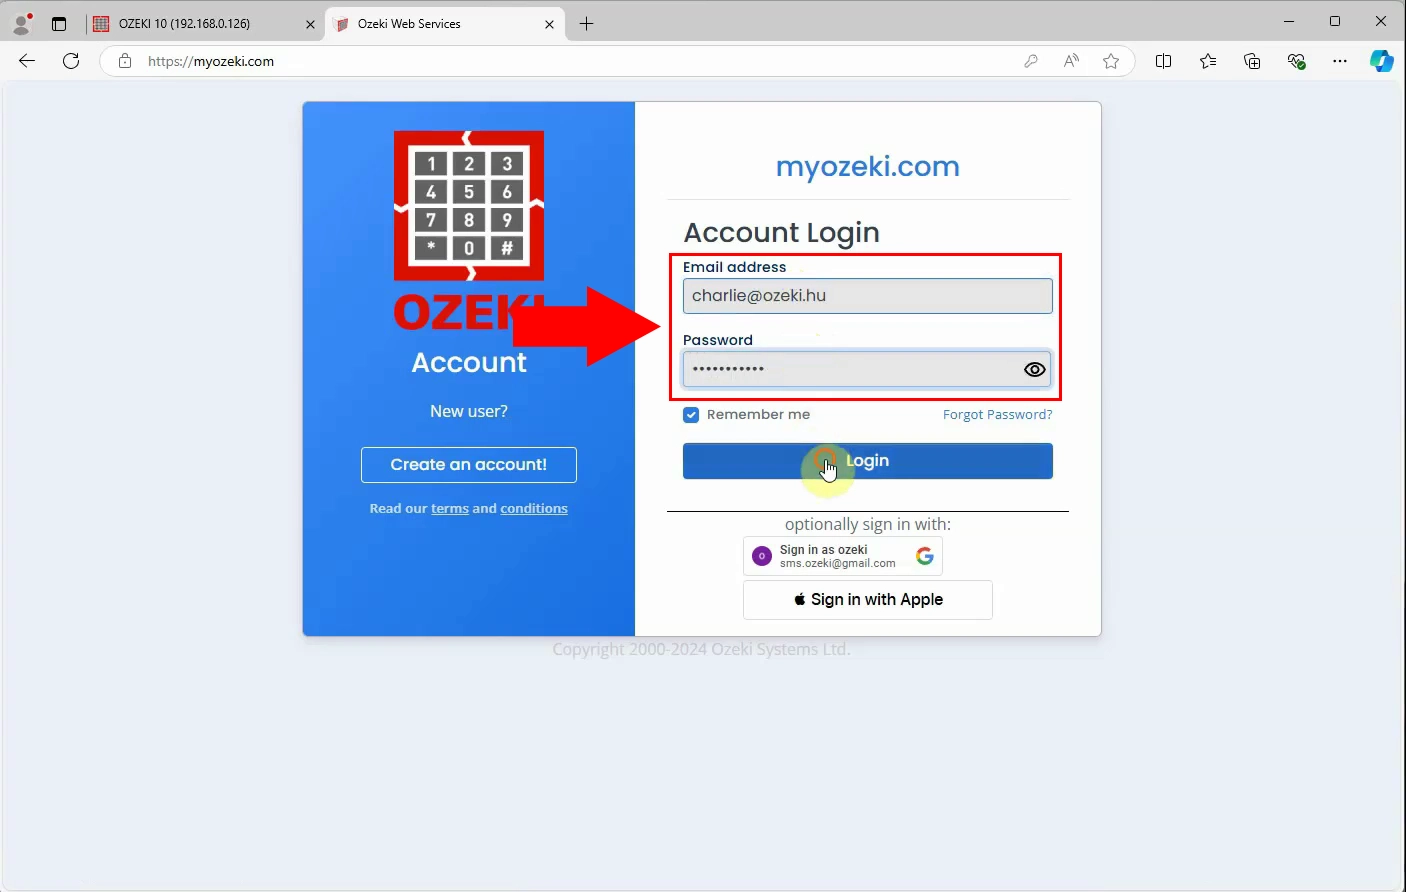
More information
- How to create chat bots with AI
- How to analyze websites with AI
- How to answer e-mails with AI
- Use voice talk to your AI chat bot with a microphone and speaker
- How to answer and make phone calls with AI
- How to run AI queries using SQL
- Text to image AI models (Flux)
- How to create coding assistant with AI

