Create New Chat Group
In this article, we will show you how you can create a new group inside the Ozeki Chat System with the help of the Ozeki Chat Control Panel. Follow our step-by-step guide or Video Tutorial to create your group.
Create New Chat Group (Video Tutorial)
To create a new Ozeki Chat Group in the Ozeki Chat Control Panel, follow the Video Tutorial found below.
Step 1 - Open Chat Control Panel
The first step towards creating a new group in your Ozeki Chat system, is to open your Chat Control Panel. You can find it on the dashboard.

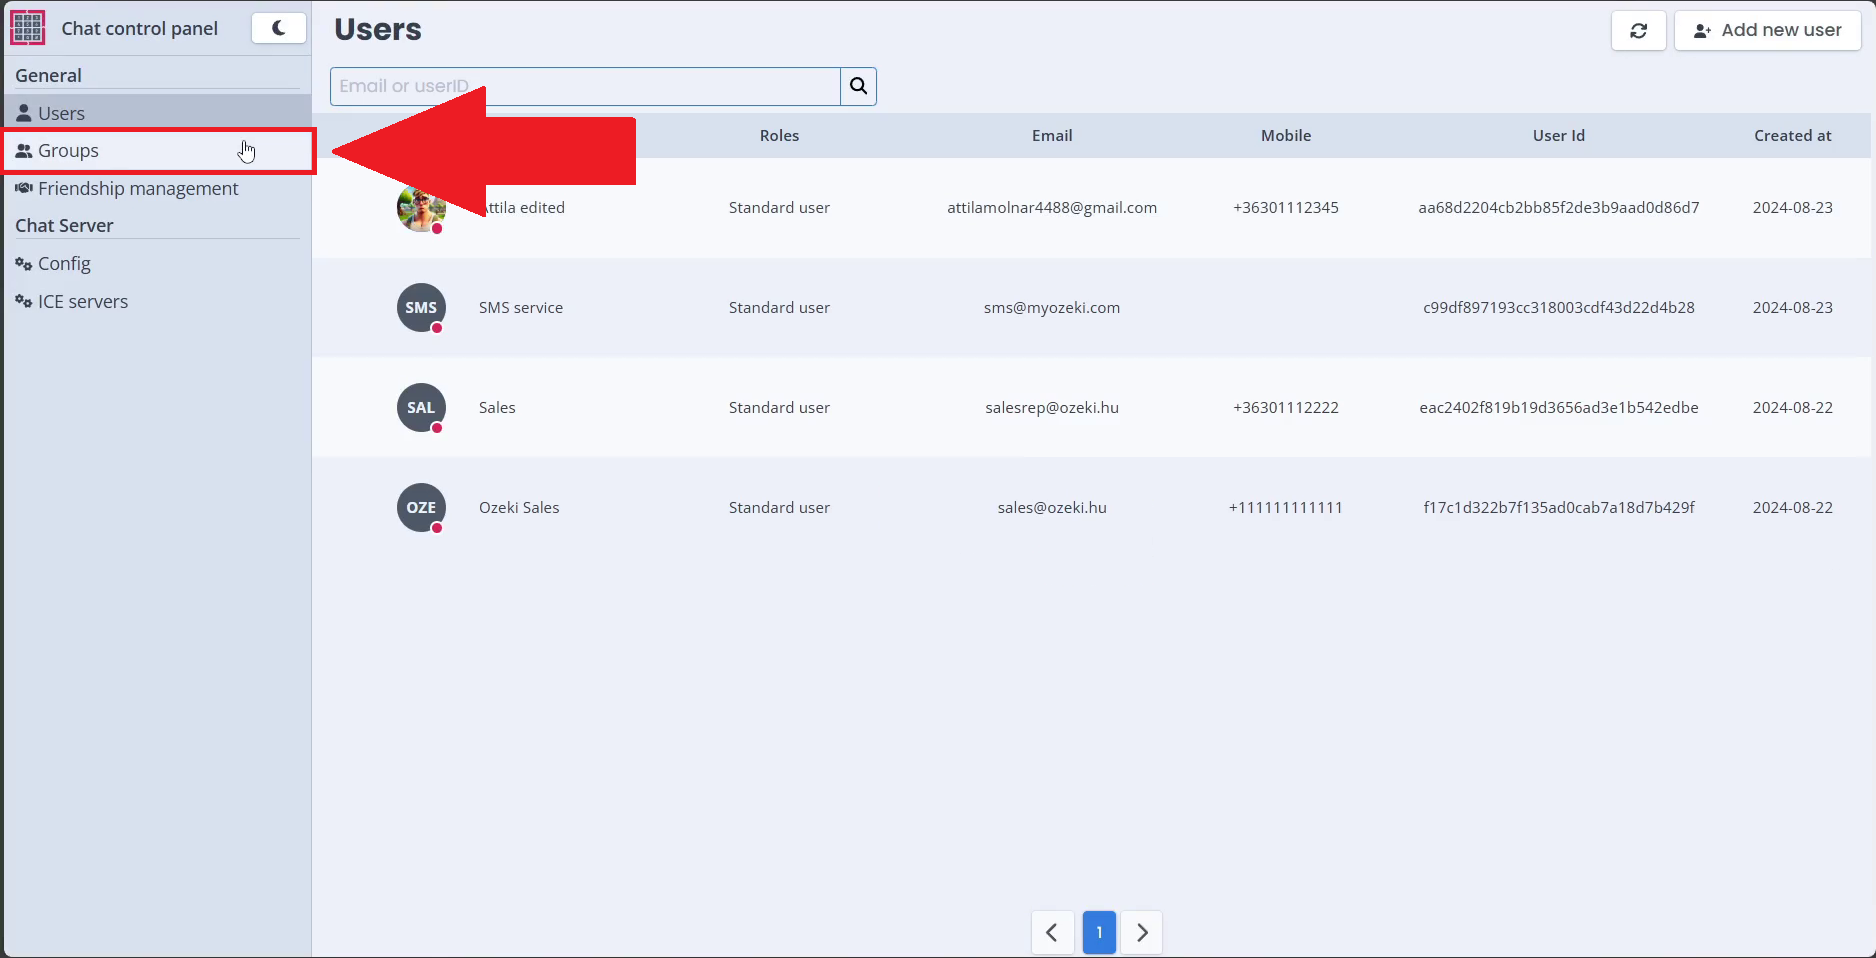
Step 2 - Open Groups tab
Once you have opened the Chat Control Panel, you will see the registered users list. To change to the created groups list, click on the "Groups" option in the navbar found on the left of the side.
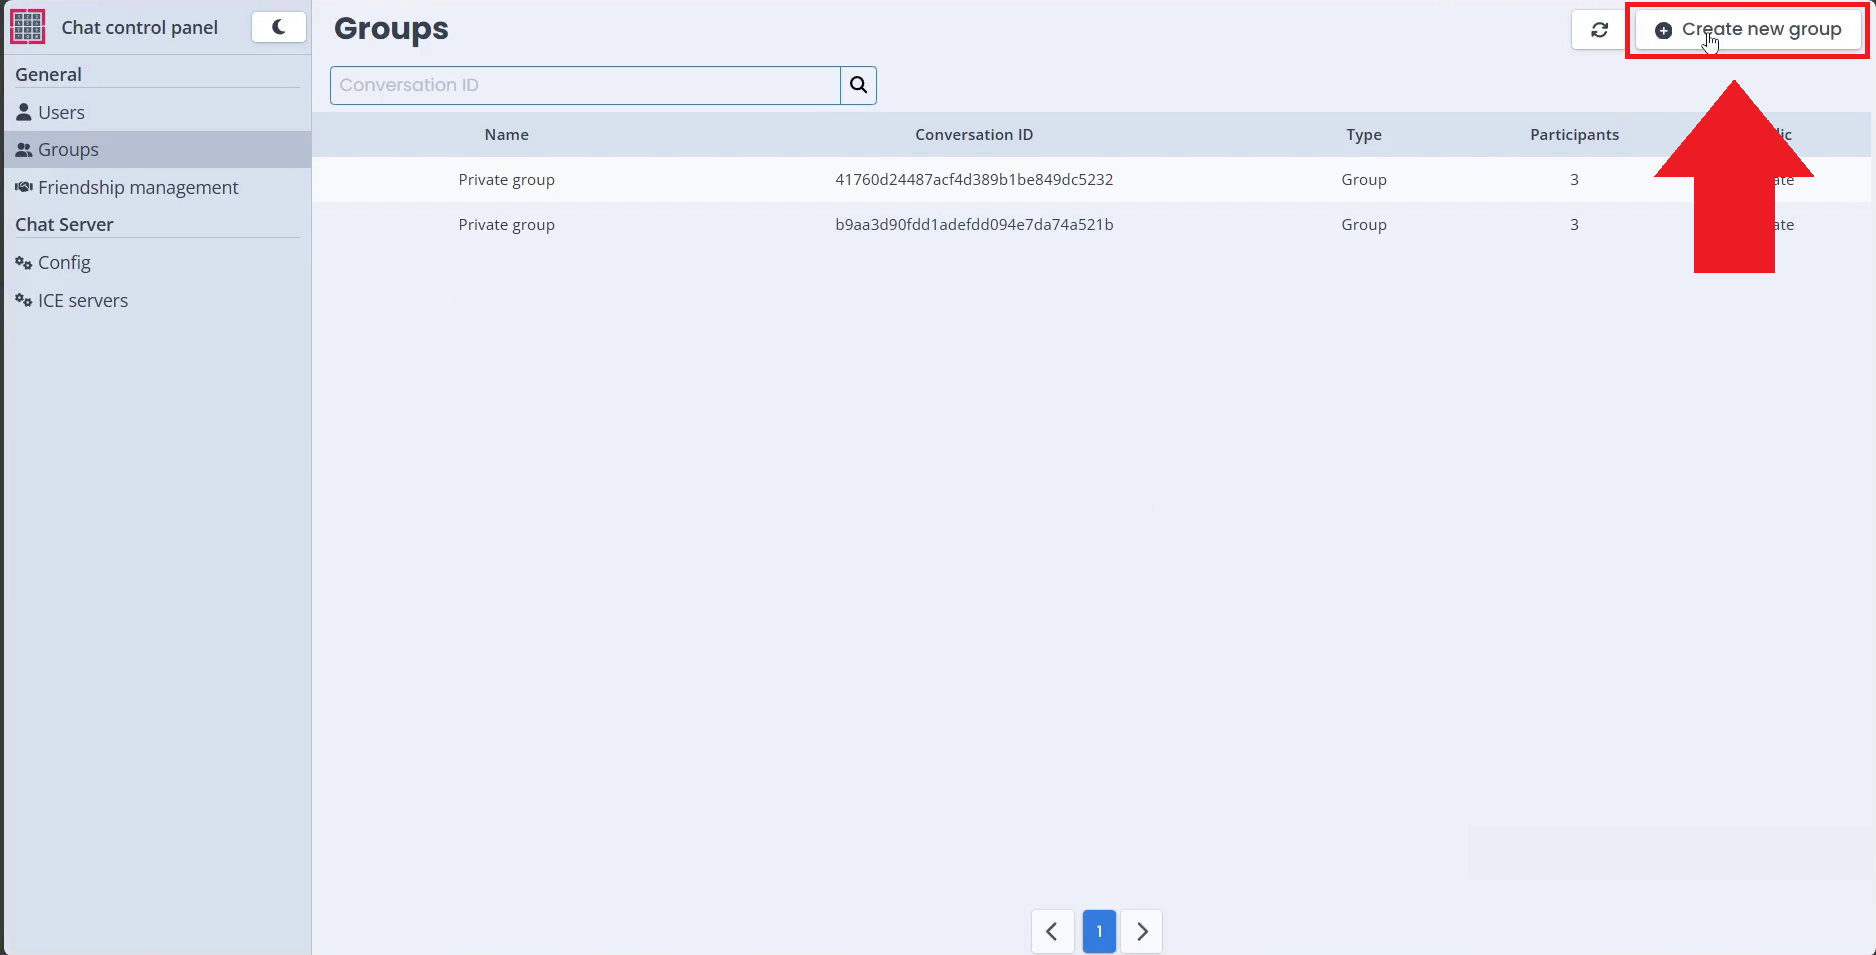
Step 3 - Create new group
Click on the "Create new group" button in the top right of the groups list to start creating your new group.
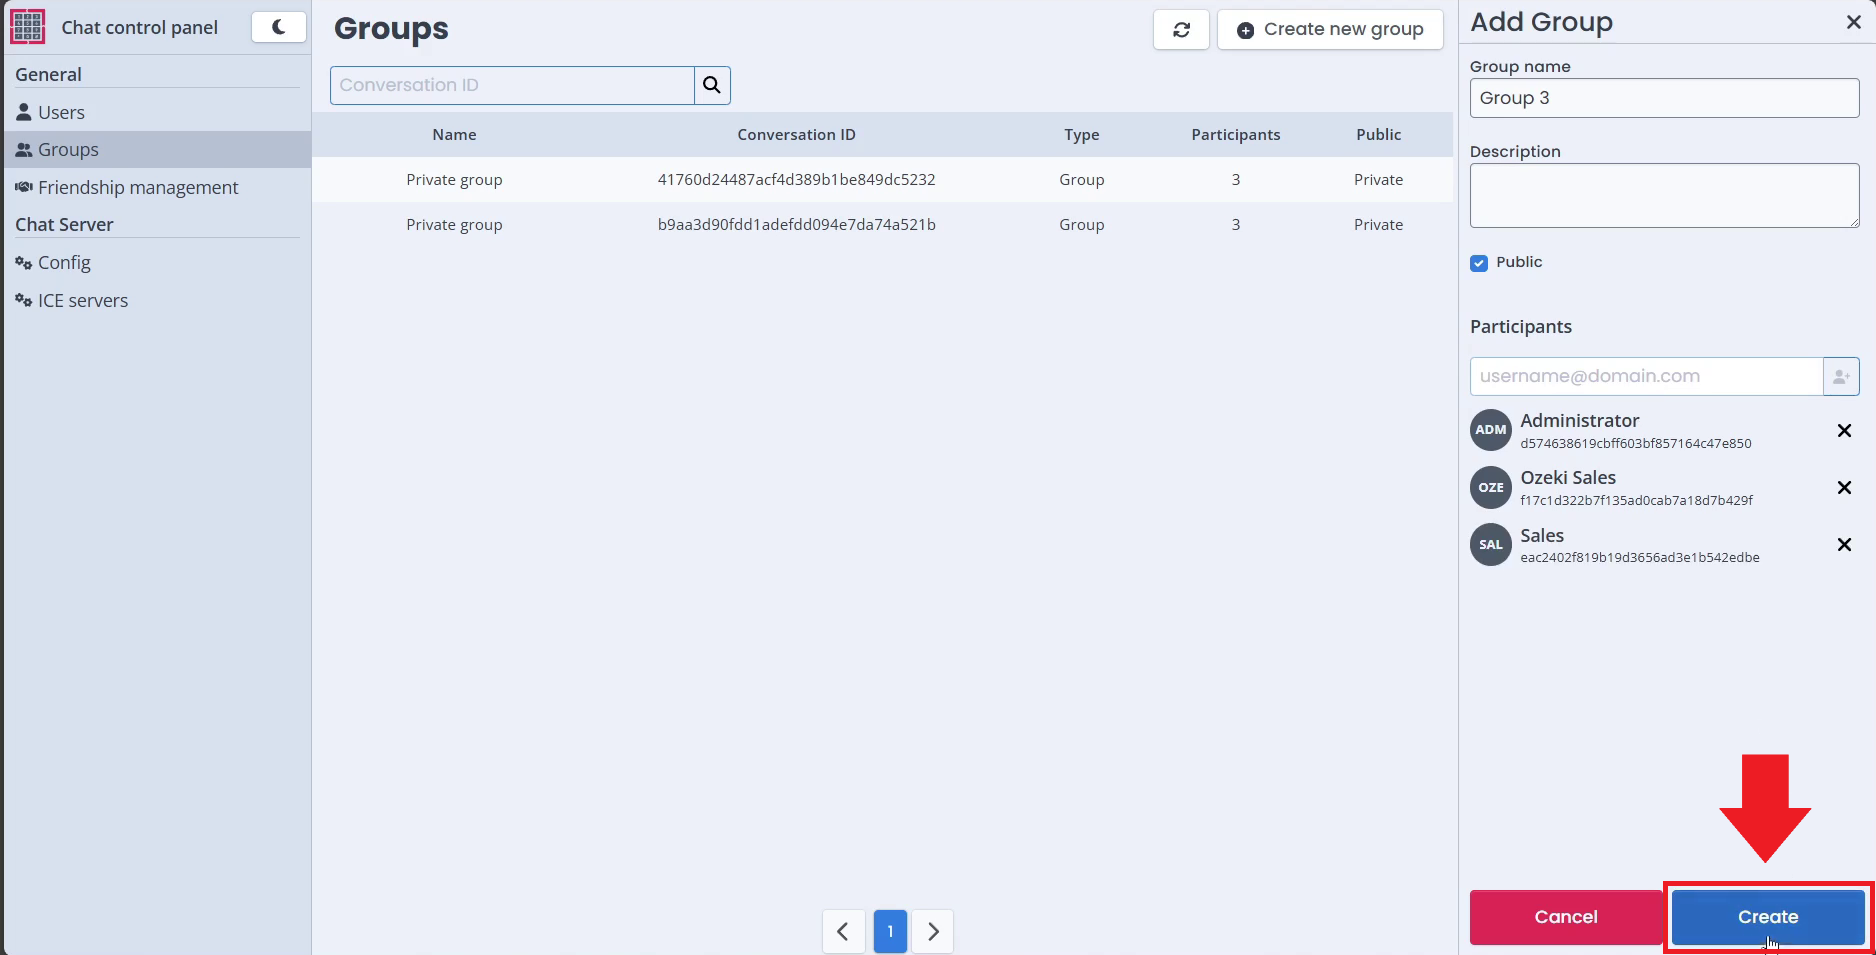
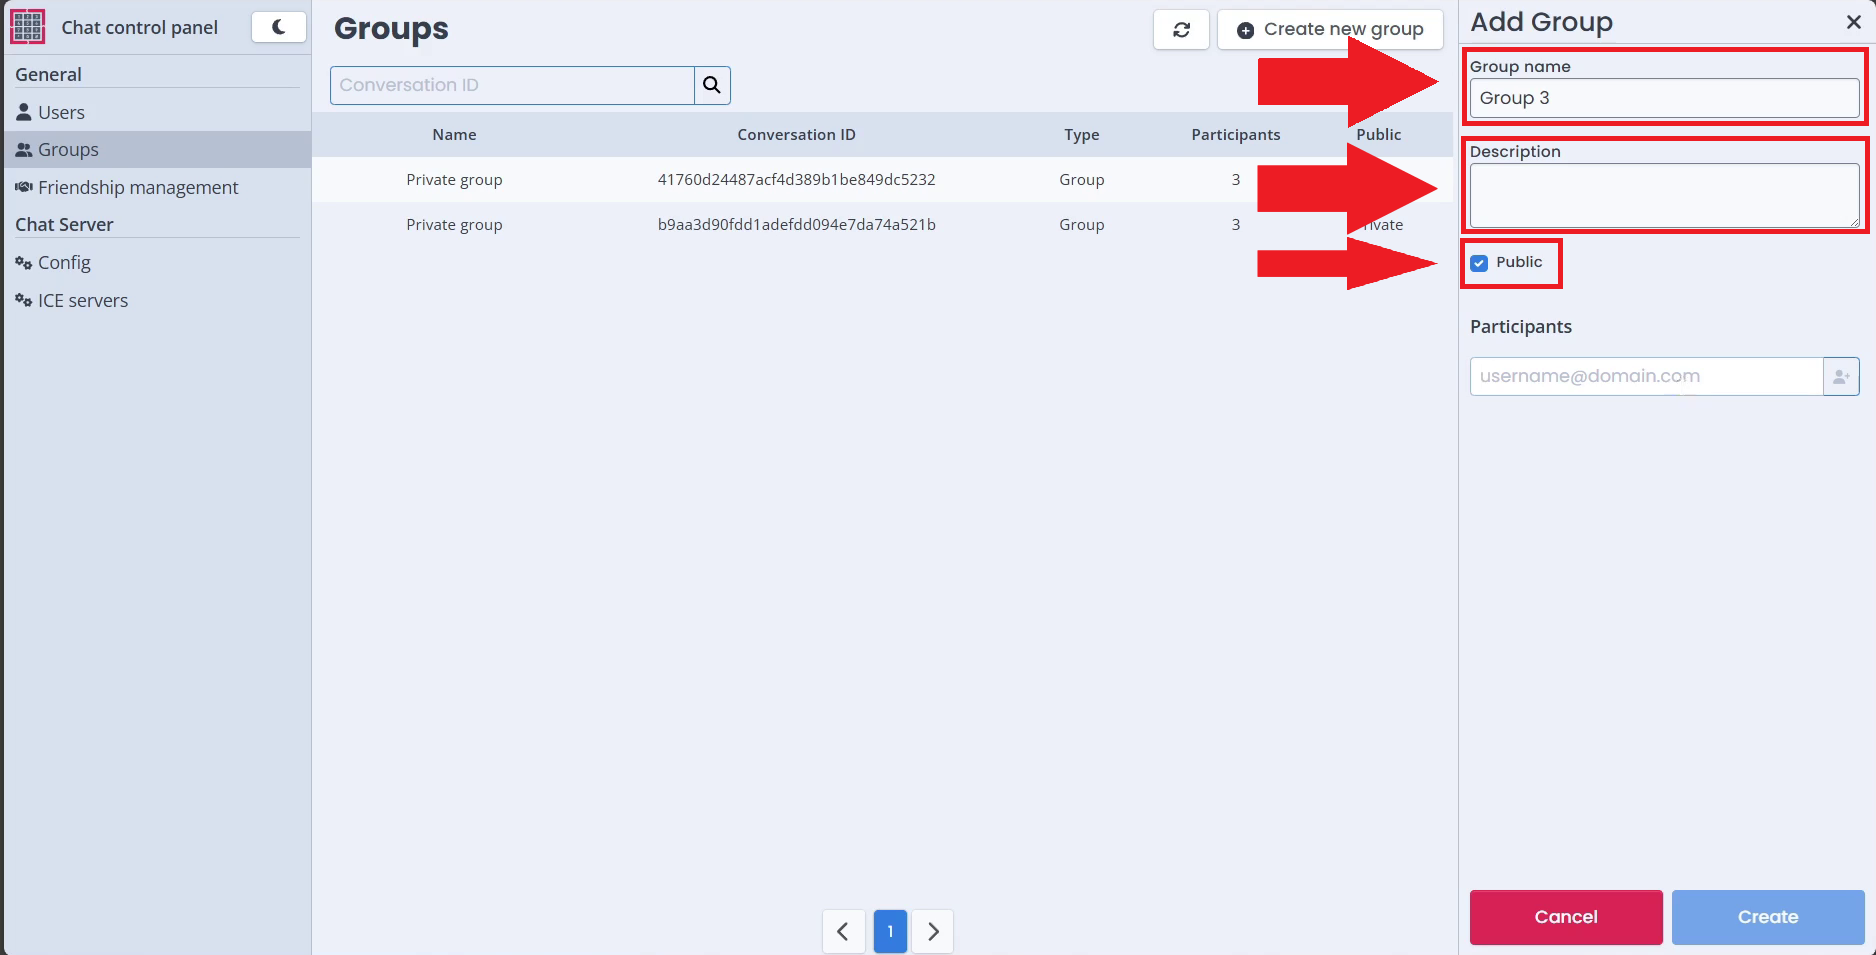
Step 4 - Enter group details
Enter the details of the group chat inside the appropriate input boxes, upload an image or set privacy settings.
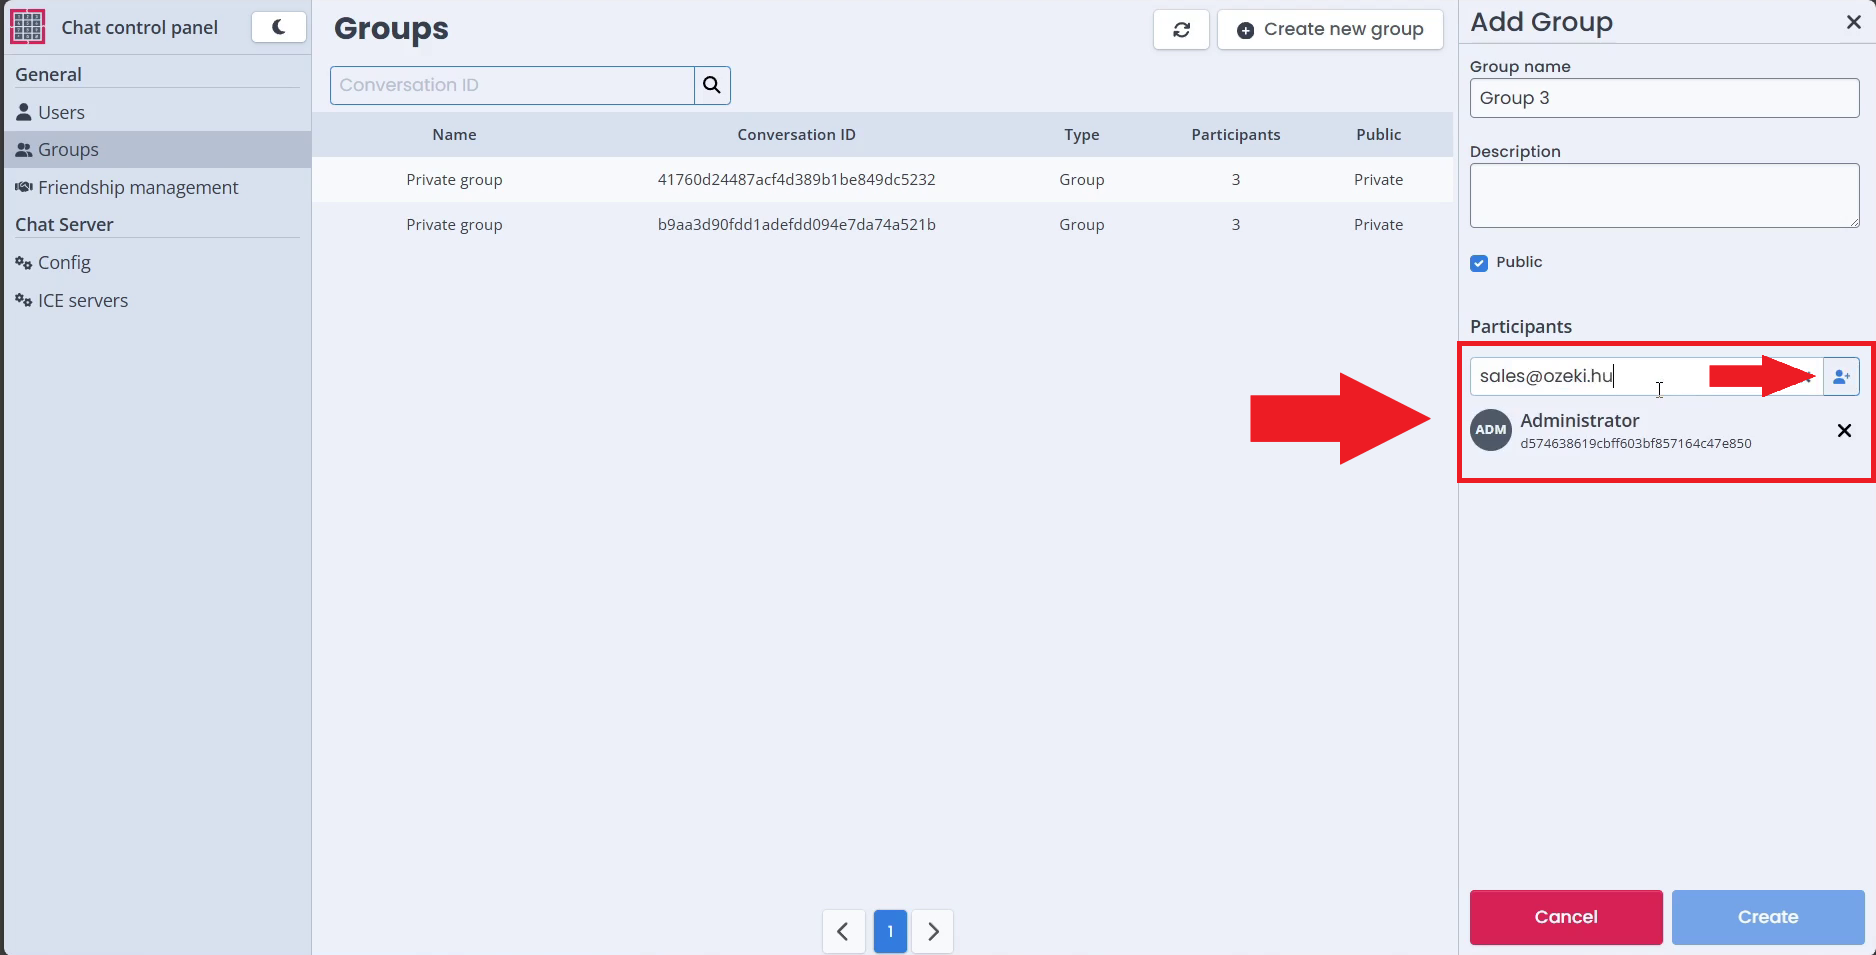
Step 5 - Add participants
The last step before saving your group chat is to add the participants, you need at least 3 participants for a group to be a valid group. You can enter the participants UserId or their Email address to find them.
Step 6 - Create the group
The final step is to create your group with the help of the "Create" button. Once you click it, the participants will see the group appear in the Ozeki Chat System.