Edit Chat Group Information
In this article, we will show you how you can edit and manage a group chat in the Ozeki Chat System. You may need to change a group for administrative or moderative reasons, maybe the group name or image is against the rules of your system or someone needs help with it. We will show you how you can do it in our step-by-step guide and Video Tutorial.
Edit Chat Group Information (Video Tutorial)
In the folliwng video guide, we will show you how to edit an Ozeki Chat Group from the Ozeki Chat Control Panel.
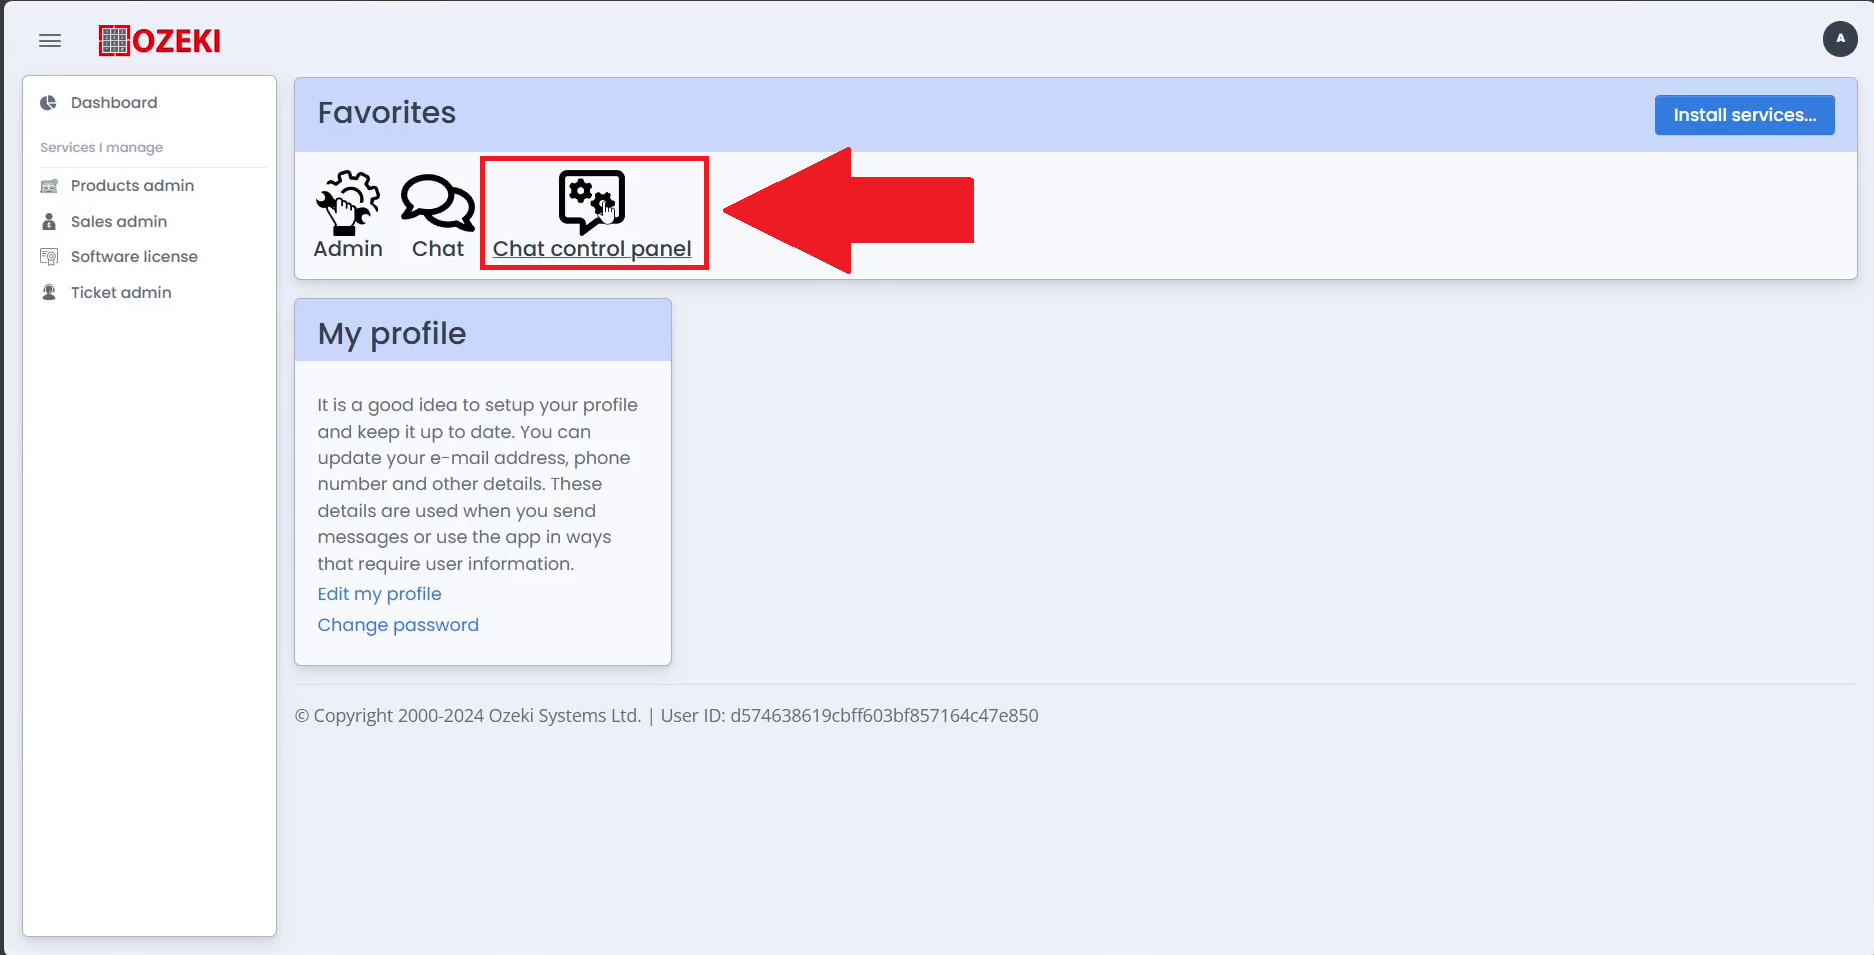
Step 1 - Open Chat Control Panel
The first step towards editing an already existing group in your Ozeki Chat system, is to open your Chat Control Panel. You can find it on the dashboard.
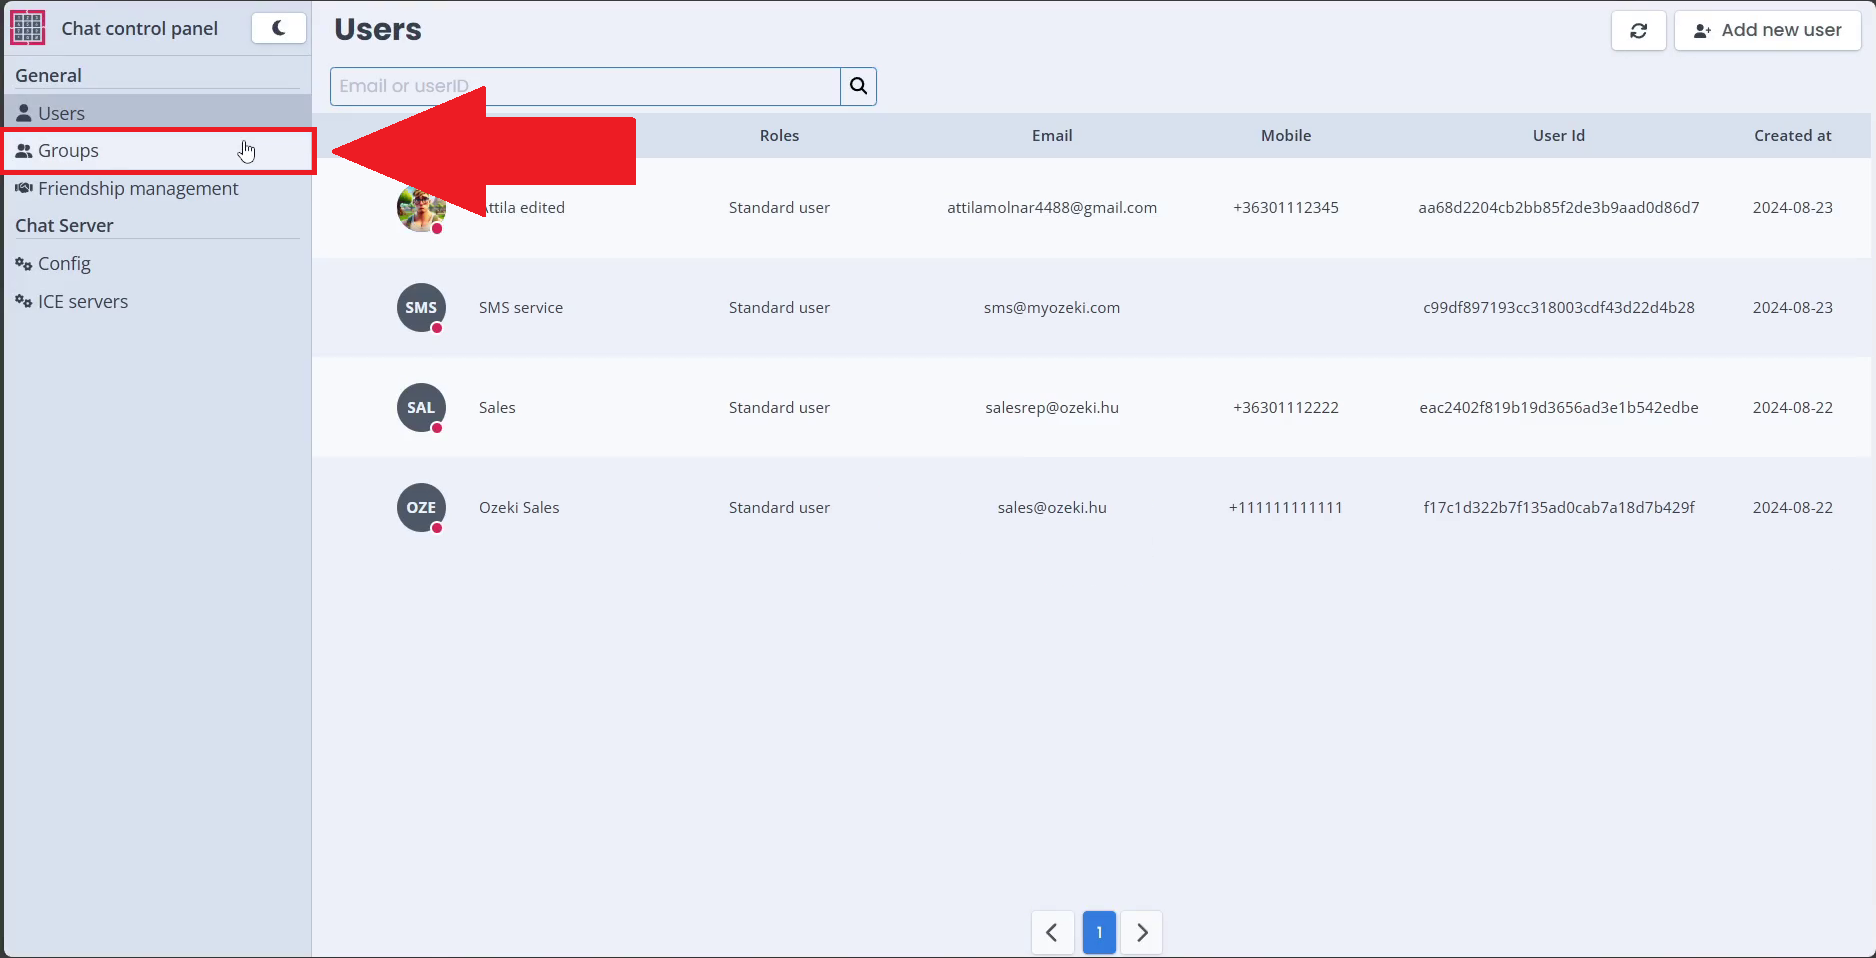
Step 2 - Open Groups tab
Once you have opened the Chat Control Panel, you will see the registered users list. To change to the created groups list, click on the "Groups" option in the navbar found on the left of the side.
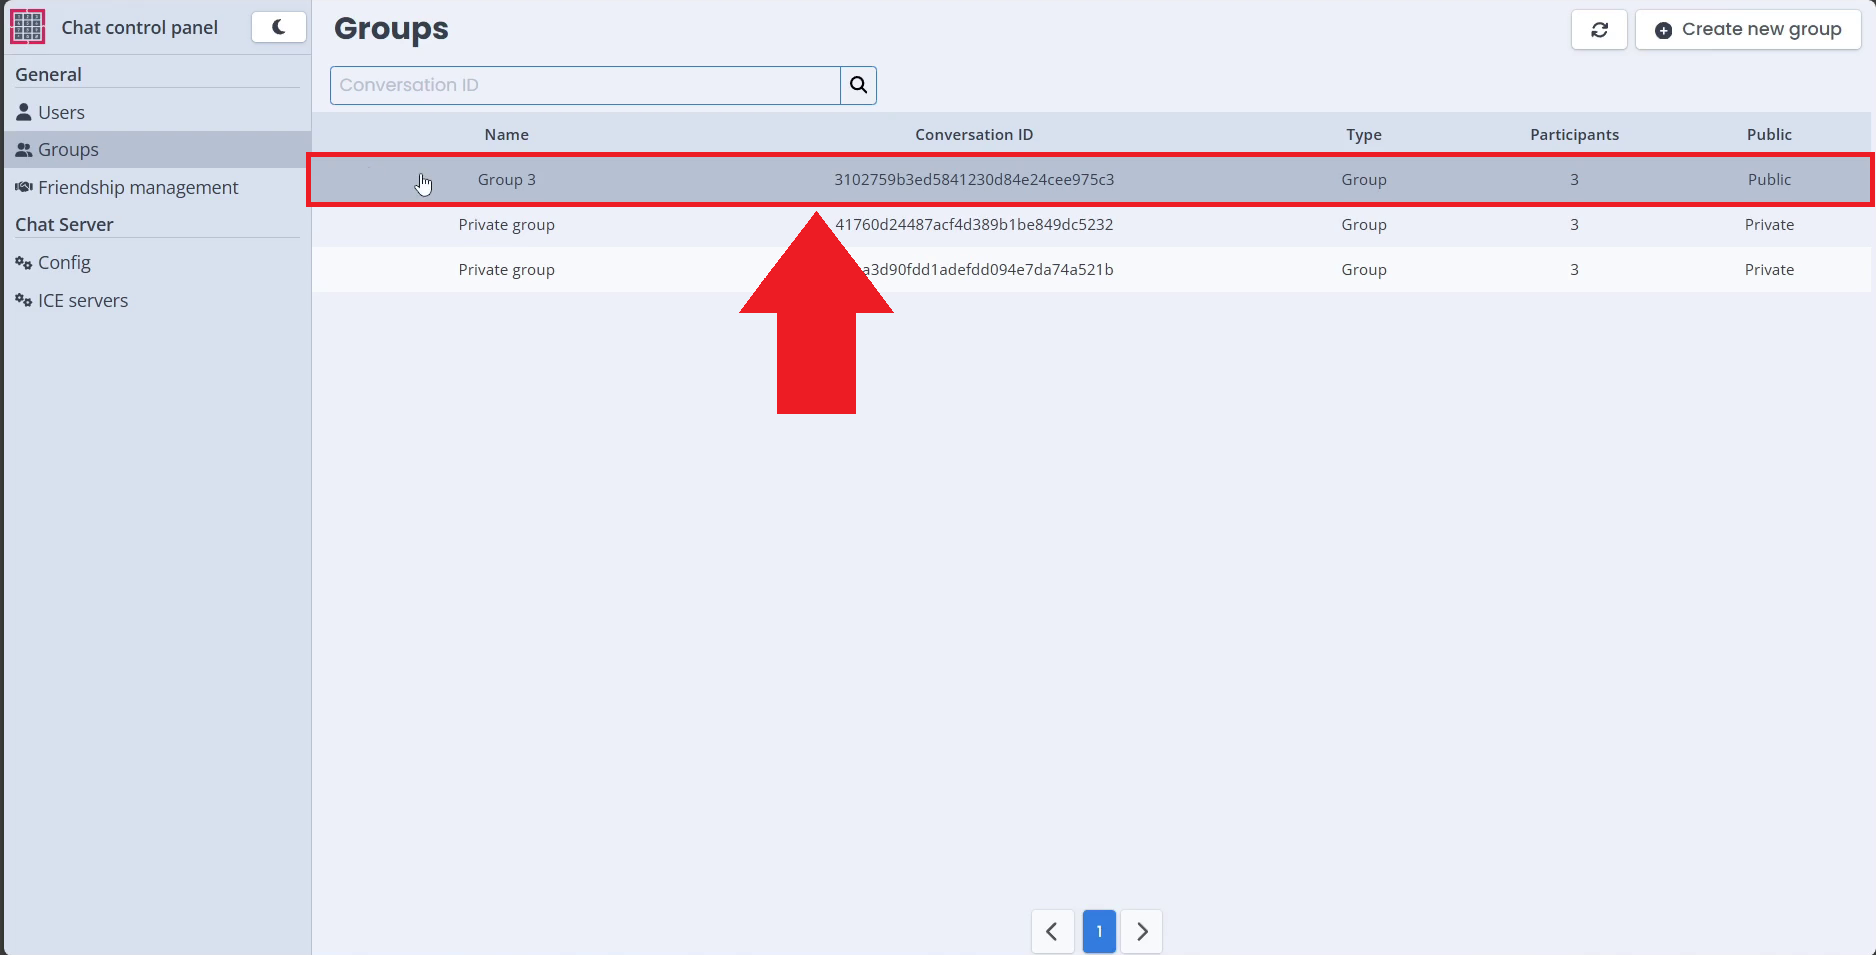
Step 3 - Select group
Select the group inside the group list you wish to make changes to by clicking on it. Once you open it, the group details will show on the right side of the page.
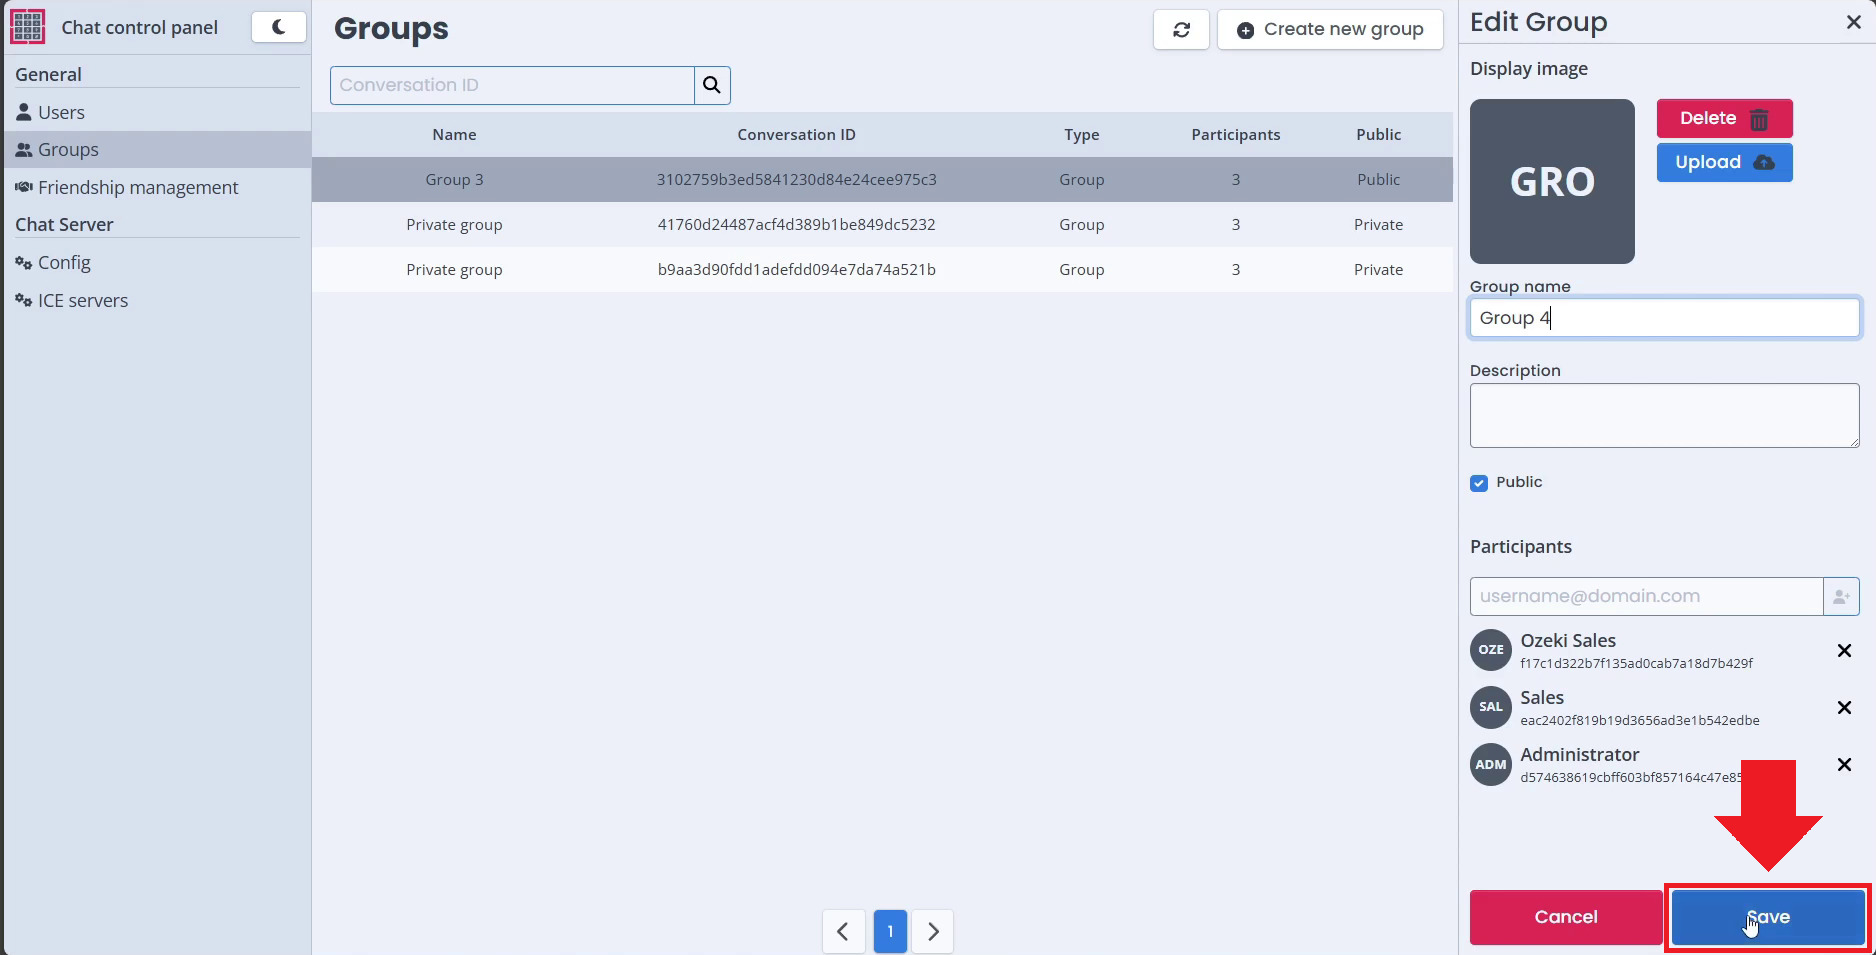
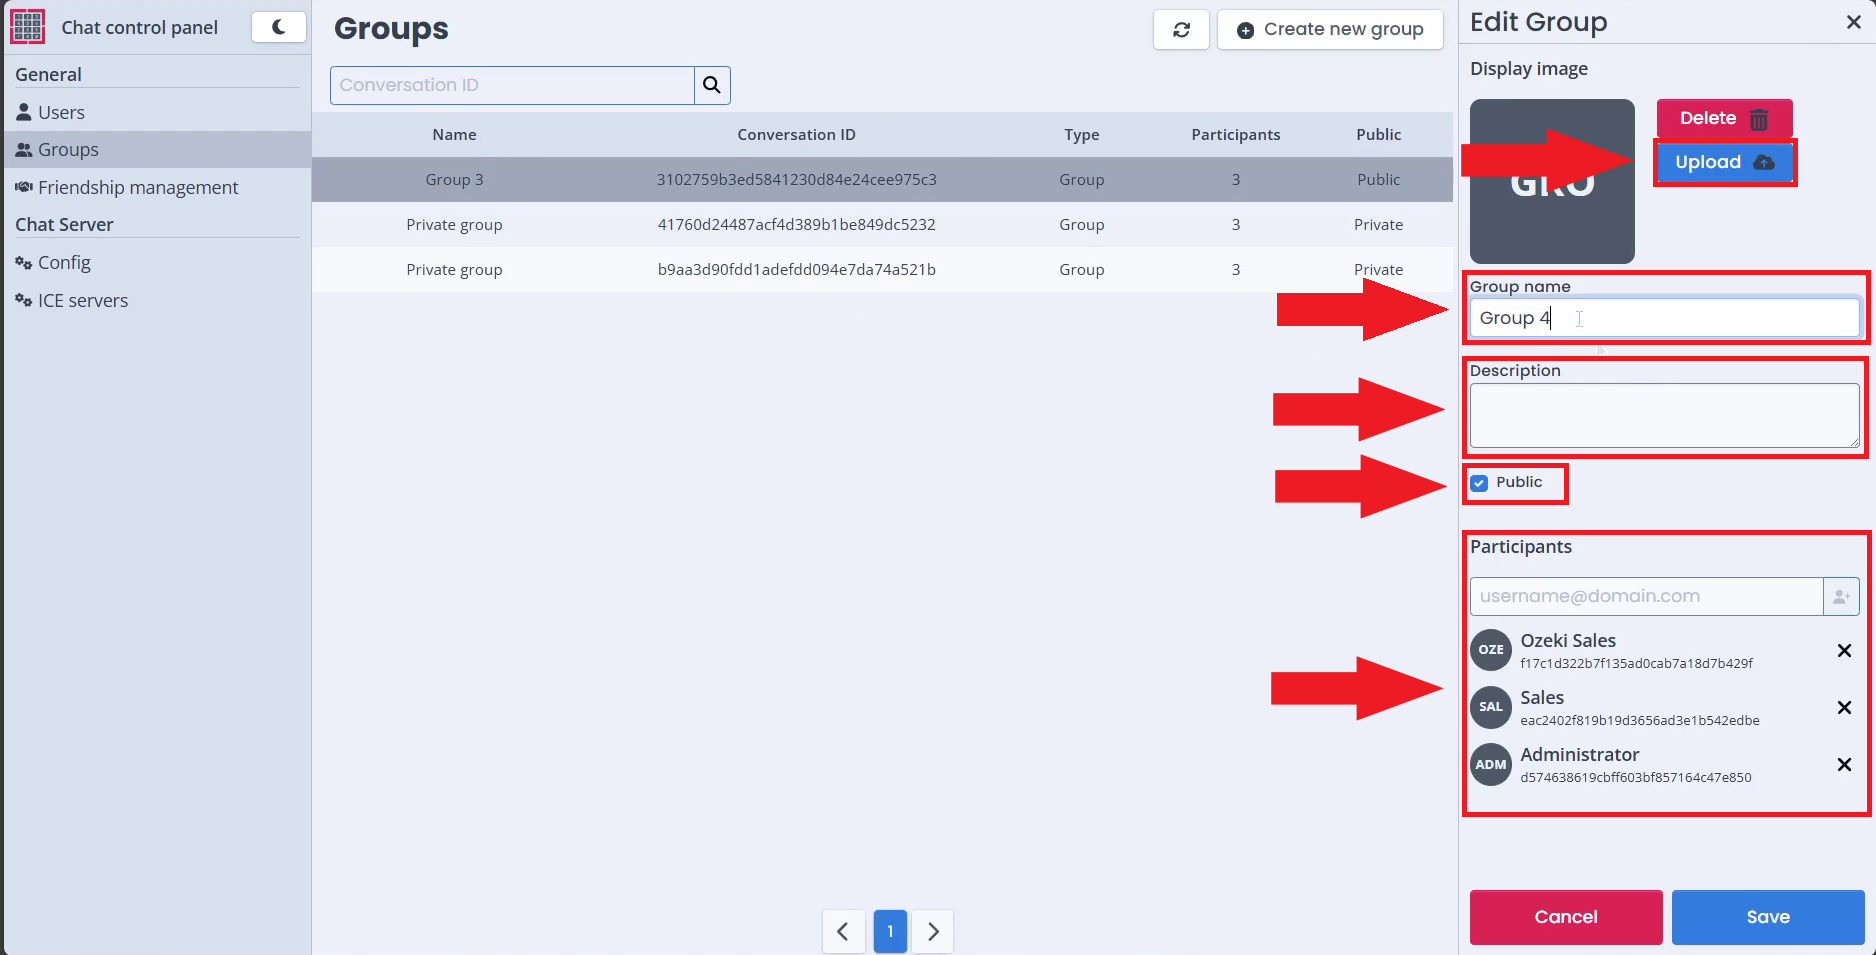
Step 4 - Change group details
Change the group details you wish to modify like the group name, group image or description, participants.
Step 5 - Save changes
Save the changes you have made to the group by clicking on the "Save" button.