How to enable chat window debug log
In this guide, you will learn how to enable the debug log feature in the Ozeki Chat window. This logging function is useful for developers and support teams to troubleshoot and monitor chat activity in real time. The tutorial covers how to access the hidden developer options, activate debug logging, and view the output directly within the chat interface. Whether you're diagnosing a technical issue or monitoring system behavior, enabling debug logs can provide essential insights into the chat application's internal operations.
What is Ozeki Chat?
Ozeki Chat is a secure, self-hosted messaging platform designed for real-time communication within organizations. It allows users to exchange text messages, files, and multimedia across desktop and web interfaces. With support for advanced features like multi-window chats, developer tools, and integration with other Ozeki systems, it provides businesses with a powerful and private alternative to cloud-based messaging services.
How to enable chat window debug log (Quick Steps)
- Open the About menu
- Enable Developer Options and Logging
- Open and View Log
How to enable chat window debug log (Video tutorial)
In this video, you’ll be shown how to turn on debug logging for the chat window in Ozeki Chat. The tutorial walks you through accessing the "About" menu, revealing the hidden developer options, enabling the logging feature, and reloading the page to begin capturing logs. You'll also learn how to reopen the log window and examine real-time debug information. This feature is especially helpful for developers and administrators working to troubleshoot or optimize the chat interface.
Step 1 - Open about menu
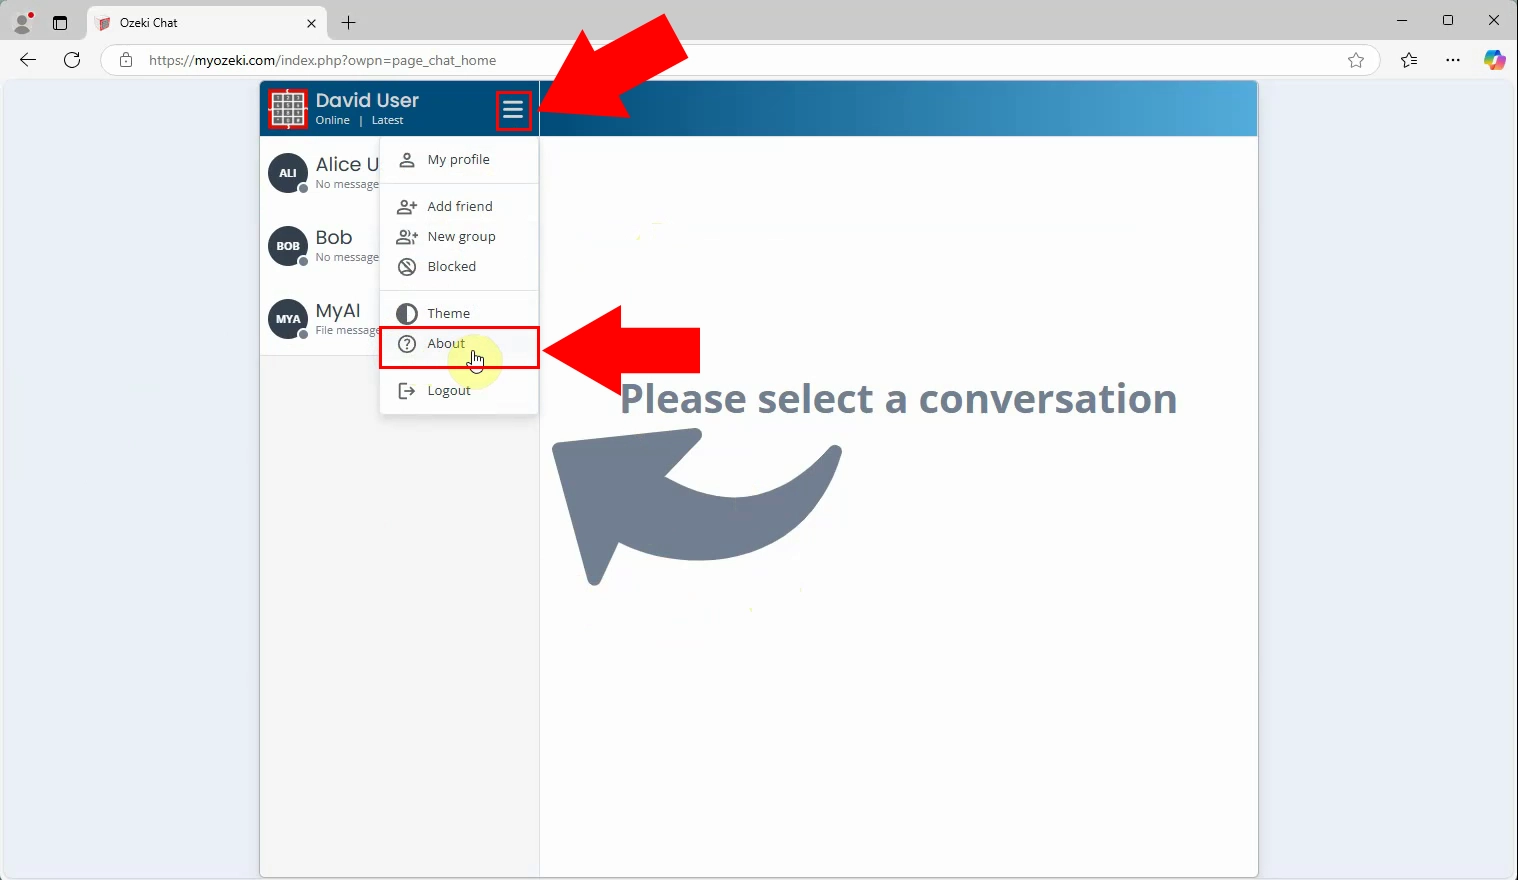
Click on the hamburger menu in the top-left corner of the Ozeki Chat interface and select "About". This menu gives access to version information and hidden developer settings (Figure 1).
Step 2 - Show developer options
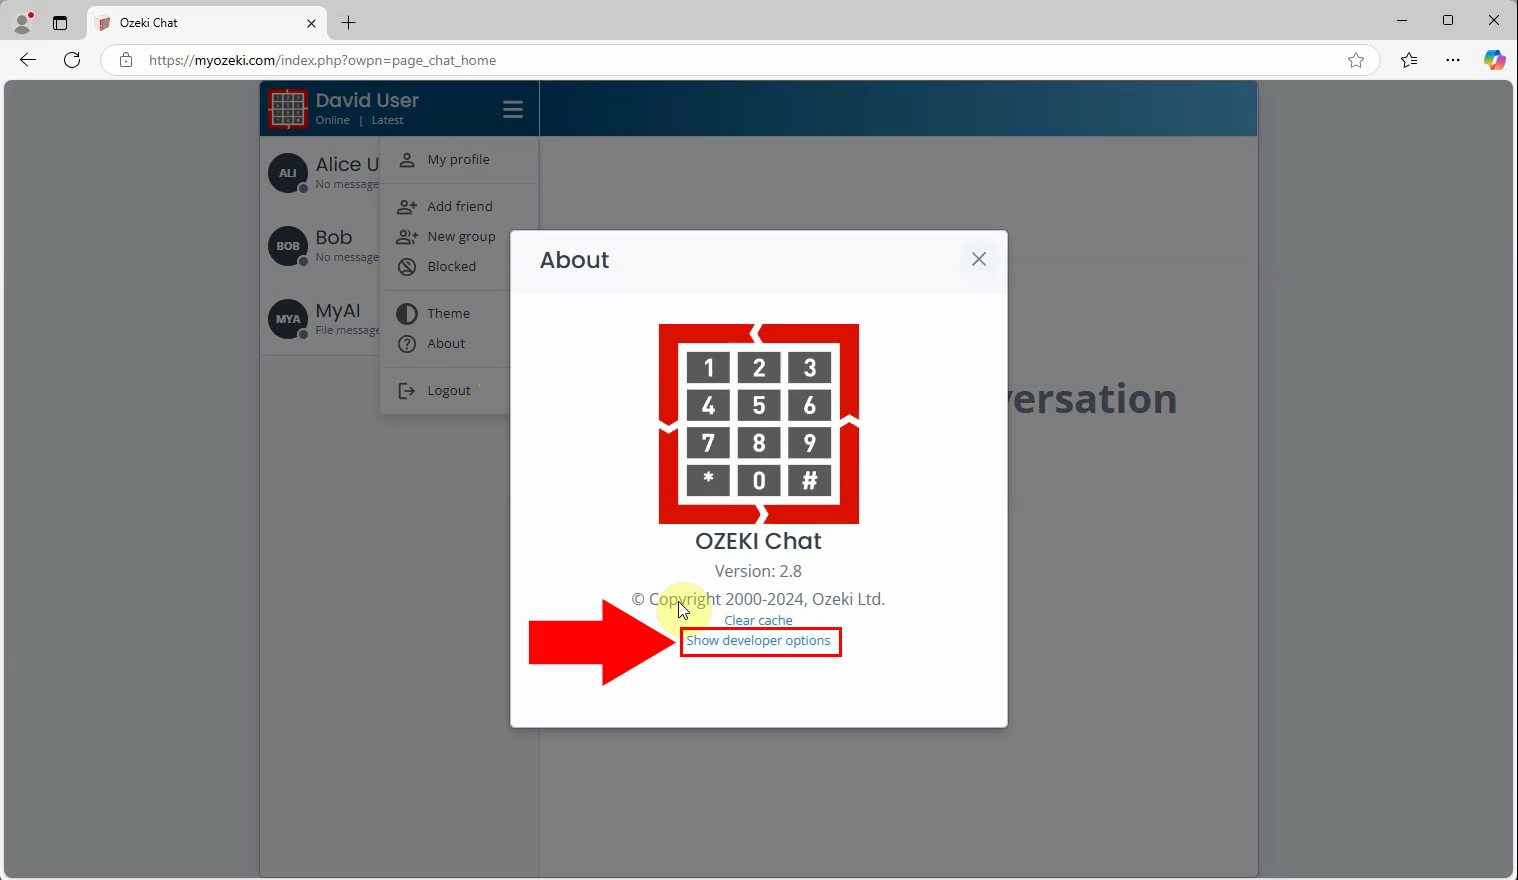
In the About window, click the "Show developer options" link. This reveals advanced tools and debug settings not visible by default (Figure 2).
Step 3 - Enable logging
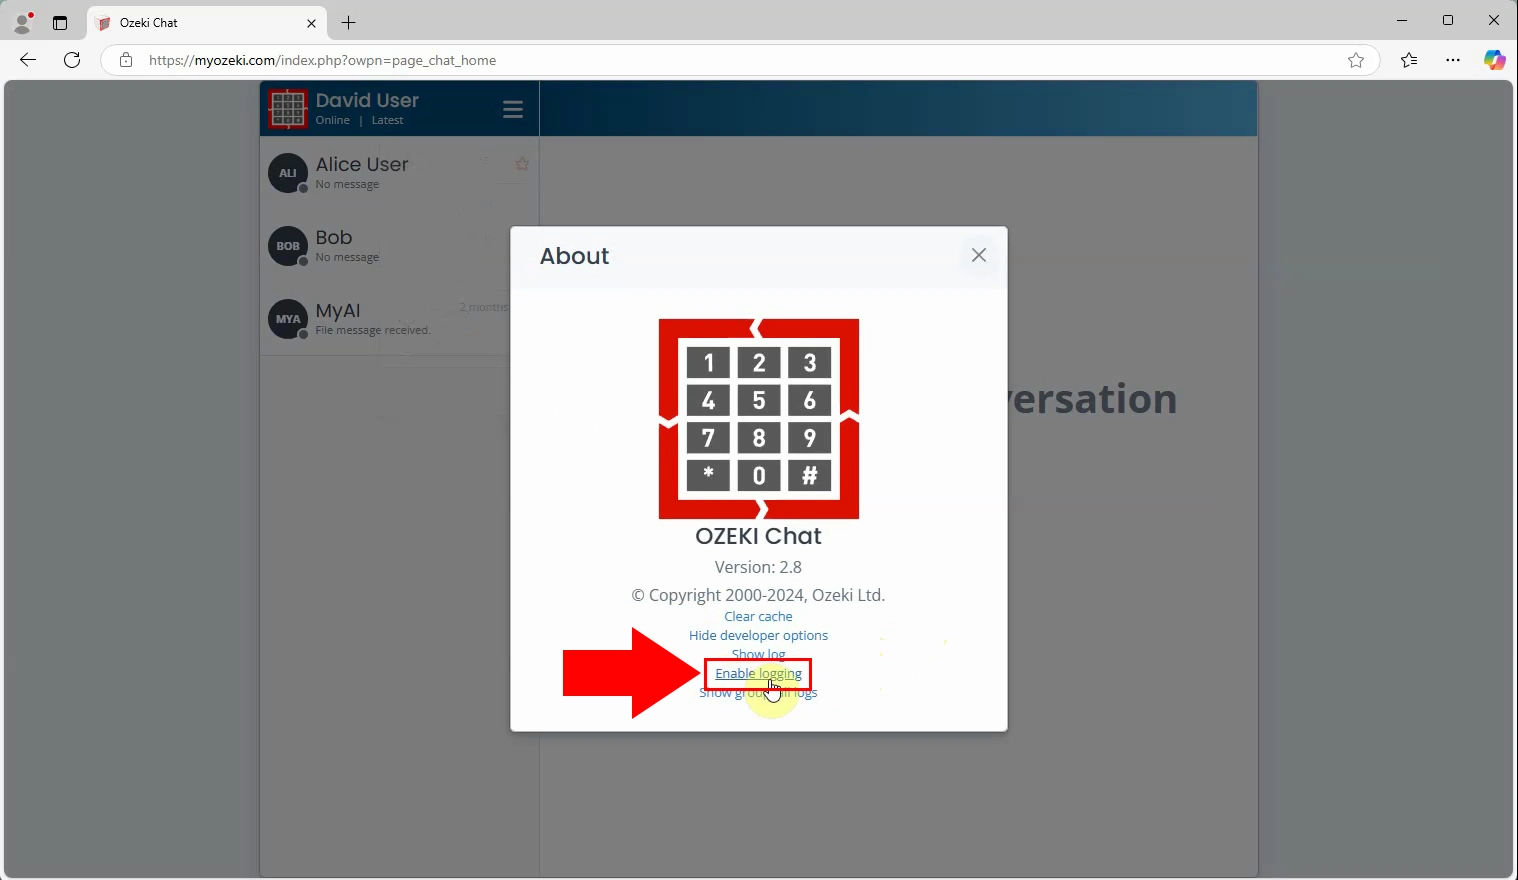
In the developer options panel, click on "Enable logging" to activate the debug log feature for the chat window (Figure 3).
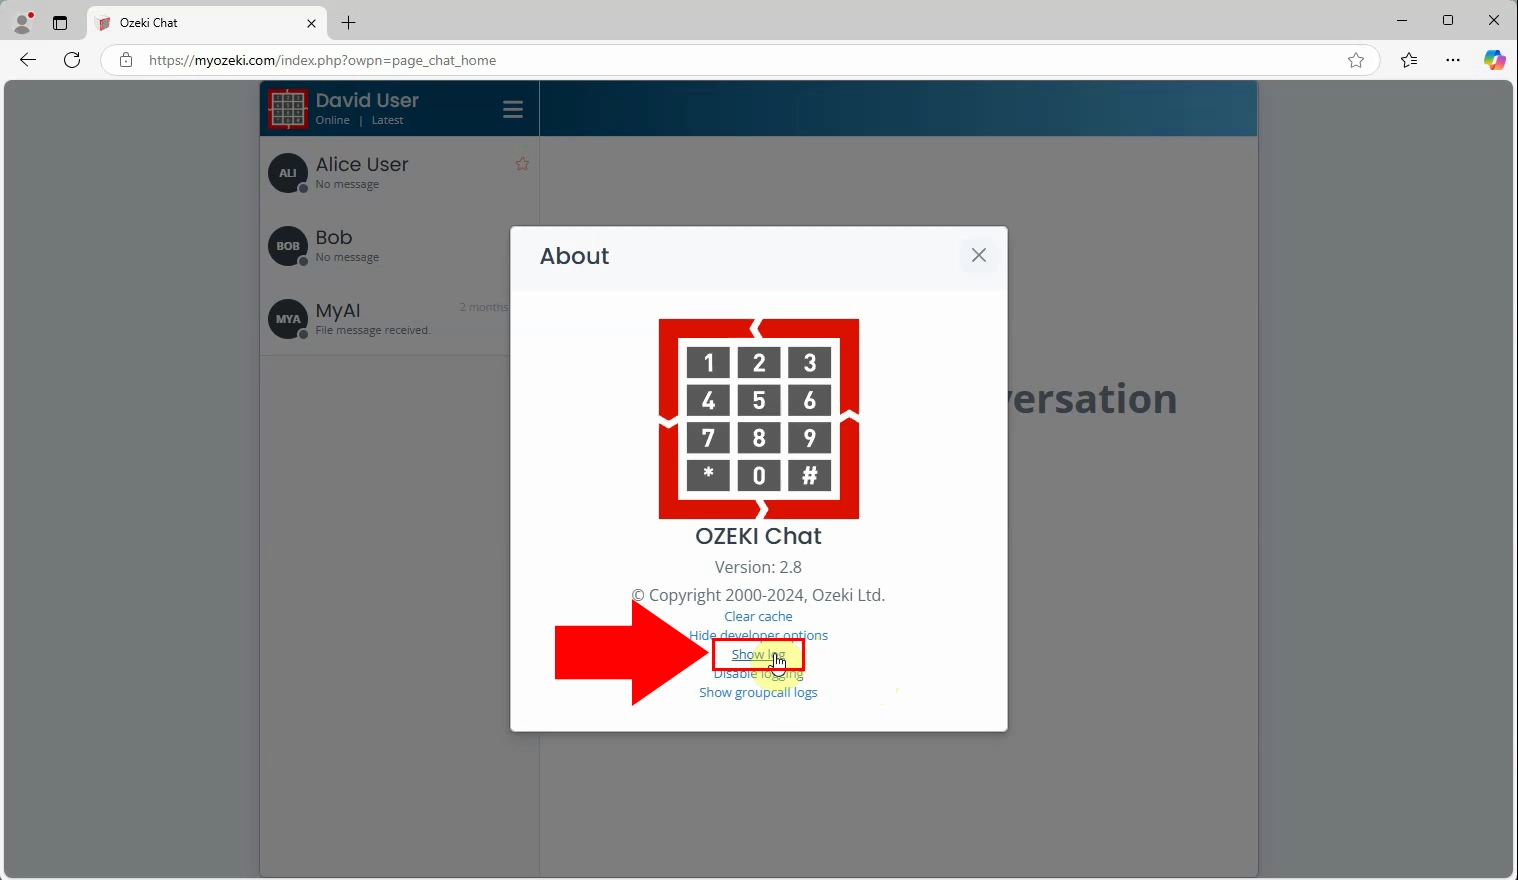
Step 4 - Show log
After enabling logging, click the "Show log" to open the debug output window. This panel will display technical events and logs related to chat activity (Figure 4).
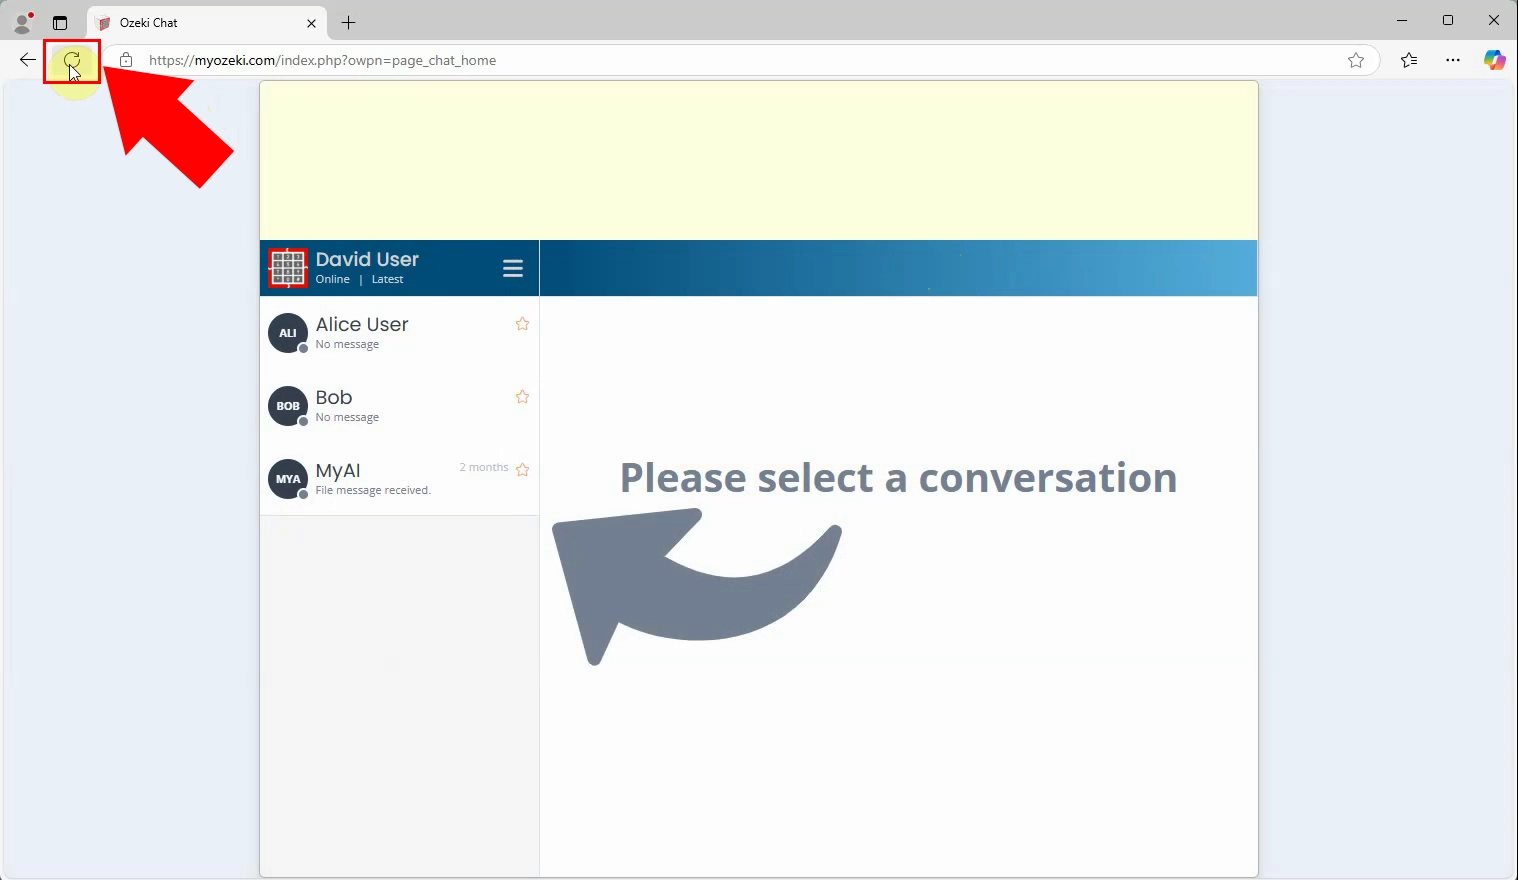
Step 5 - Reload page
To start capturing new log data, reload the chat interface. This refresh ensures that logging begins from a clean state (Figure 5).
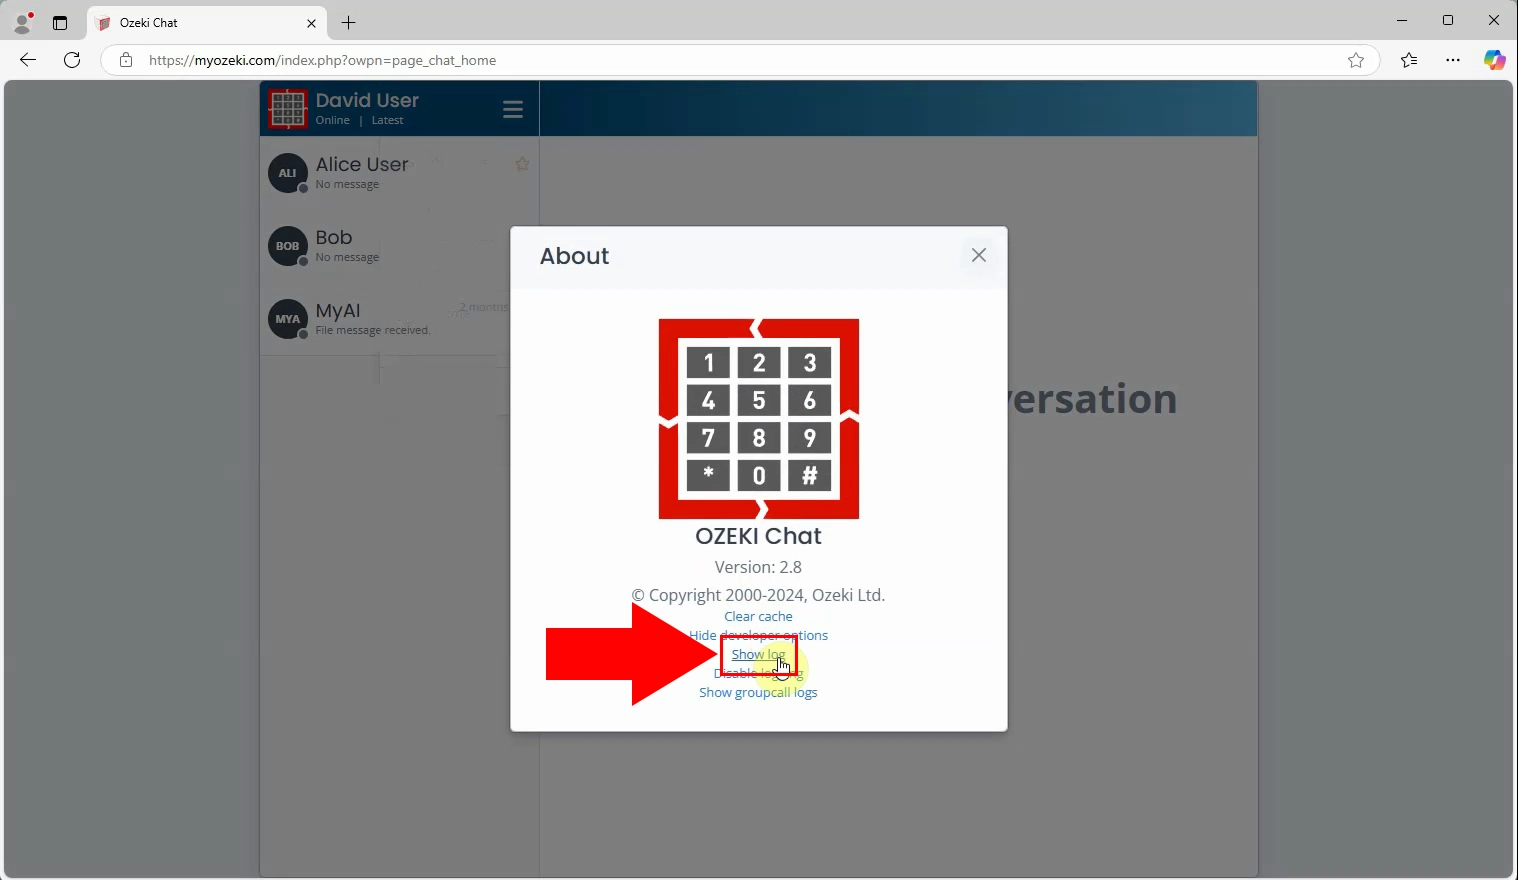
Step 6 - Show log again
Once the page is reloaded, return to the developer options and click "Show log" again to reopen the debug log panel (Figure 6).
Step 7 - Log window in chat
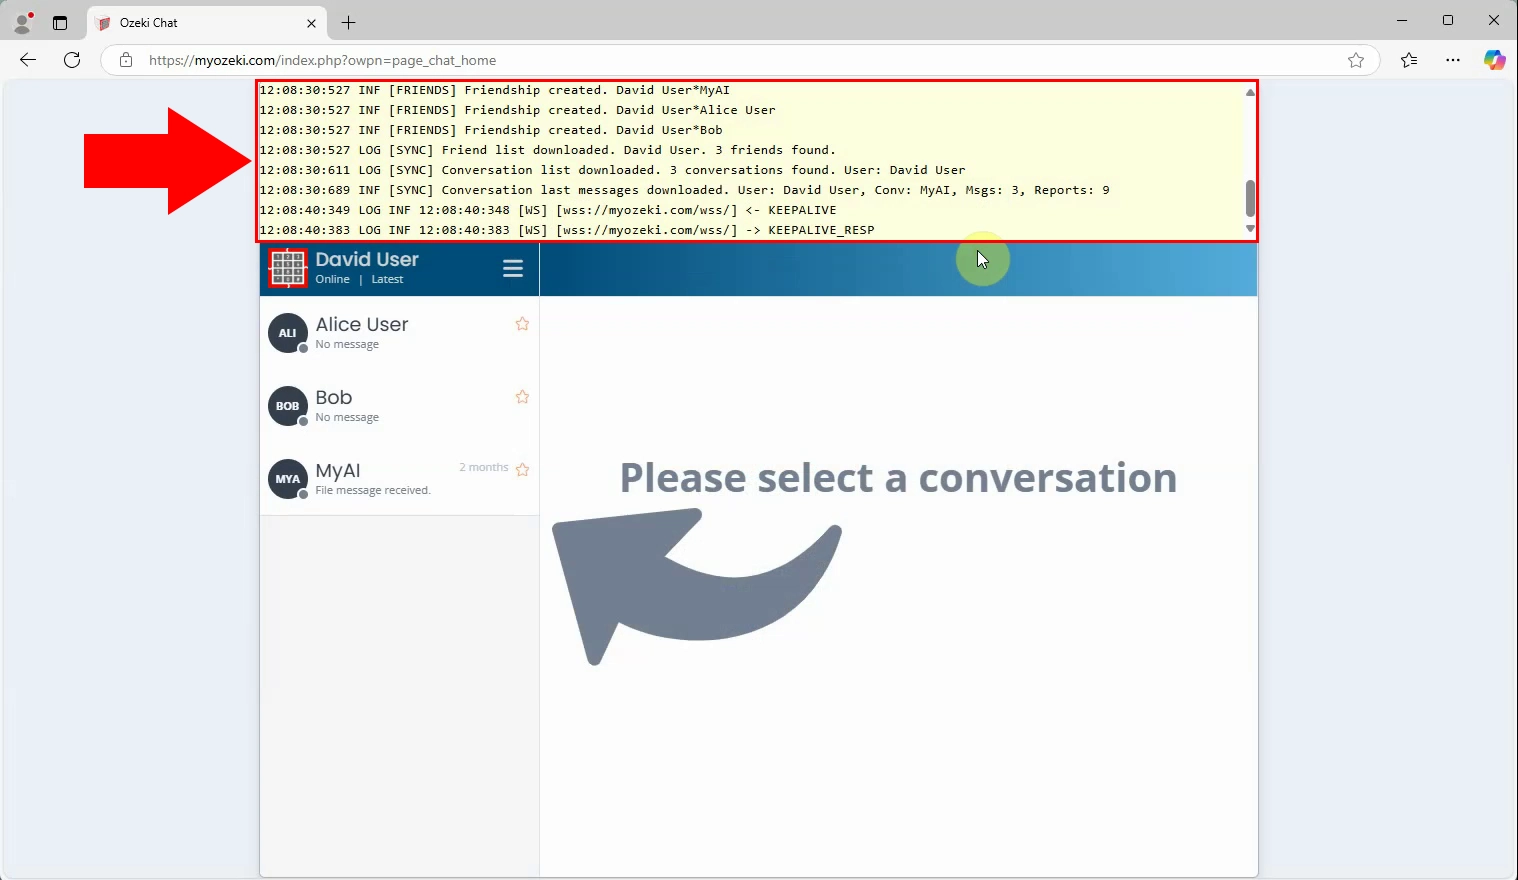
The debug log window now appears in above the chat interface. It displays real-time log entries, including message events, errors, and internal system actions (Figure 7).
