How to share your screen in Ozeki Chat
On this page, we provide a handy, user-friendly guide that will walk you through the most important steps when it comes to sharing your screen in Ozeki Chat. Knowing how to use screen sharing in Ozeki Chat is crucial for better communication and collaboration. It lets you show different types of information in real time. It also helps overcome distance and ensures complex ideas are understood. By mastering screen sharing, you can boost productivity, clarity, and engagement in virtual meetings making your communication better overall.
What is screen sharing?
Screen sharing is a feature that allows you to display your computer or device screen to others in real-time during a virtual meeting or chat. It enables participants to view documents, presentations, or applications as if they were sitting next to you.
How to share your screen in Ozeki Chat (Easy steps)
To share your screen in Ozeki Chat
- Load your MyOzeki account
- Access chat interface
- Open a conversation
- Select share screen
- Choose what to share
- Start the call
- Display your screen's content
- End the call
How to share your screen in Ozeki Chat (Video tutorial)
In this brief video tutorial, we are going to show you what steps are required to take to be able to share your screen in Ozeki Chat. In the first part, you'll learn how to share your own screen with another chat participant. The second part will show you what happens when someone shares their screen with you. The guide begins with selecting a chat participant you wish to share your screen with. By the end of this tutorial, you will have a clear understanding of how to effectively share your screen in Ozeki Chat.
Part 1 - Sharing Your Screen in Ozeki Chat
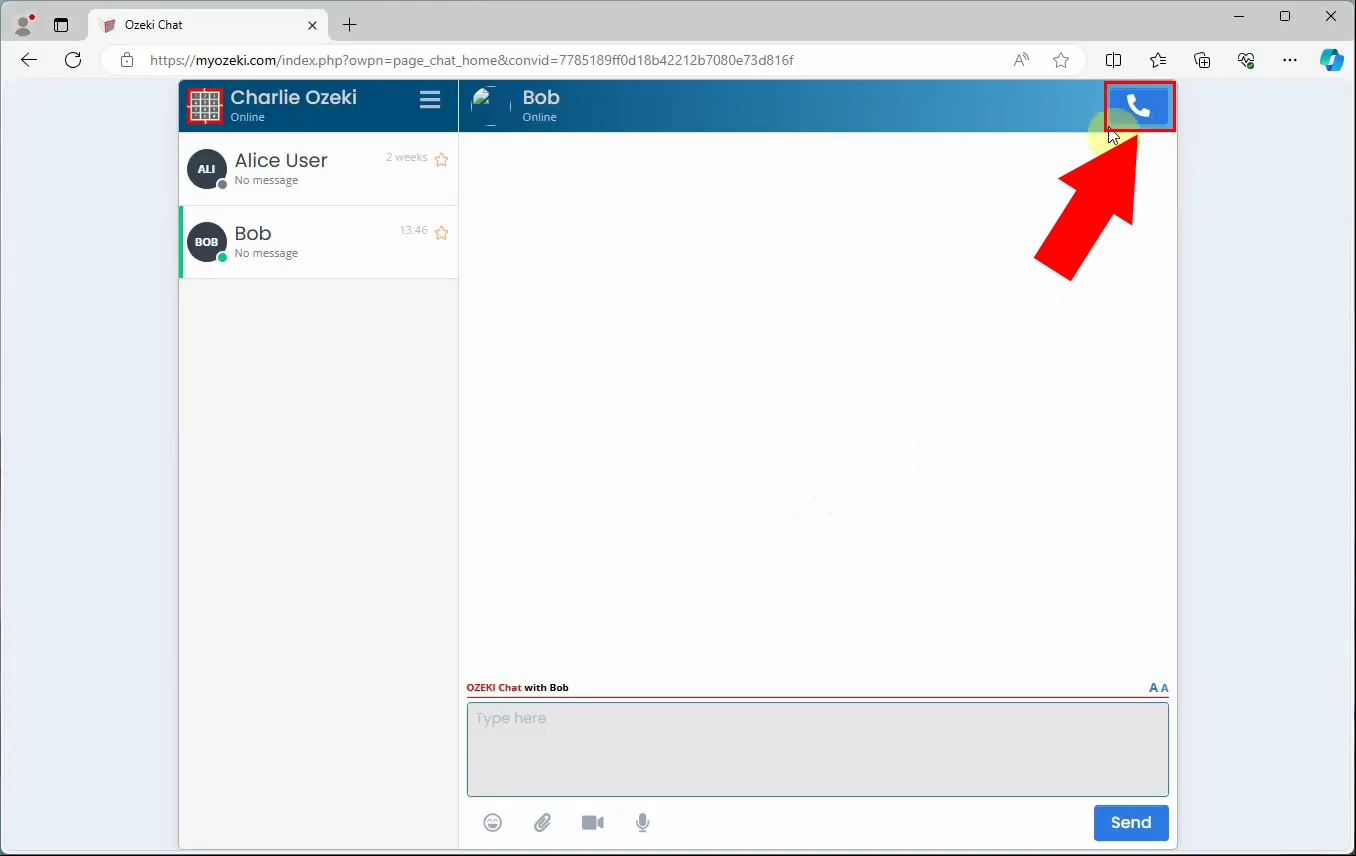
To begin the process, the first thing you need to do is selecting a conversation and open it. Once the conversation is open, you have to navigate your cursor onto the phone icon in the upper right corner just like in Figure 1. This will open the call menu.
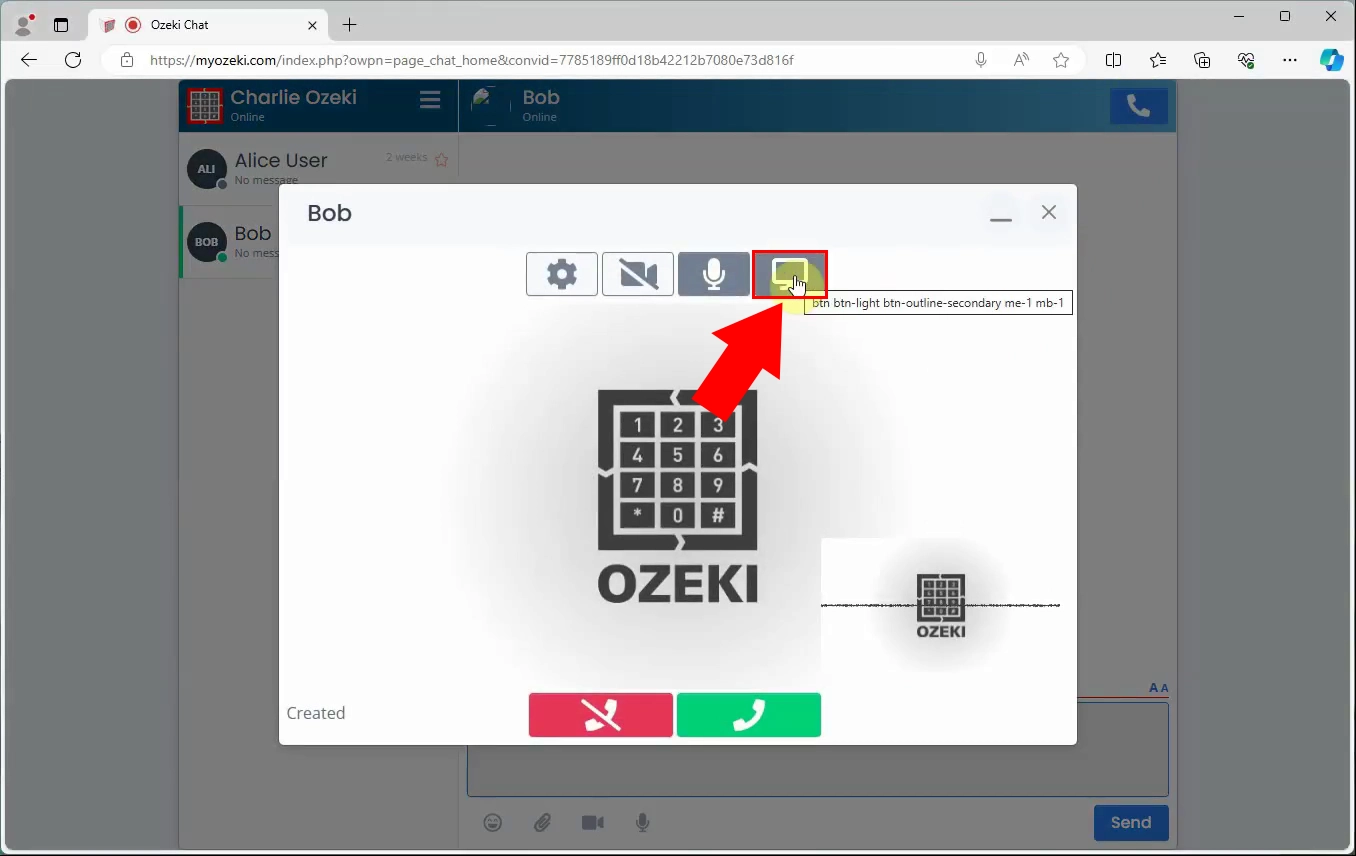
After opening the call menu a panel will appear in the middle of your screen where you have several opportunities. As you can see in Figure 2, in order to share your screen, you need to select the share screen option.
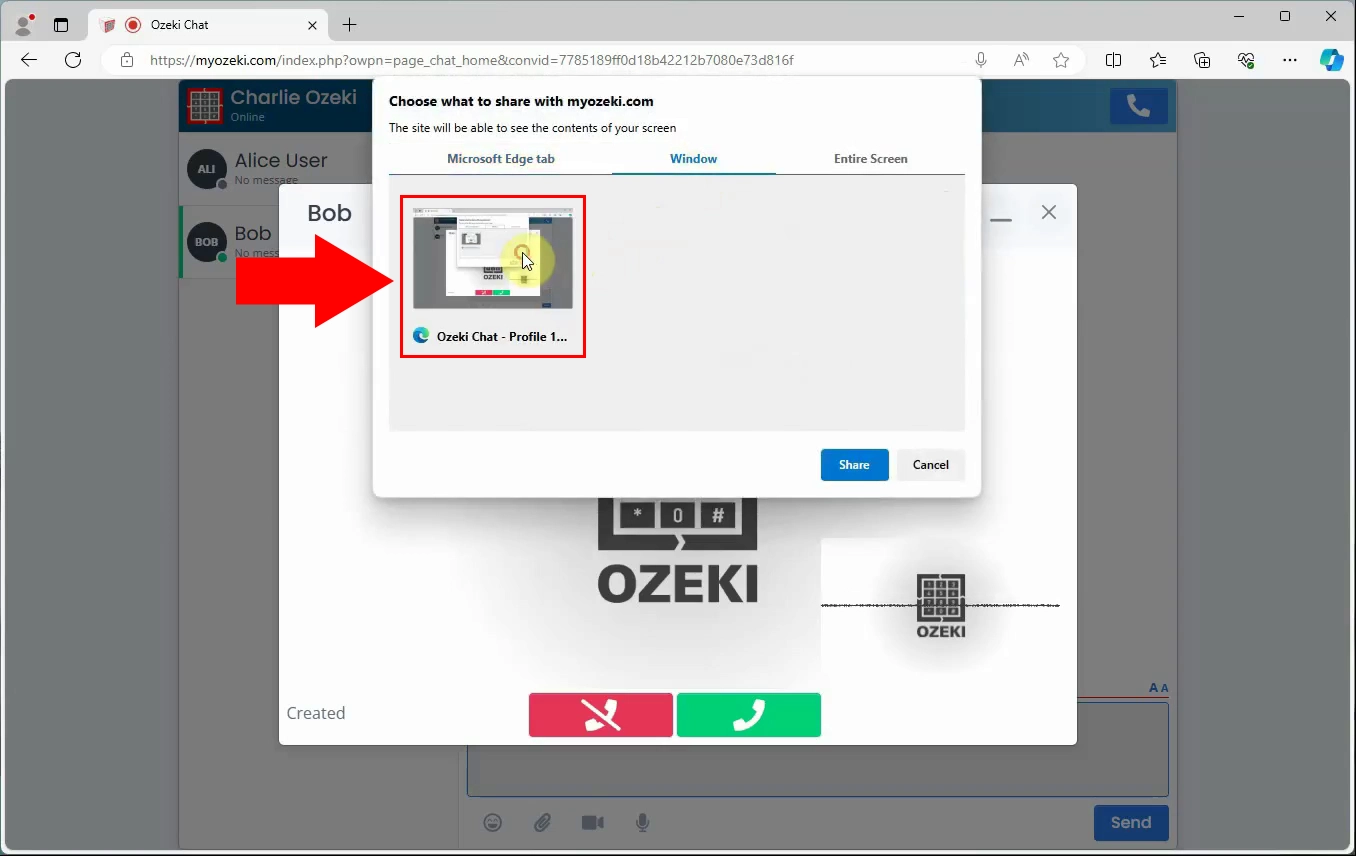
The next step is selecting what you would like to share. You can choose to select your browser's tab, a window only or your entire screen. Once you select what to share you need to click on its window just like it is represented in Figure 3. Click on 'Share' to share your screen.
You can now start the call. As you can see in Figure 4, this can be done by clicking on the green call-initiating phone icon.
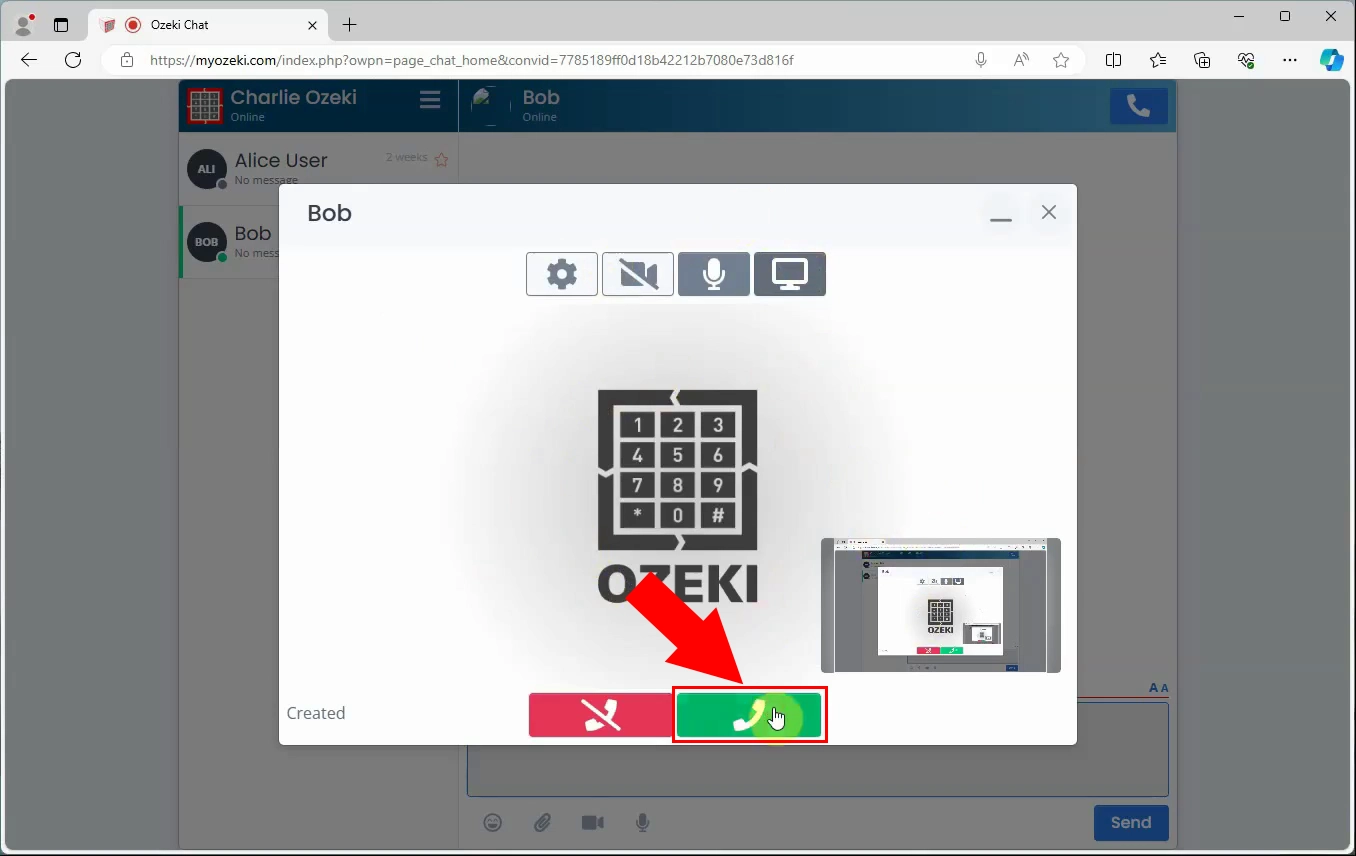
After you start the call the call will be established. As you can see in Figure 5, you will be able to see your shared screen during the call in the lower right corner of the panel.
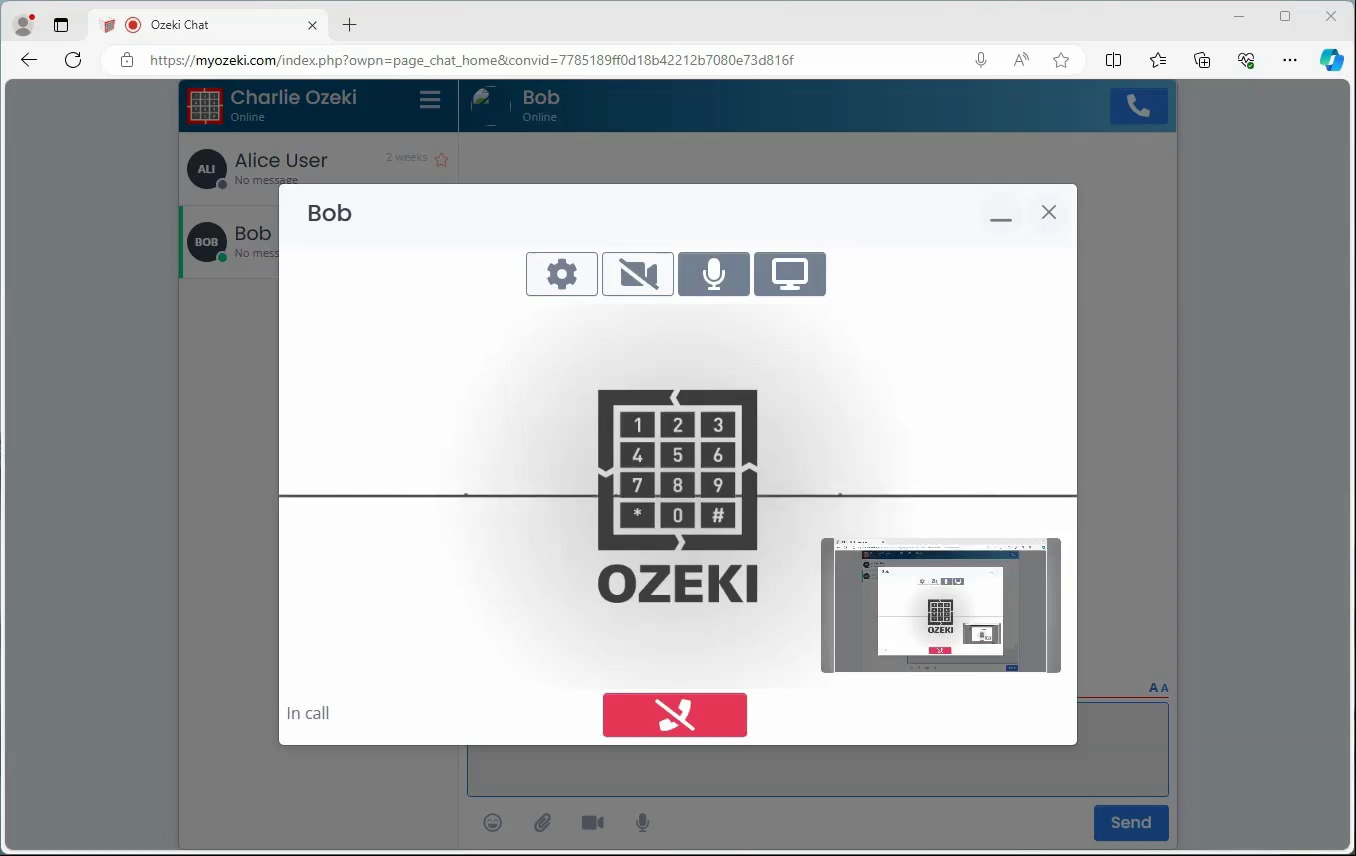
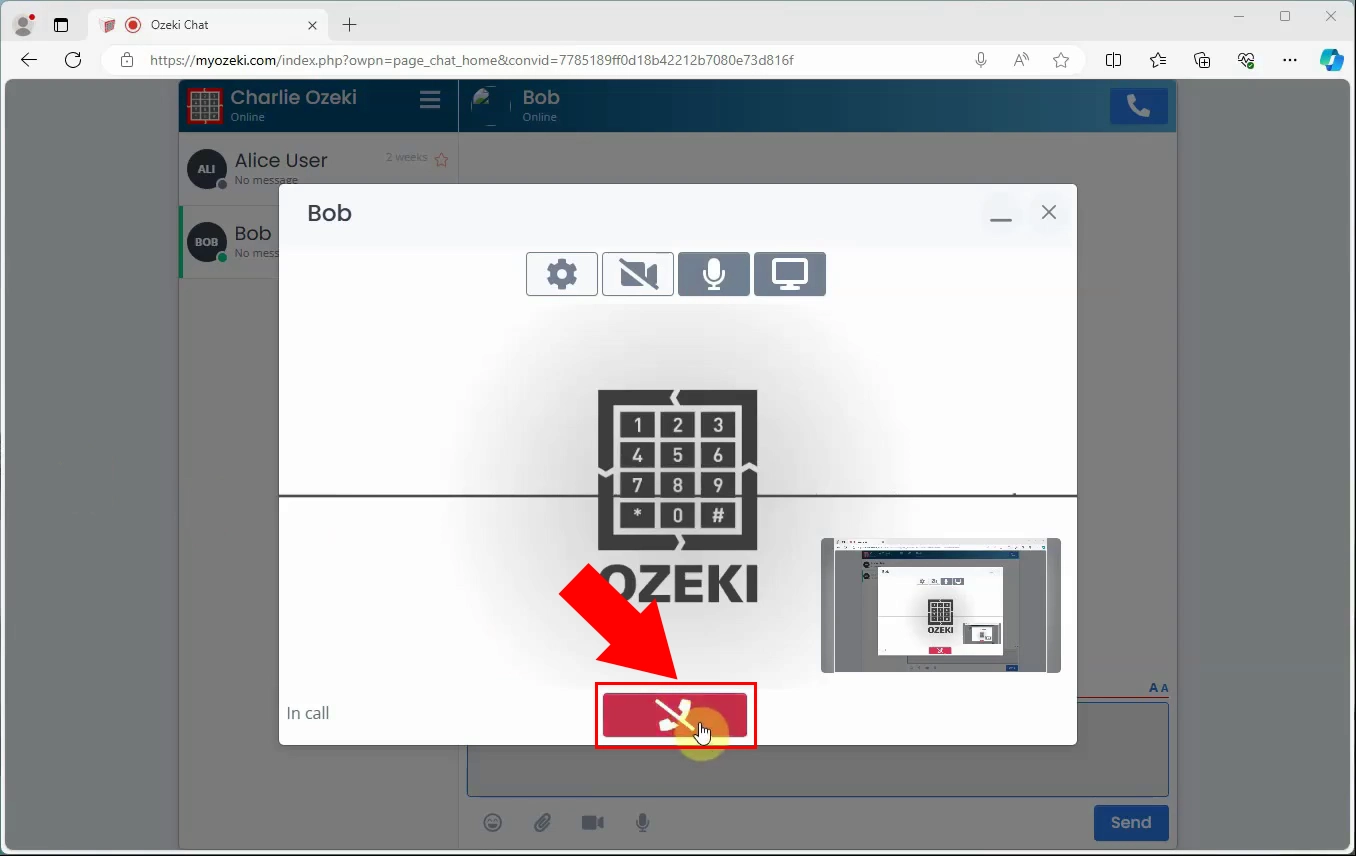
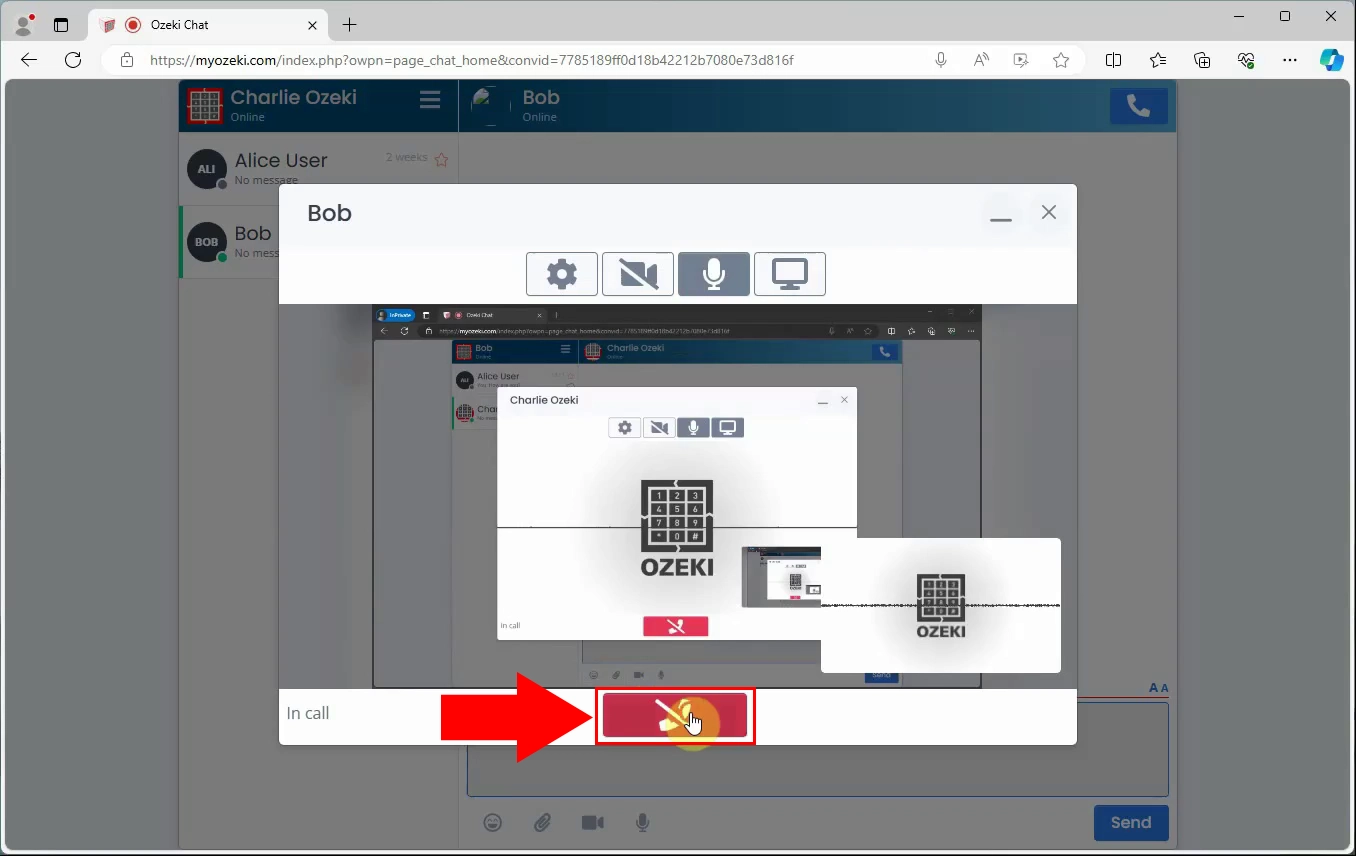
When you would like the call to end you need to click on the red phone icon in the middle of the panel, as it is shown by the red arrow in Figure 6.
How to accept screen sharing in Ozeki Chat (Easy steps)
To accept screen sharing in Ozeki Chat
- Accept incoming call
- View shared screen
- End the call
Part 2 - Accepting Screen Sharing in Ozeki Chat
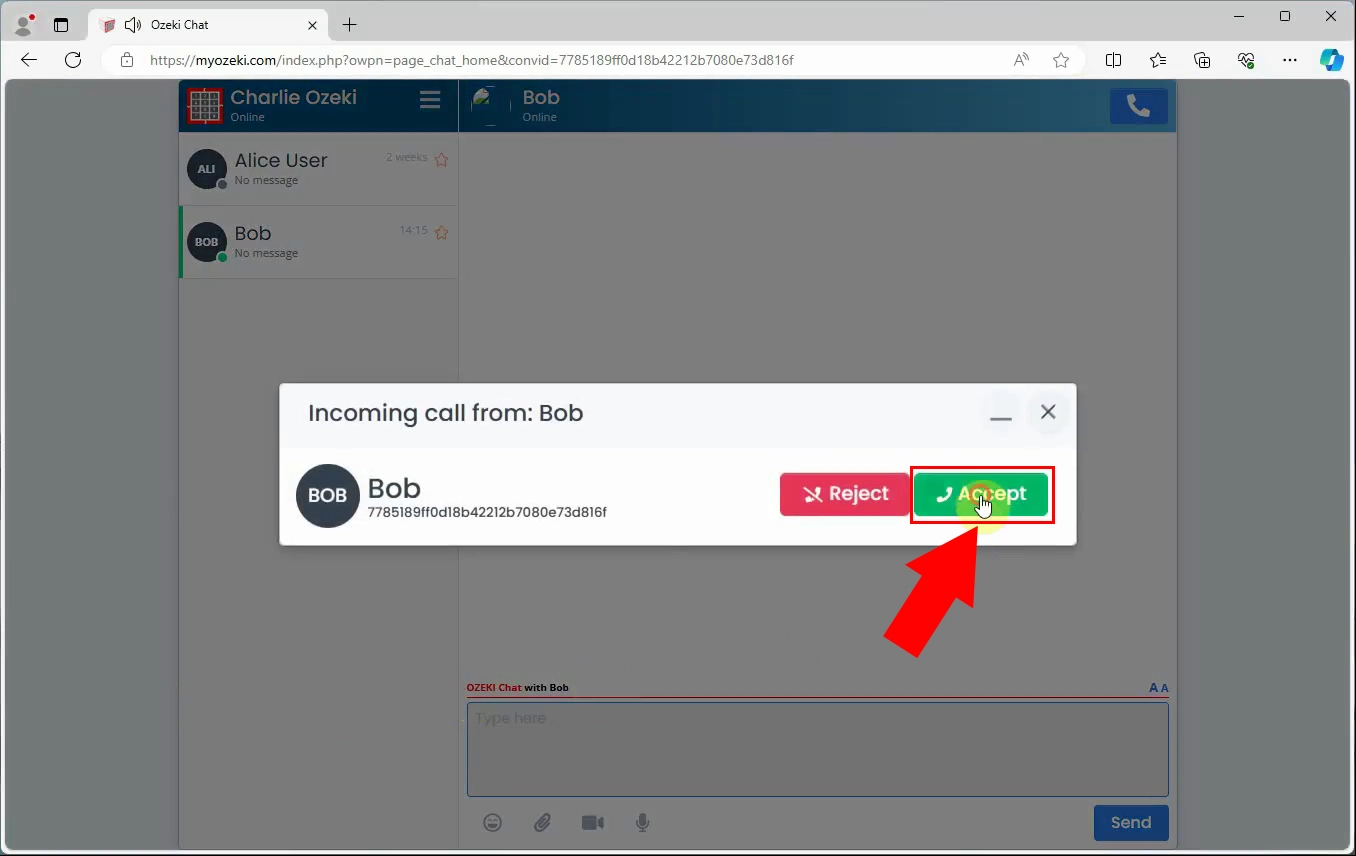
To master the entire screen-sharing process, you also have to learn the steps with a call that you are receiving. When you receive an incoming call, a window will appear in the middle of your screen, where you can see who the call is coming from and also have the opportunity to accept the incoming call. Click on the 'Accept' sign as it is shown in Figure 7.
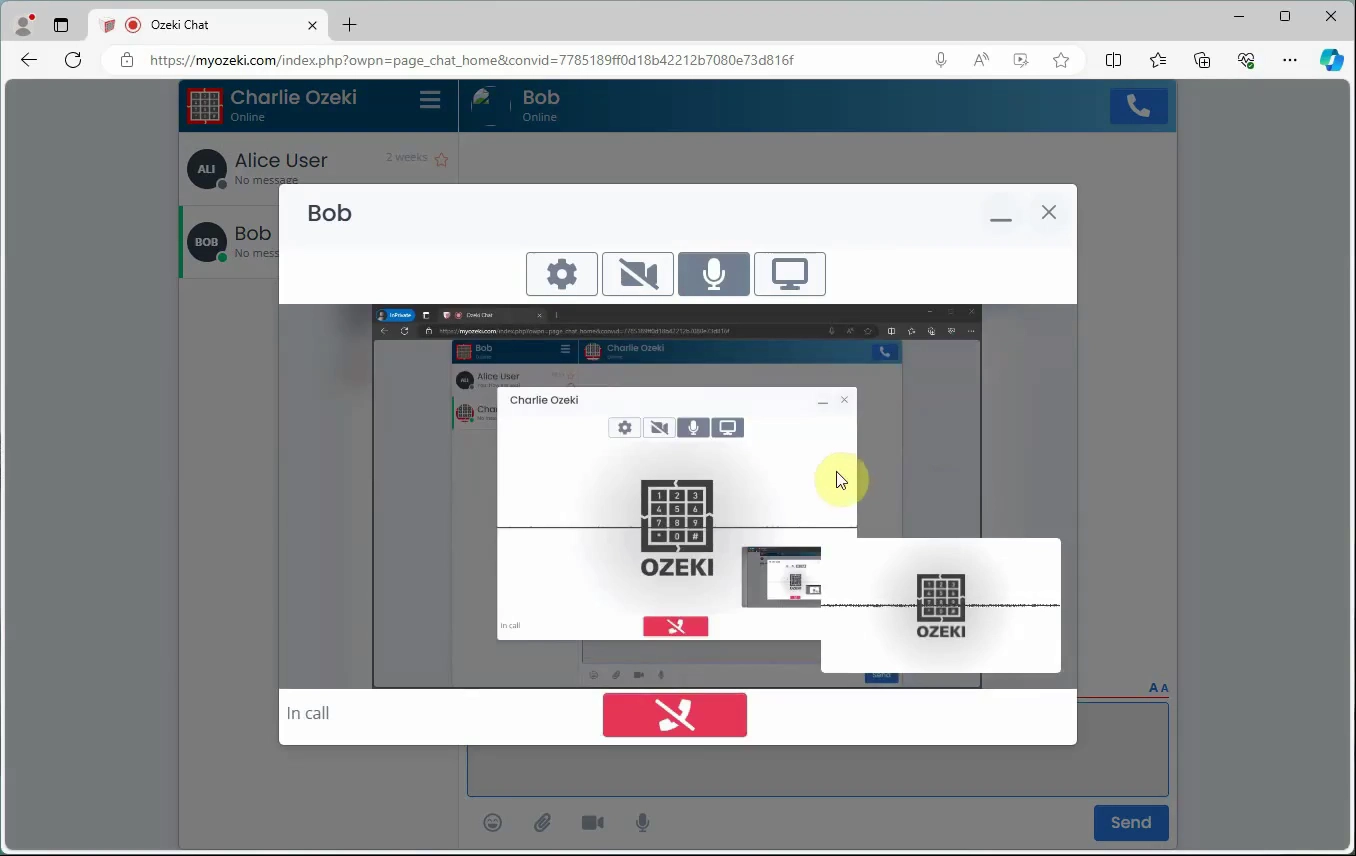
After accepting the incoming call the call will be established. As you can see in Figure 8, you will be able to see the other participant's screen if they choose to share it with you.
When you would to end the call, you need to click on the red phone icon in the middle of the panel, as it is shown by the red arrow in Figure 9.
Summary
Utilizing screen sharing in Ozeki Chat is vital for enhancing communication and collaboration, allowing you to display various types of information. It helps you overcome the gaps of distance and ensures that complex ideas are understood more clearly. By mastering this feature, you can improve productivity, clarity, and engagement in virtual meetings, leading to more effective communication overall.
FAQs
Can I share my screen with multiple people at once in Ozeki Chat?
Yes, if you are a part of a groupchat you have the opportunity to share your screen with multiple participants.
Is screen sharing available on all devices?
Screen sharing is only available on desktop versions of Ozeki Chat. Mobile versions do not support screen sharing yet.
Can participants interact with my screen during a screen share?
In Ozeki Chat screen sharing allows participants to view the screen you have chosen to share, but theyy do not have control over it.

