How to install Access 365
In order to send or receive chat messages to/from the database, first you need to install two softwares: Microsoft Access 365 and Database Connectivity Component. In the Microsoft Access 365 you can create tables for incoming and outgoing chat messages. Database Connectivity Component connects Ozeki Chat Server and MS Access 365 through a standard interface. This guide provides detailed instructions on how to install these softwares on your PC.
Step 1: Install Access 365
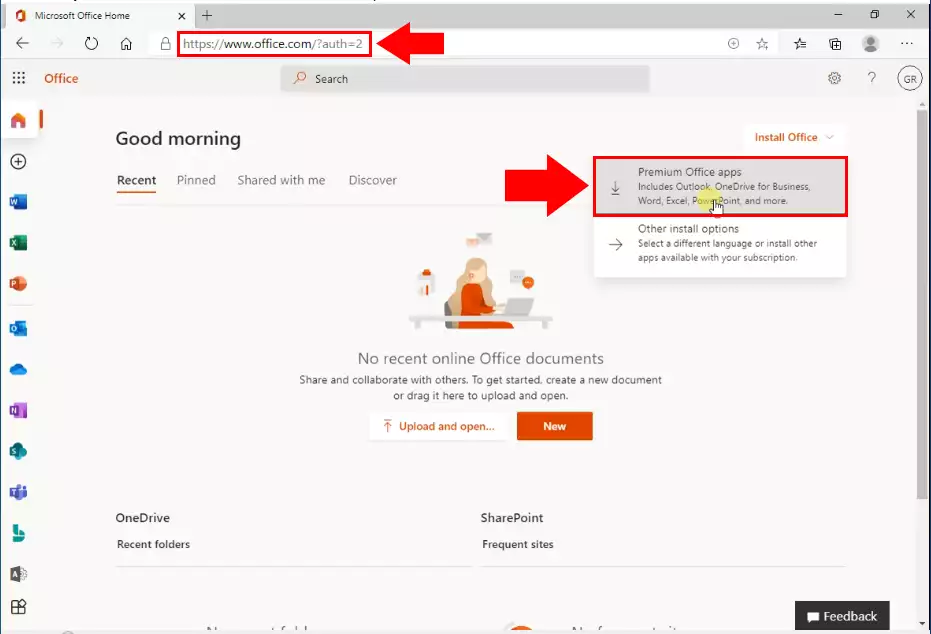
The first step is to go to www.office.com and if you're not already signed in, select Sign in. After signing in, select the Install Office option in the top right corner and then choose Premium Office apps as you can see in the Figure 1.
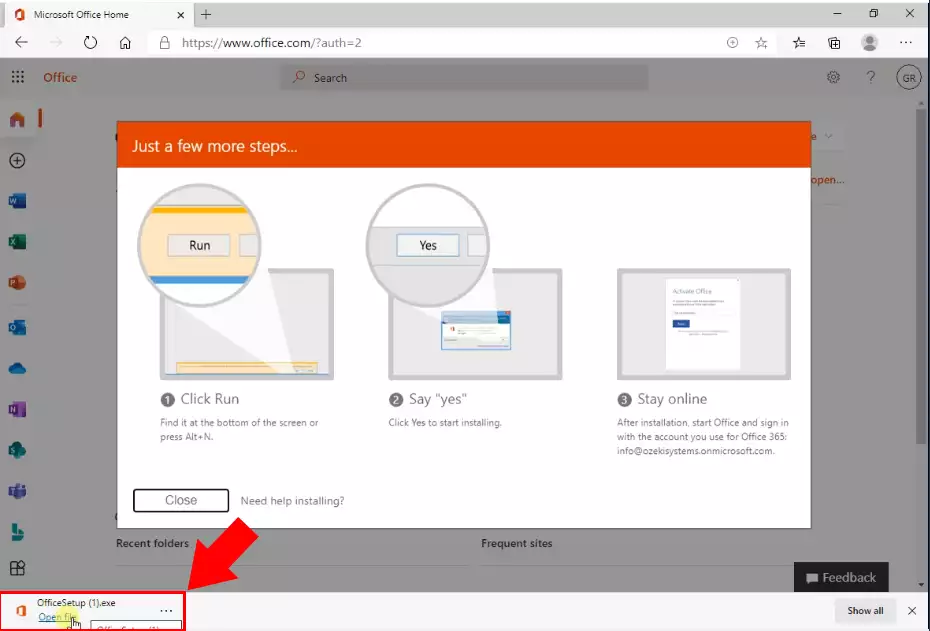
Now open the Office installer from your browser as the Figure 2 shows.
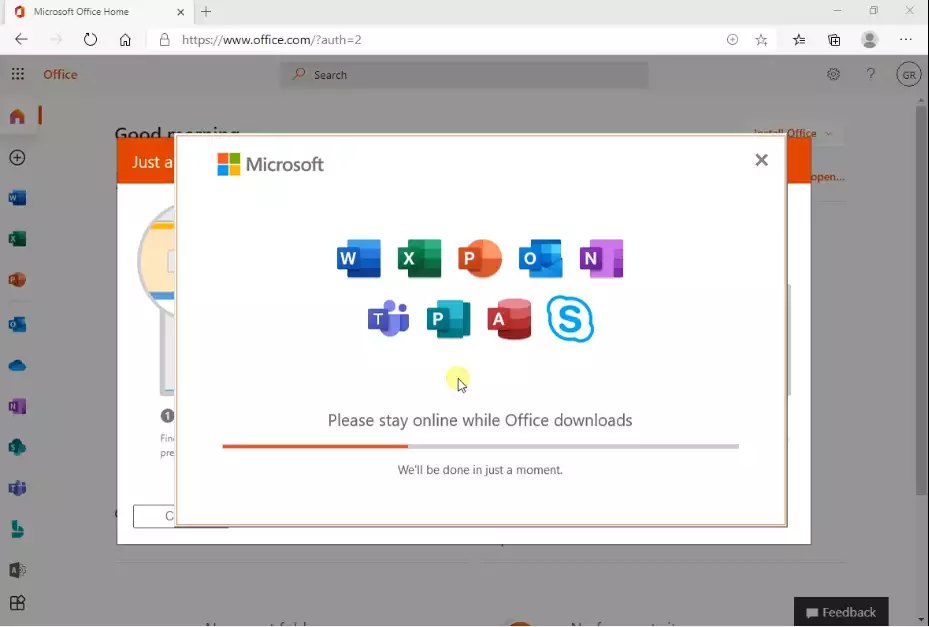
After it the installation process is started and you don't have to do anything just wait for the installer to finish installing Office (Figure 3).
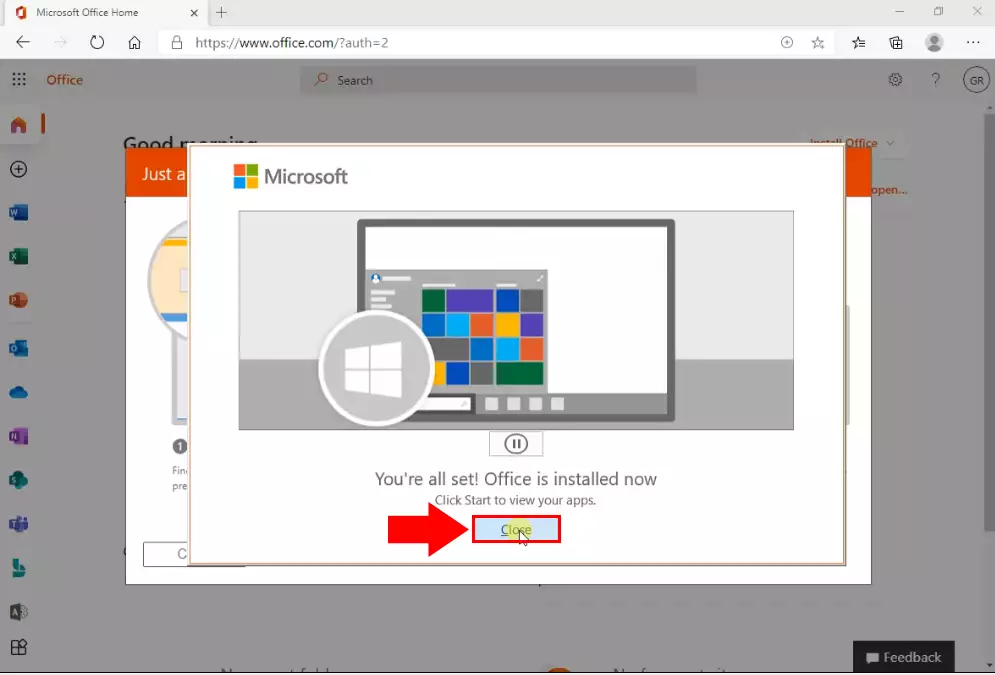
Your install is finished when you see the phrase, "You're all set! Office is installed now" and an animation plays to show you where to find Office applications on your computer. Select Close (Figure 4).
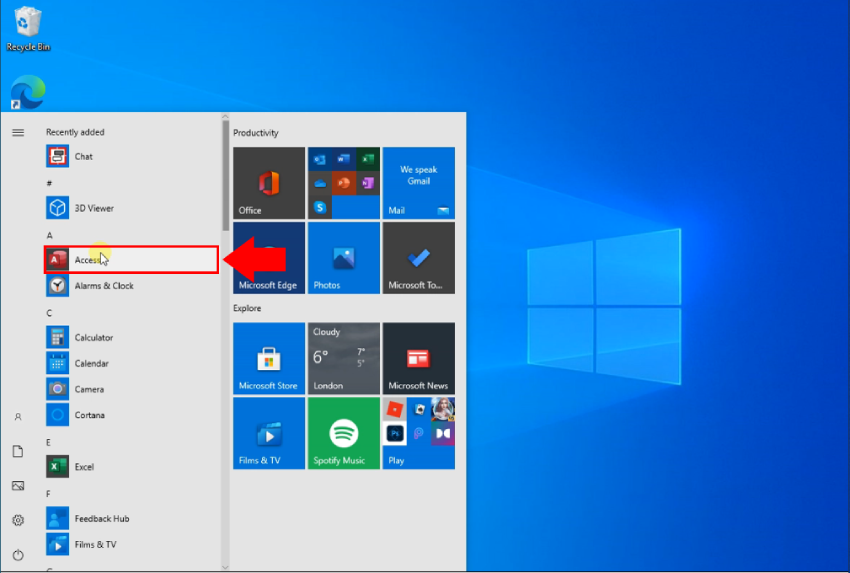
To open the Microsoft Access app, select the Start button (lower-left corner of your screen) select its icon from the application list (Figure 5).
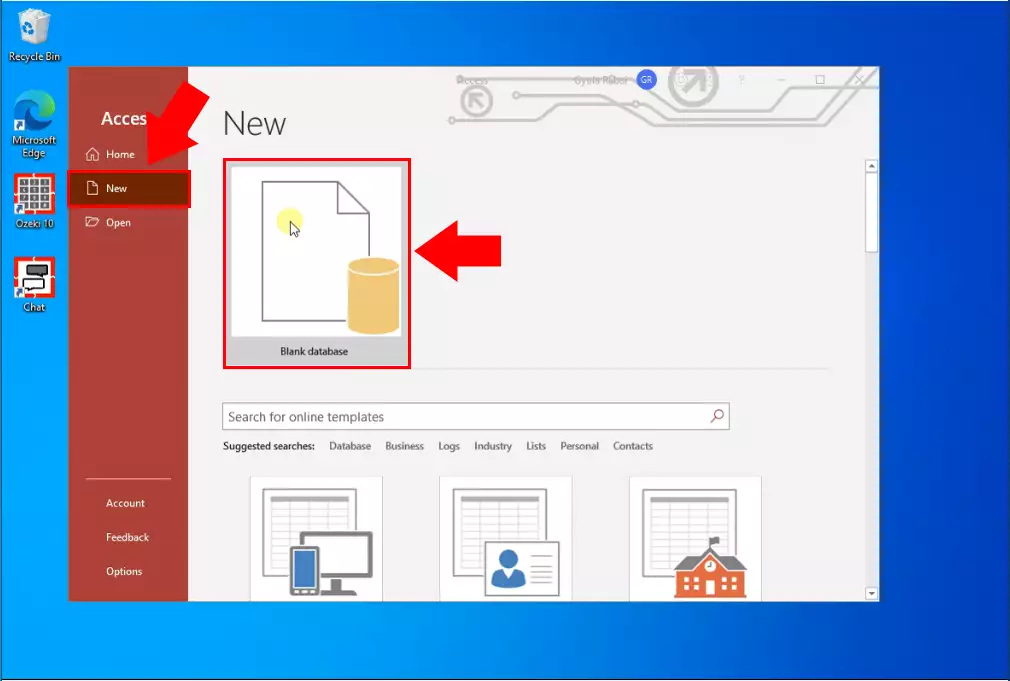
Finally you can create a new database if you select the New option from the left and click the big Blank Database button (Figure 6).
Step 2: Install Database Connectivity Component
Database Connectivity Component makes it possible to connect to the access
database with Ozeki Chat software. The AccessDatabaseEngine.exe allows to transfer data between
2010 Microsoft Office System files and Chat Server. The following video shows
the installation steps.
Before starting the installation process, download the connectivity component from the
following url:
Microsoft Database Connectivity Component (AccessDatabaseEngine.exe)

