MSSQL Database layout for SMS
This page gives you the database layout to use when you wish to setup an SQL to SMS solution. You will see that two database tables need to be created. One will be used for sending SMS messages and the other for receiving. This guide shows you how to connect to your MS SQL server and how to create these two database tables.
Content1. Connect to MSSQL Express
2. Copy CREATE TABLE statement
3. Run CREATE TABLE statement
Please scroll down to copy the CREATE TABLE statements used in the video. If you have created the database in MSSQL Express, you can jump to the next video.
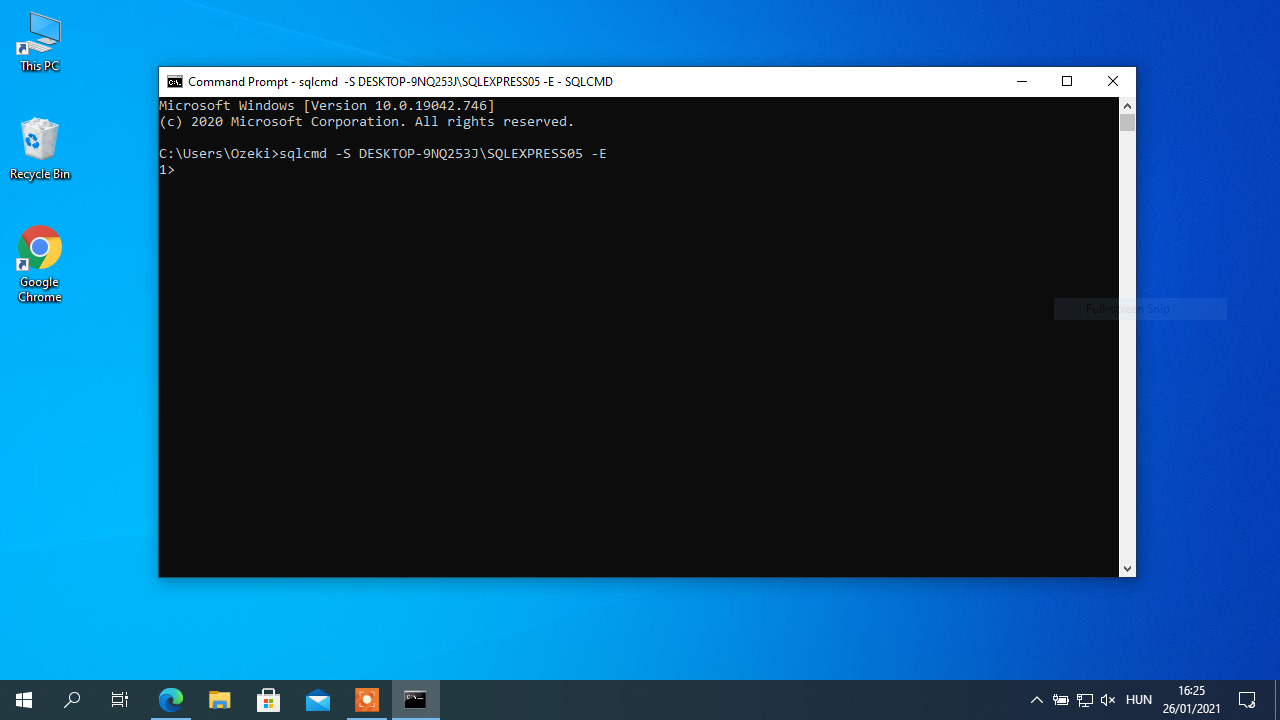
First, you need to be able to create SQL databases with a Command Prompt. To do this, please run “cmd” on your computer, and type in “sqlcmd”. After pressing enter, you will be able to run sql statements directly from cmd. You can see the result of the “sqlcmd” command on Figure 1.

Now you need to create a table which is suitable for the Ozeki SMS Gateway. Here on Figure 2, we provide you a statement which creates the perfect SQL table for your needs. If you are familiar with SQL, feel free to modify the code to your exact liking.
create database ozeki
GO

use ozeki
GO

CREATE TABLE ozekimessagein (
 id int IDENTITY (1,1),
 sender varchar(255),
 receiver varchar(255),
 msg nvarchar(160),
 senttime varchar(100),
 receivedtime varchar(100),
 operator varchar(30),
 msgtype varchar(30),
 reference varchar(30),
);

CREATE TABLE ozekimessageout (
 id int IDENTITY (1,1),
 sender varchar(255),
 receiver varchar(255),
 msg nvarchar(160),
 senttime varchar(100),
 receivedtime varchar(100),
 operator varchar(100),
 msgtype varchar(30),
 reference varchar(30),
 status varchar(30),
 errormsg varchar(250)
);

GO

sp_addLogin 'ozekiuser', 'ozekipass'
GO

sp_addsrvrolemember 'ozekiuser', 'sysadmin'
GO
To make the tables, you need to give the “sqlcmd” some statements. Copy the code from Figure 2. These statements creates the tables for the incoming and outgoing messages, the login credentials and sets the required rights for the users. You can see the code on Figure 3.
Figure 2 - CREATE TABLE statement

Now please paste the copied code form the previous step, into the sqlcmd which you created on Figure 1. This way the program can understand and execute the statements. Here in this step, you can modify the provided code, if you are familiar with the SQL language. Press enter to run the code and create the tables. You can see the code inside the sqlcmd on Figure 4.

We hope that this guide was helpful. If you have any problem with any of the steps, feel free to contact us at info@ozeki.hu

