Send SMS from Oracle SQL (part 3/4)
In this video series you can see how to connect Ozeki SMS Gateway and Oracle SQL database server for SMS messaging. This video shows how to install a Oracle database connection on Ozeki SMS Gateway.
Video content1. Open SMS Gateway
2. Create Oracle connection
3. Configure Oracle connection
If you have created the database in Oracle 19c Express, you can jump to the next video. Although you can precisely examine the sequence by looking through the screenshots.
The first step of configuring the Ozeki SMS Gateway to work with Oracle, to login to Ozeki 10. You can do this by providing your username and password, and click the “OK” button. You can see the login window on Figure 1.
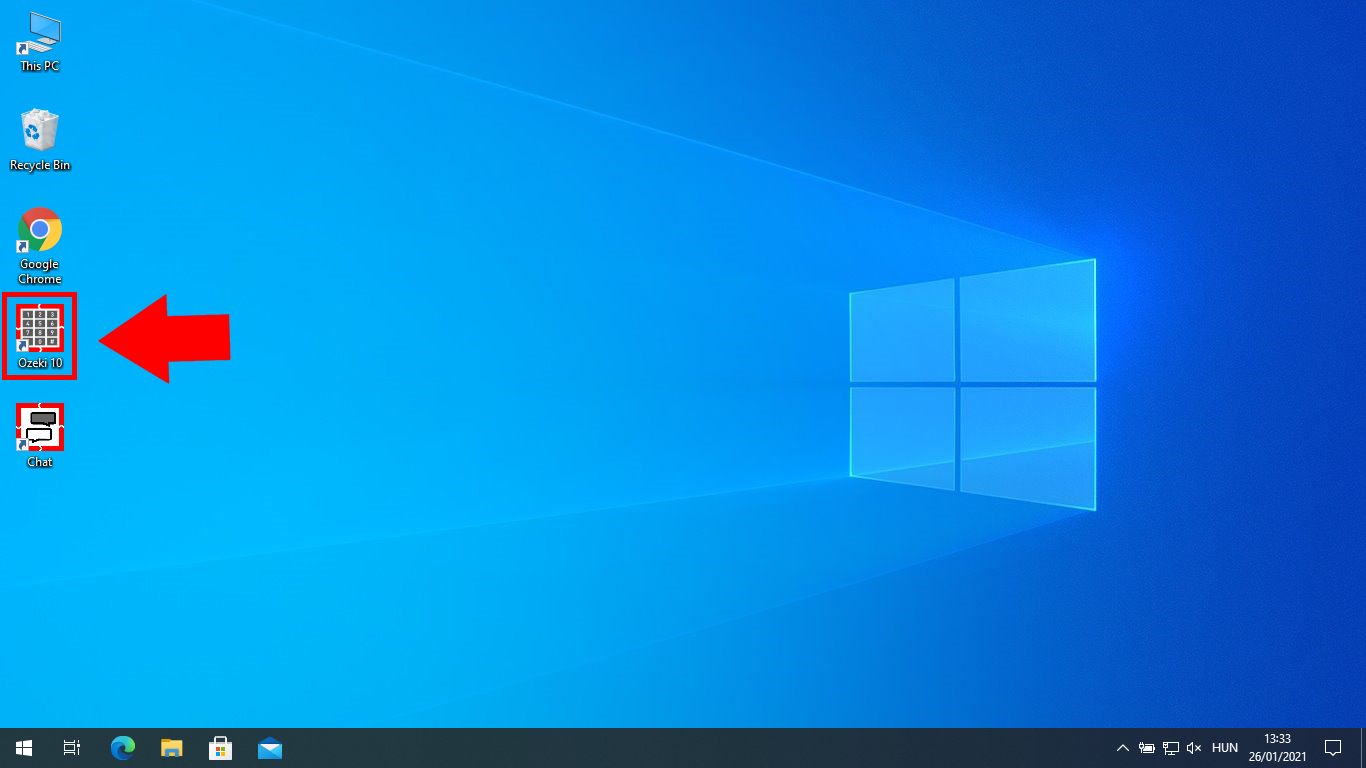
Next, you have to configure the SMS Gateway. To do that, please launch the application by clicking the icon on the desktop, called “SMS Gateway”. You can find it with the help of Figure 2.
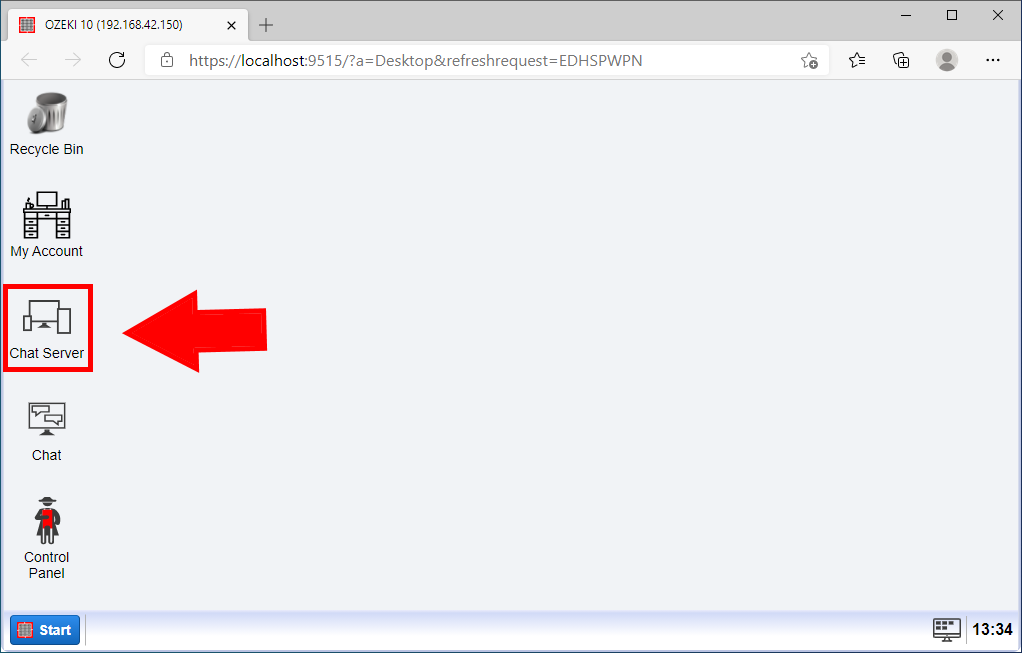
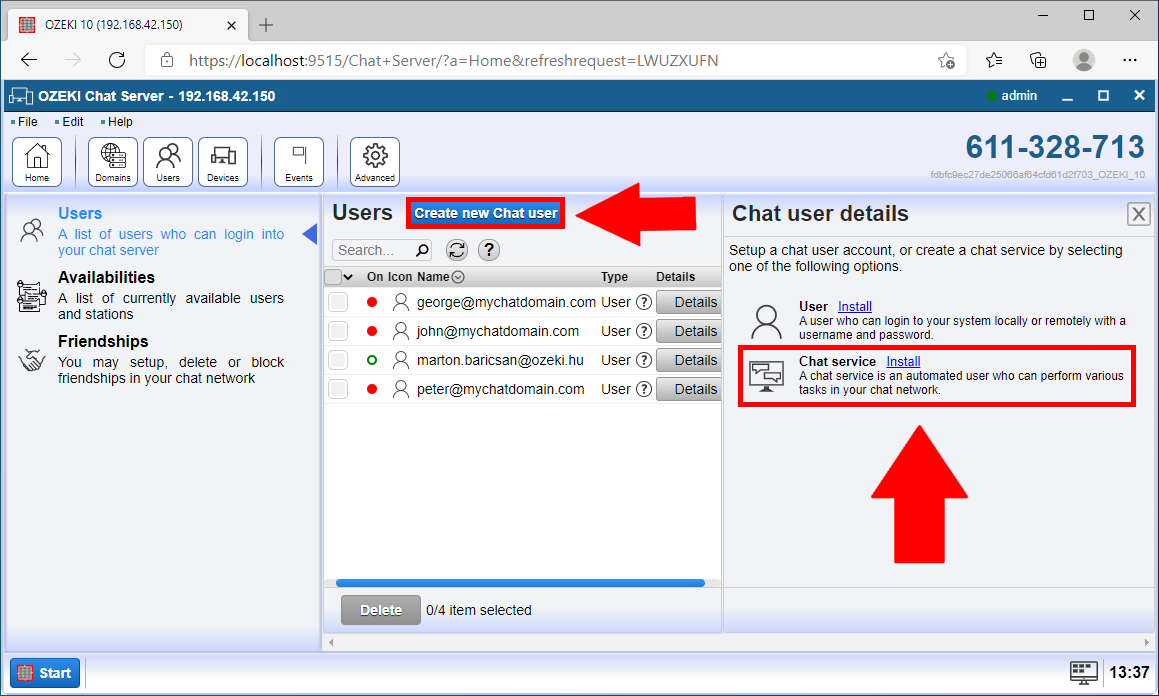
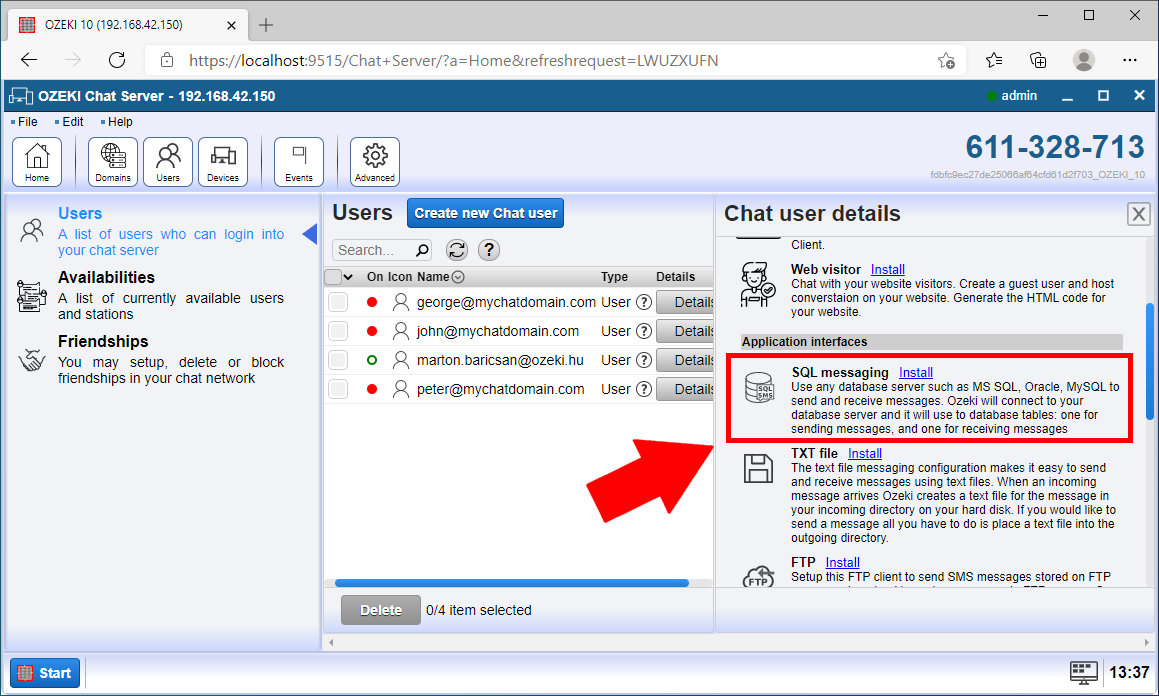
Here you will find your connection options. Ozeki 10 can handle most application interfaces you can send SMS with. You can build a TXT file, an HTTP client or even an FTP serve to handle your incoming and outgoing SMS traffic. In this case, please select the SQL messaging, by clicking the “Install” button. You can find your options on Figure 4.
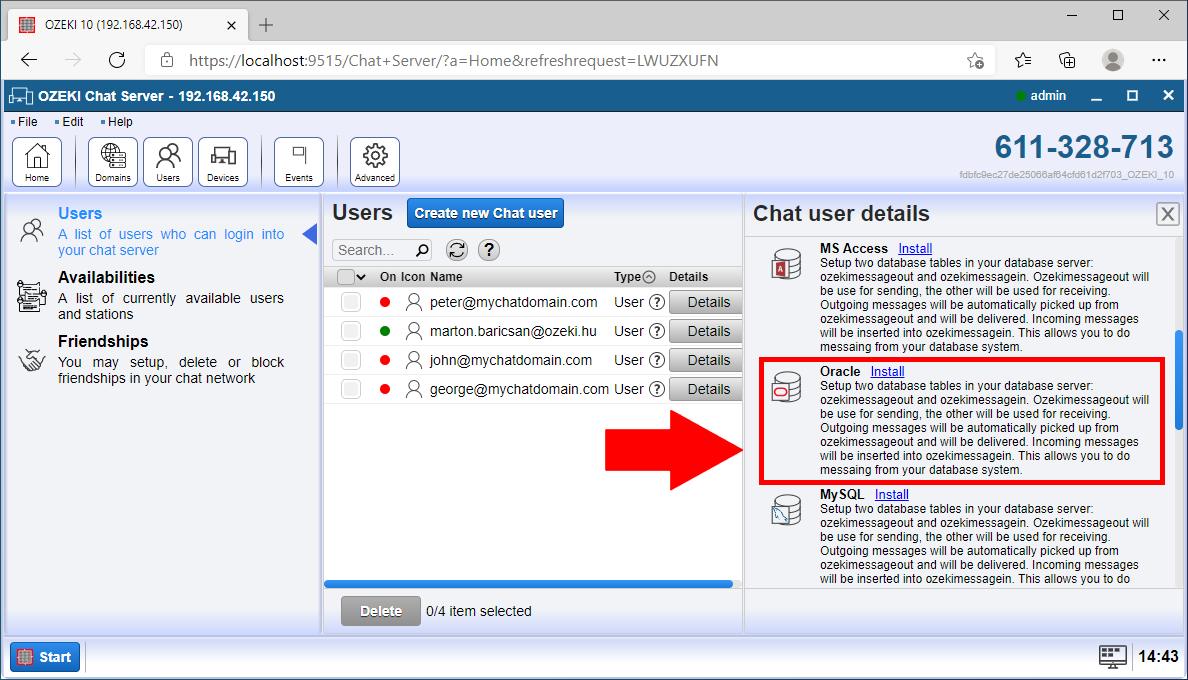
Here, you can select your SQL Management tool. Ozeki 10 can work with MS Access, MySQL, PostgreSQL. In this case, you need to choose “Oracle”. Click on the blue “Install” button to start the installation procedure. You can find more information about the Oracle SQL Management tool on Figure 5.
In this step, you need to name your connection. This name can be anything you like, which will help you identify the connection. On Figure 6, you can see our example name. Above it, the connection settings will contain the specifications of your connection. The first field is the data source. It is a factory for connections to any physical data source. It uses a URL along with some credentials to establish a database connection. After you have completed the connection settings part, please click the “OK” button to proceed.

Now you are finished with the configuration. All you have to do is switch the connection status option to “On”. It should be green when it is activated. If you have done that, you are finished. You can find the switch on Figure 7.

We hope that this guide was helpfull. If you have any problem with any of the steps, feel free to contact us at info@ozeki.hu

